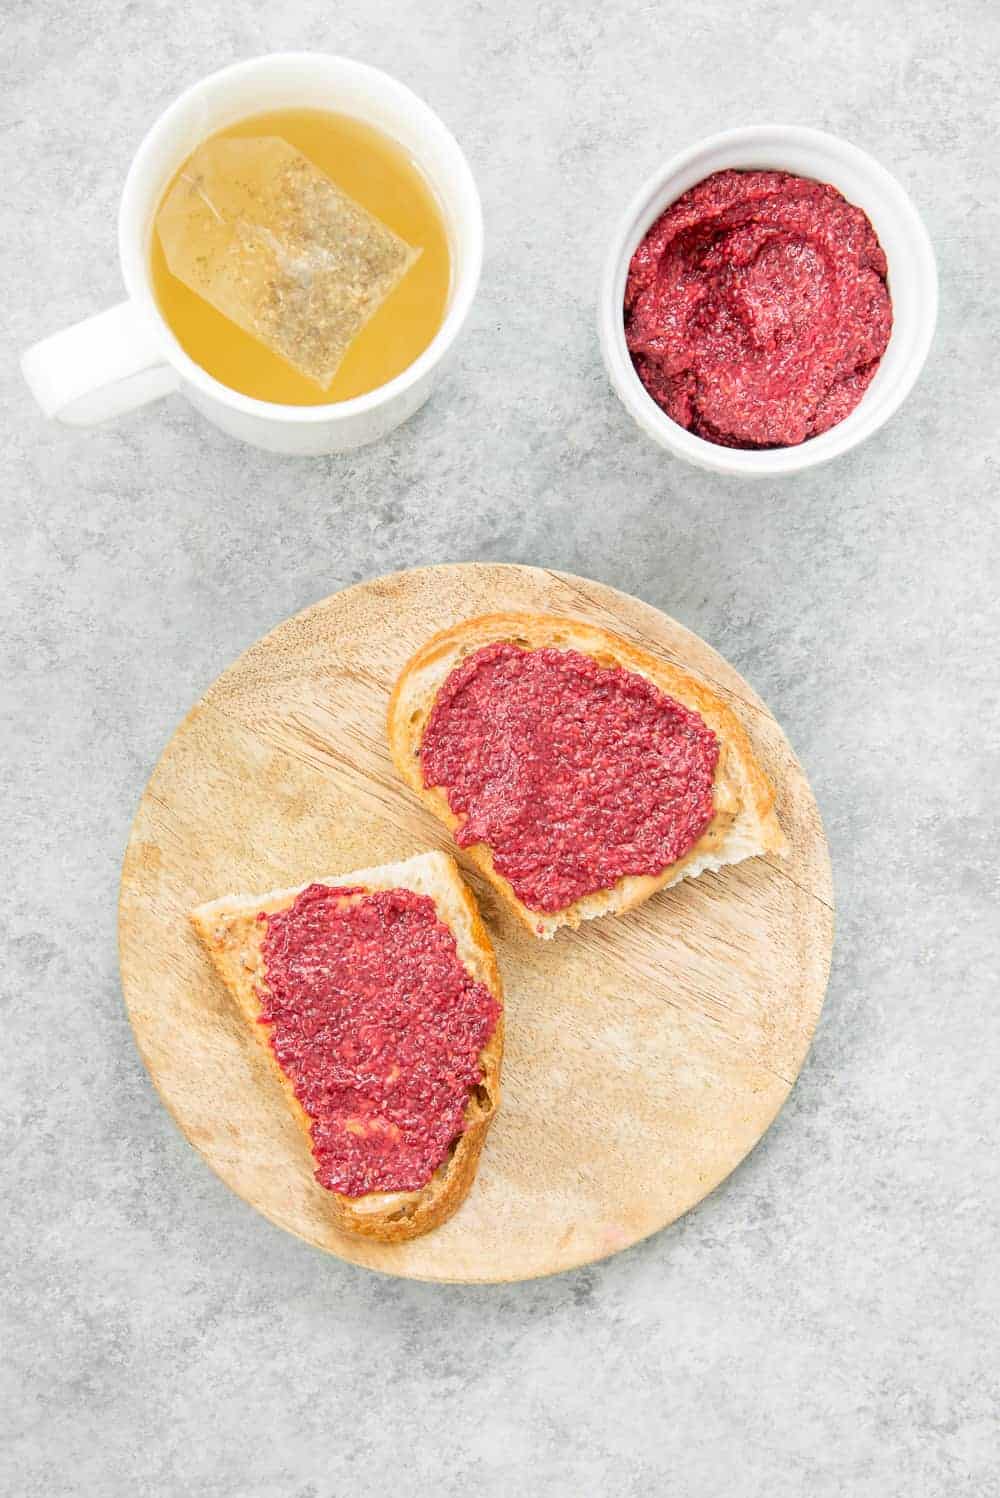
Raspberry Chia Jam (using frozen berries!)
Raspberry Chia Jam made with frozen berries! This no-sugar jam takes less than 10 minutes to make and tastes amazing!
Frozen raspberry chia jam! If you like raspberry jam (yes!) but want to have a lower-sugar option (of course) and also want it to taste delicious (duh!) then this is the recipe for you.
I’ve now introduced TWO money-saving, life-changing DIY recipes this week. That’s right friends– my homemade oat milk recipe for those of you like me who love oat milk in their morning bowl of cereal but do not want to spend $5 on a carton.
And, for those of you like me who also love the idea of making jam without sugar but don’t have the time (or patience) to whip up homemade jam on the regular. I present to you: frozen berry chia jam. Chia seeds act as a binding agent like pectin in regular jam and take just minutes to prep for a fresh, homemade jam that lasts all week.
See below for more details and tips for making this frozen berry chia jam, or scroll down for the full recipe.
Things to Know Before Making This Chia Jam
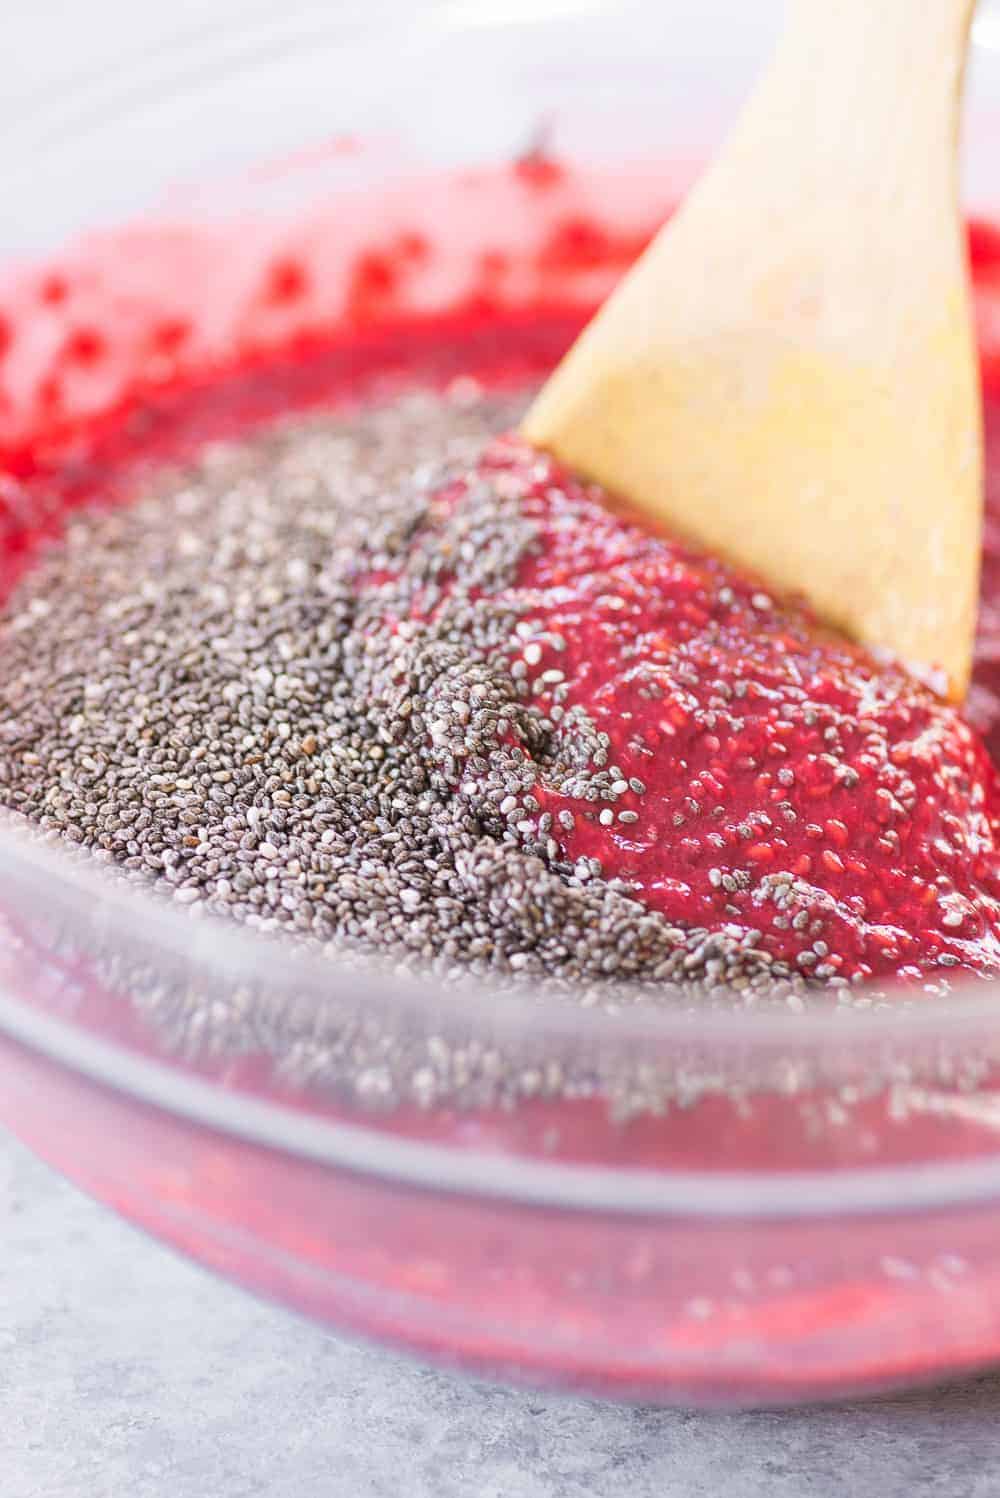
I did not alter the color! That’s really how it looks. Amazing, right?
I recommend using frozen berries because they are typically much cheaper than fresh berries and as the texture doesn’t matter, it’s likely not worth the extra expense. Contrary to some belief, frozen berries have the same, or often higher, levels of nutrients like antioxidants as fresh berries. This is because frozen fruits (and veggies) are frozen at the apex of ripeness, which is also when nutrient concentration is at its peak. Nutrient density decreases with less and over-ripe fruit.
We always have chia seeds in my fridge to add to smoothies, waffles, yogurt bowls, and more. As predominantly plant-based eaters, I try to incorporate a serving of omega-3 fatty acid-rich seeds like chia, flax, or hemp daily. (Head here to learn more about omega-3 fatty acids for plant-based diets.)
Raspberry Chia Jam Ingredient Notes
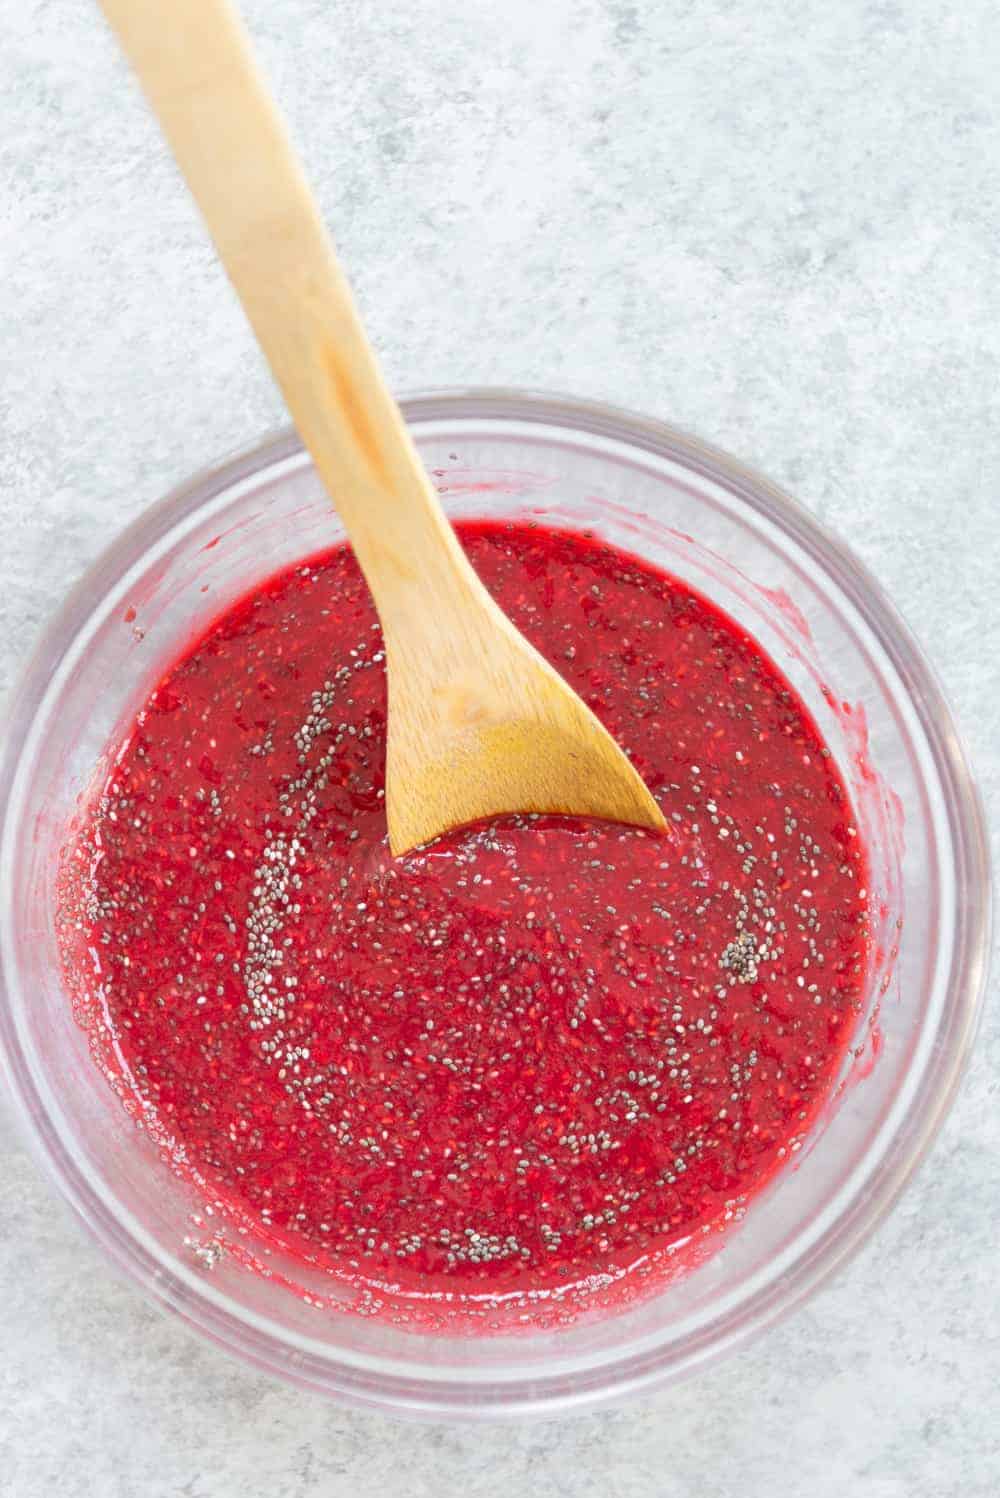
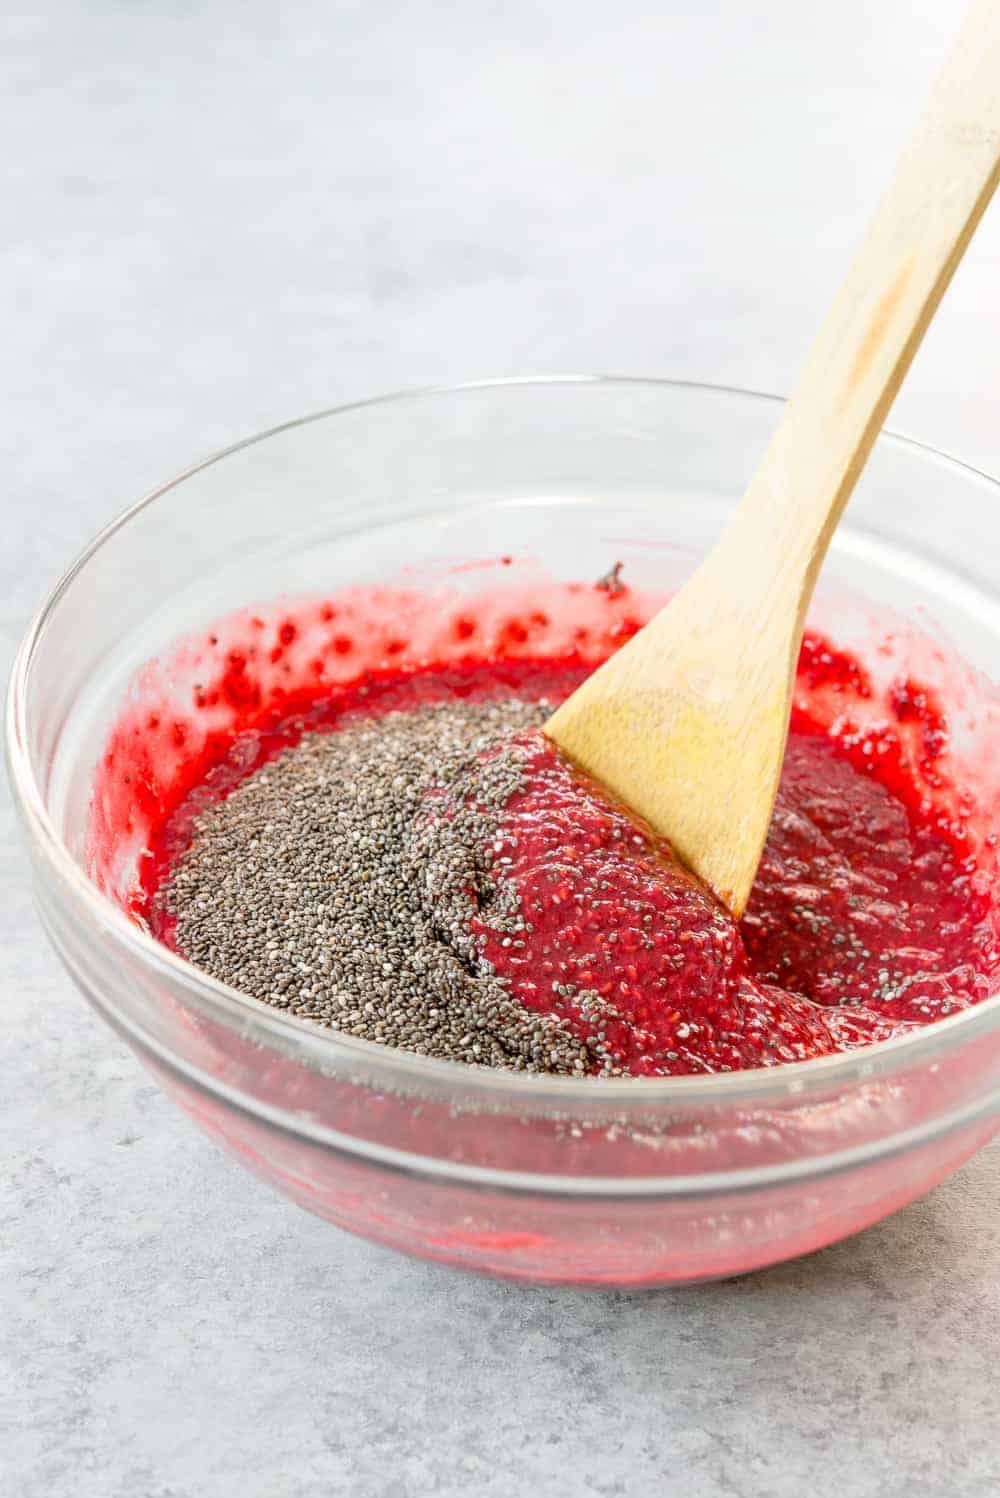
If you are new to making jam from chia seeds, the chia seeds expand in liquid– in this case, a mix of mashed frozen berries and orange juice, to create a gel that haas the same viscosity as raspberry jam!
For this simple chia jam, you’ll need just a handful of ingredients: frozen raspberries, orange juice, chia seeds, and vanilla extract.
You can use other berries instead of the raspberries. Blackberries, blueberries, and strawberries all work. If you’d like to use a sweetener, then I recommend a drizzle of maple syrup or honey to taste.
Recipe Substitutions
Raspberries are my go-to pick because I love the color (and raspberries contain an additional 8g of fiber per cup) but any fruit will do. Strawberries, blackberries, blueberries, cherries, peaches and mango will all work following the same directions.
Orange juice is chosen both as an acid and also for gentle sweetness without using any refined sugars. I don’t recommend subbing in another tart acid, like lemon juice or lime juice, but other fruit juice like apple or mango will work.
If you haven’t made chia jam before, you are going to be blown away with how easy, simple and delicious it is to put together. Can’t wait to hear what you think of this one!
Tips for Success
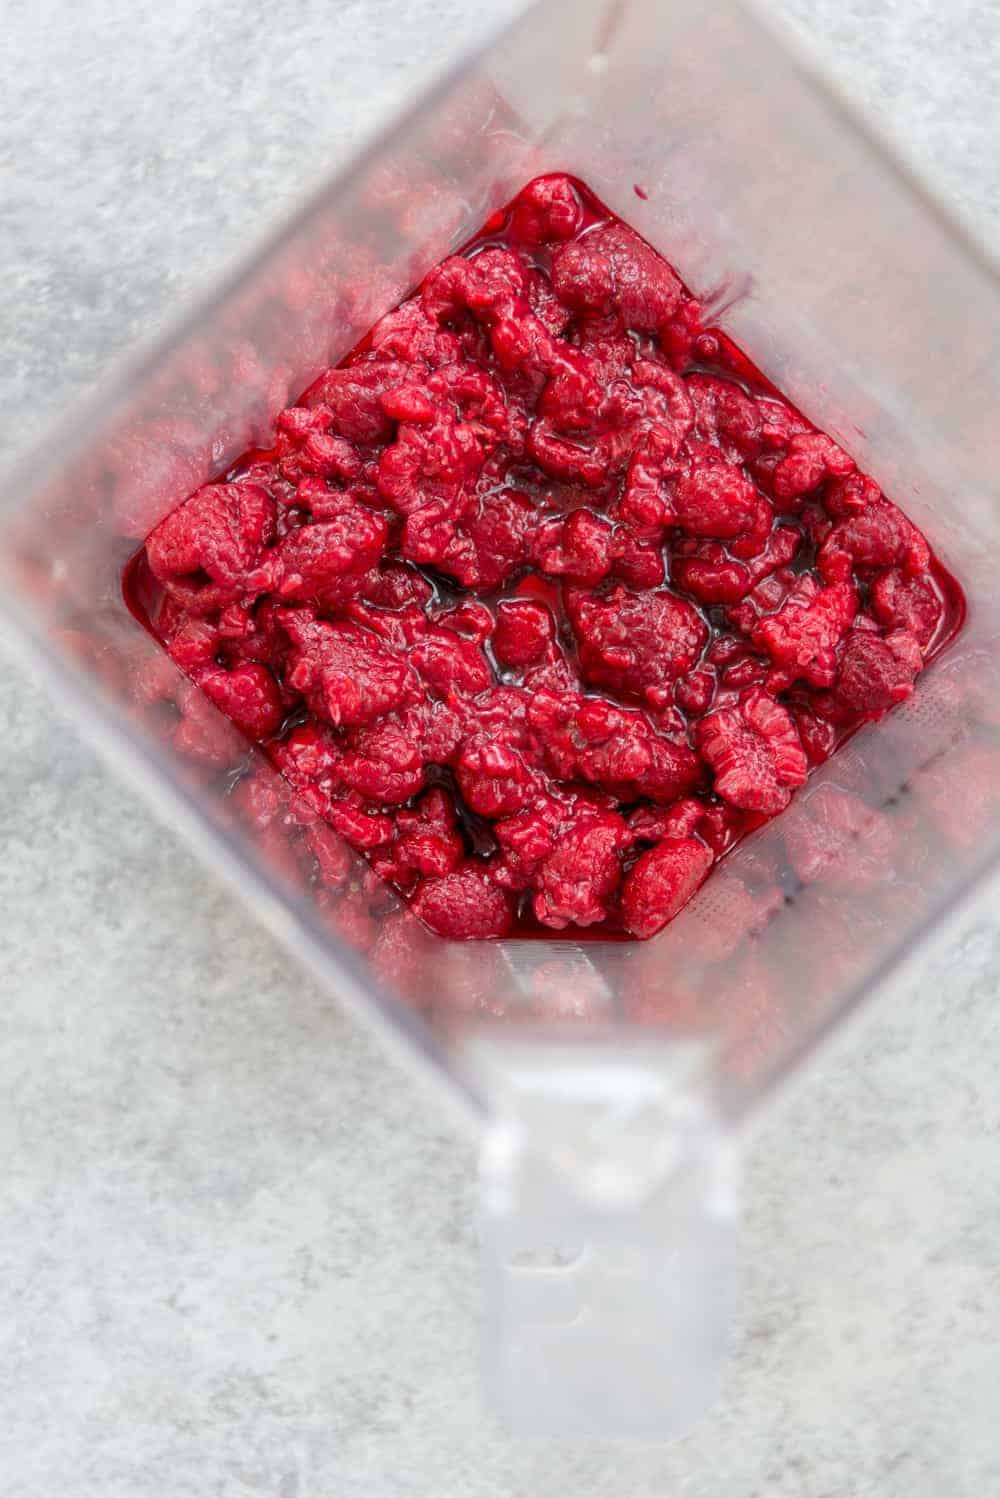
This raspberry jam is so easy to make, no heating required! You don’t necessarily even need a blender, but I think it helps to break down the thawed from frozen raspberries quickly. As an alternative, you can use a potato masher to mash the berries before adding in the other ingredients.
I recommend thawing your berries overnight in the fridge before using. If you want to make this now and don’t have frozen berries, then I recommend either simmering them for a few minutes in a small saucepan on the stove to warm through slightly, or microwave until thawed. While you can use frozen berries without thawing, you’ll need to give them some extra time in the blender to break down.
I like my jam to be fairly chunky, so I leave lots of whole berry pieces in. If you want a smoother raspberry chia jam, then pulse it more to break up the berries.
Place in the fridge for 15 minutes to just set, then stir and place back in the fridge for 2-3 hours, or until gelled. The consistency should be similar to traditional jam– not too runny and not too thick. That’s it! Enjoy on everything.
Storage Tips
This chia seed jam will keep for about a week in the fridge. However, you can freeze any leftovers! To do this, I recommend freezing the finished jam in silicone ice cube trays, then popping out a square (or two) as needed to defrost.
How to use Raspberry Chia Jam
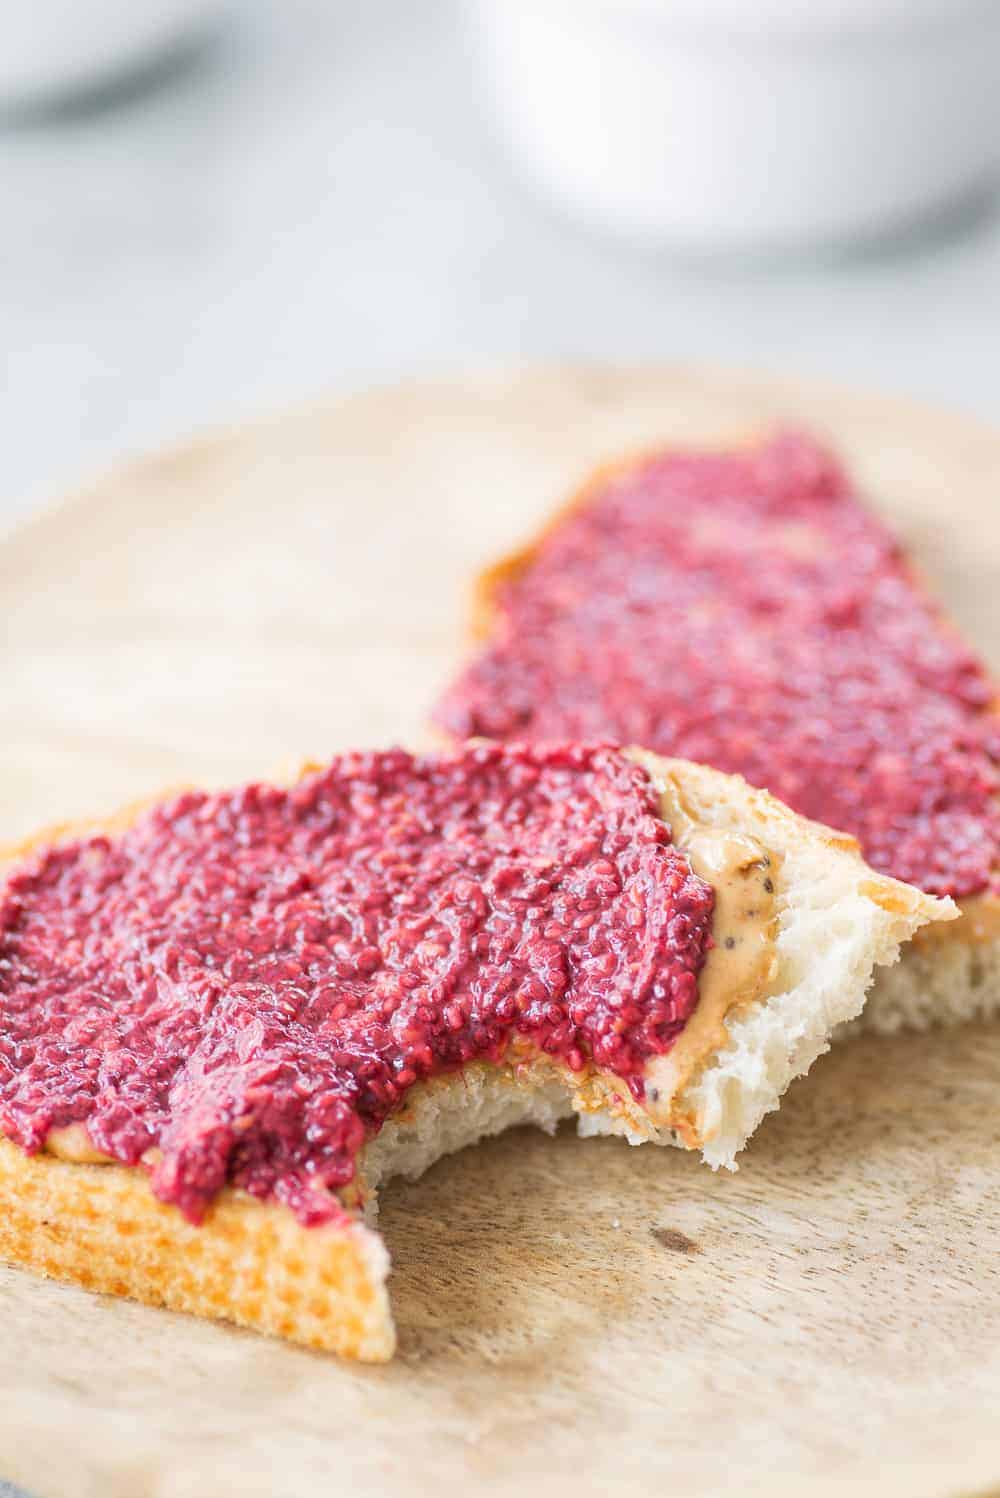
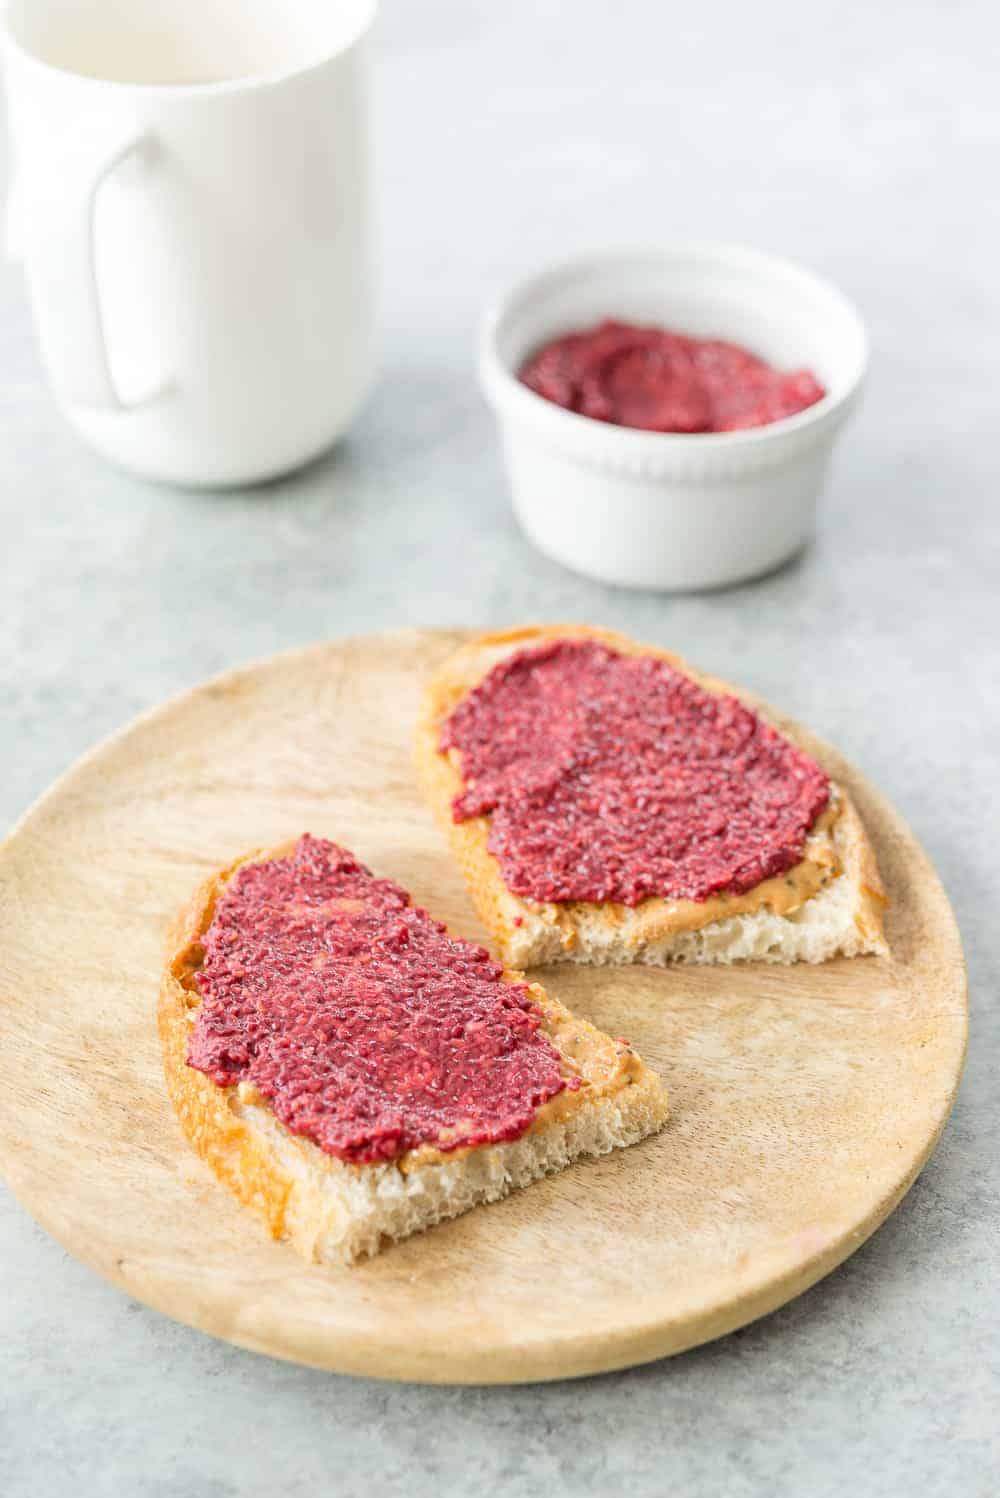
I’ve been making a batch of this almost weekly to spread onto toast or waffles. Sometimes I’ll make it extra thick and give it to Vander like a pudding! Or, stir it into oatmeal or yogurt for him as a snack– he loves it and I love giving it to him. Chia seeds are a nutritional powerhouse, with 10g fiber, 5g protein and 180mg of calcium per ounce.
My favorite ways to enjoy chia jam:
- On top of my vegan strawberry scones
- With sourdough waffles or pancakes
- Vegan french toast
- No-Knead Bread Made in the Instant Pot
- As the filling in my peanut butter and jelly bars
- Stirring into my Instant Pot Steel Cut Oatmeal
- Dolloped on my coconut yogurt bowls, or layered like a parfait
- On a peanut butter and raspberry chia jam sandwich
More Chia Recipes
- Vanilla Chia Seed Pudding
- Lemon Chia Pudding
- Wild Blueberry Chia Jam
- Vegan Chia Pancakes with Peanut Butter Syrup
If you make this recipe, make sure to come back to leave a rating and a comment. Your feedback helps other readers, and seeing you make my recipes makes my day.

Frozen Berry Chia Jam
Equipment
Ingredients
- 12 ounces frozen raspberries, thawed
- 1/4 cup orange juice
- 1/2 cup chia seeds
- 1 teaspoon vanilla extract
- maple syrup, optional
Instructions
- Place the thawed berries into the base of a blender and pulse a few times until broken down.
- Add the raspberries into a large bowl and add the orange juice, chia seeds and vanilla, then mix together until well combined. If you prefer a sweeter jam, then add in maple syrup.
- Place in the fridge for 15 minutes, then remove and stir again. Cover and place back in the fridge until gelled, about 2-3 hours. If you want a more smooth jam, then place back in the blender once gelled and blend again.


