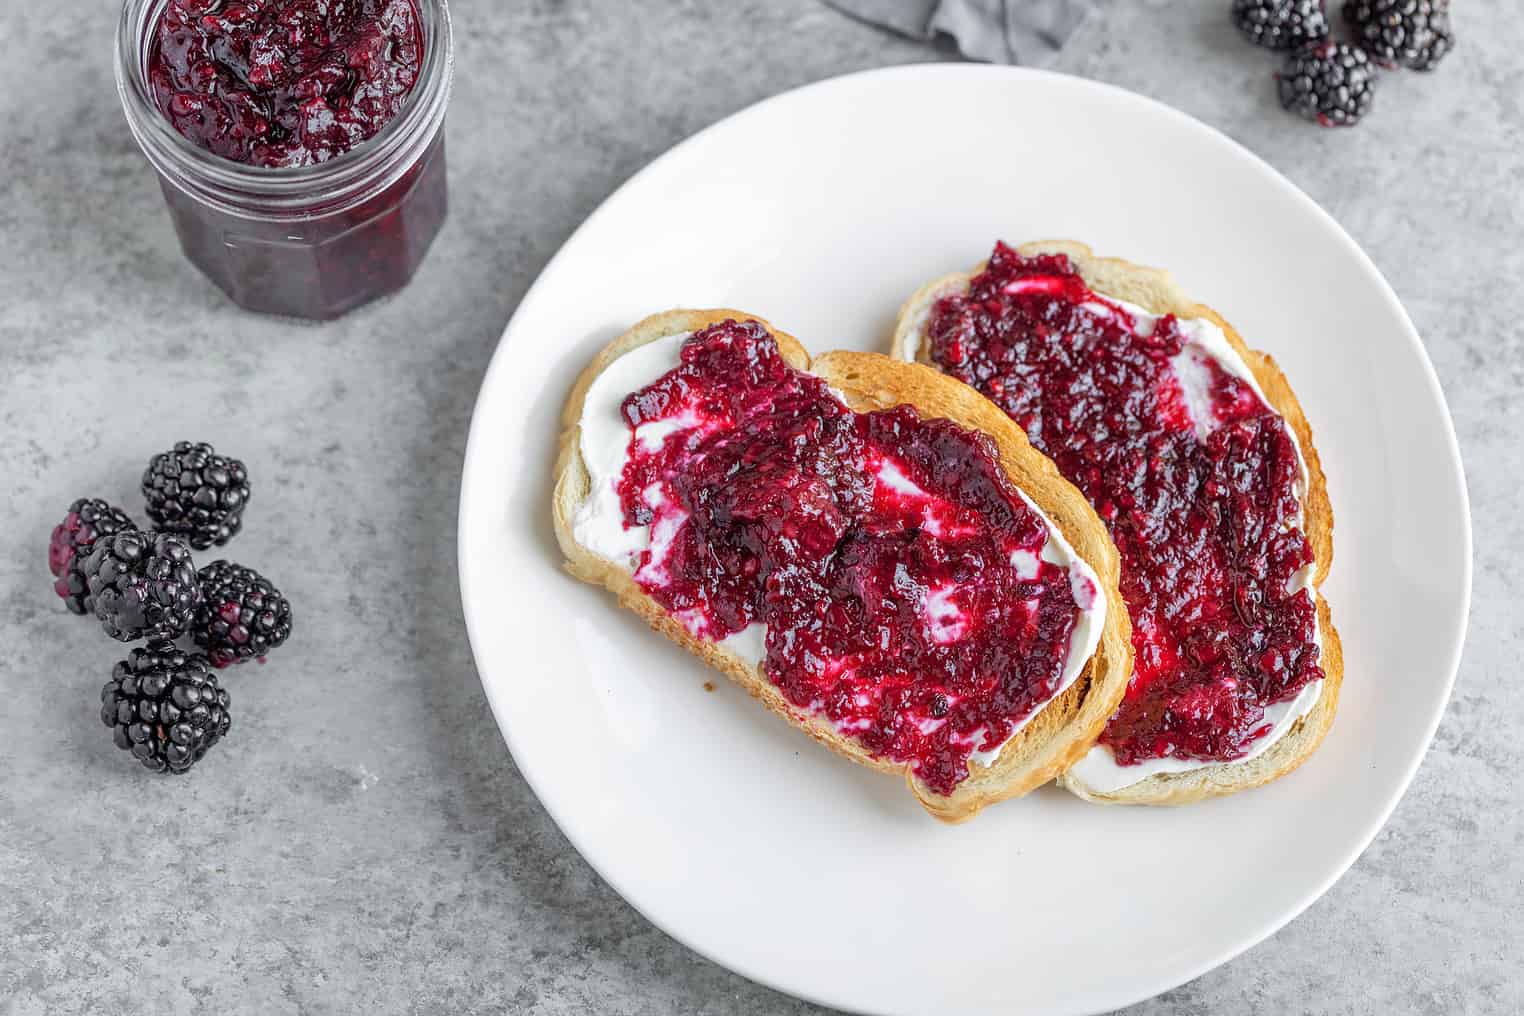
Homemade Blackberry Jam (Low Sugar)
Have extra blackberries? Make this low-sugar blackberry jam recipe to enjoy the fresh taste of blackberries all year with a fraction of the sugar in traditional jam recipes and no artificial sweeteners.
Mid-July means blackberry season, a time of year that the entire family looks forward to all year long. We head to our local berry farm, gorge ourselves on fresh blackberries while in the field, then head home with buckets upon buckets to freeze, make into pie bars, ice cream, and jam.
I love fruit jam– and if you are new to canning jam, I promise you it’s easier than it seems. As long as you can boil water and set a timer, you can do it! Water bath canning is not complicated and homemade jam is the perfect recipe to get your canning feet wet. Before you know it, you’ll be ready to can my strawberry jam and homemade salsa!
This post will walk you through how to can blackberry jam step by step. If you are new to canning, I recommend reading the entire thing before starting so you know what to expect.
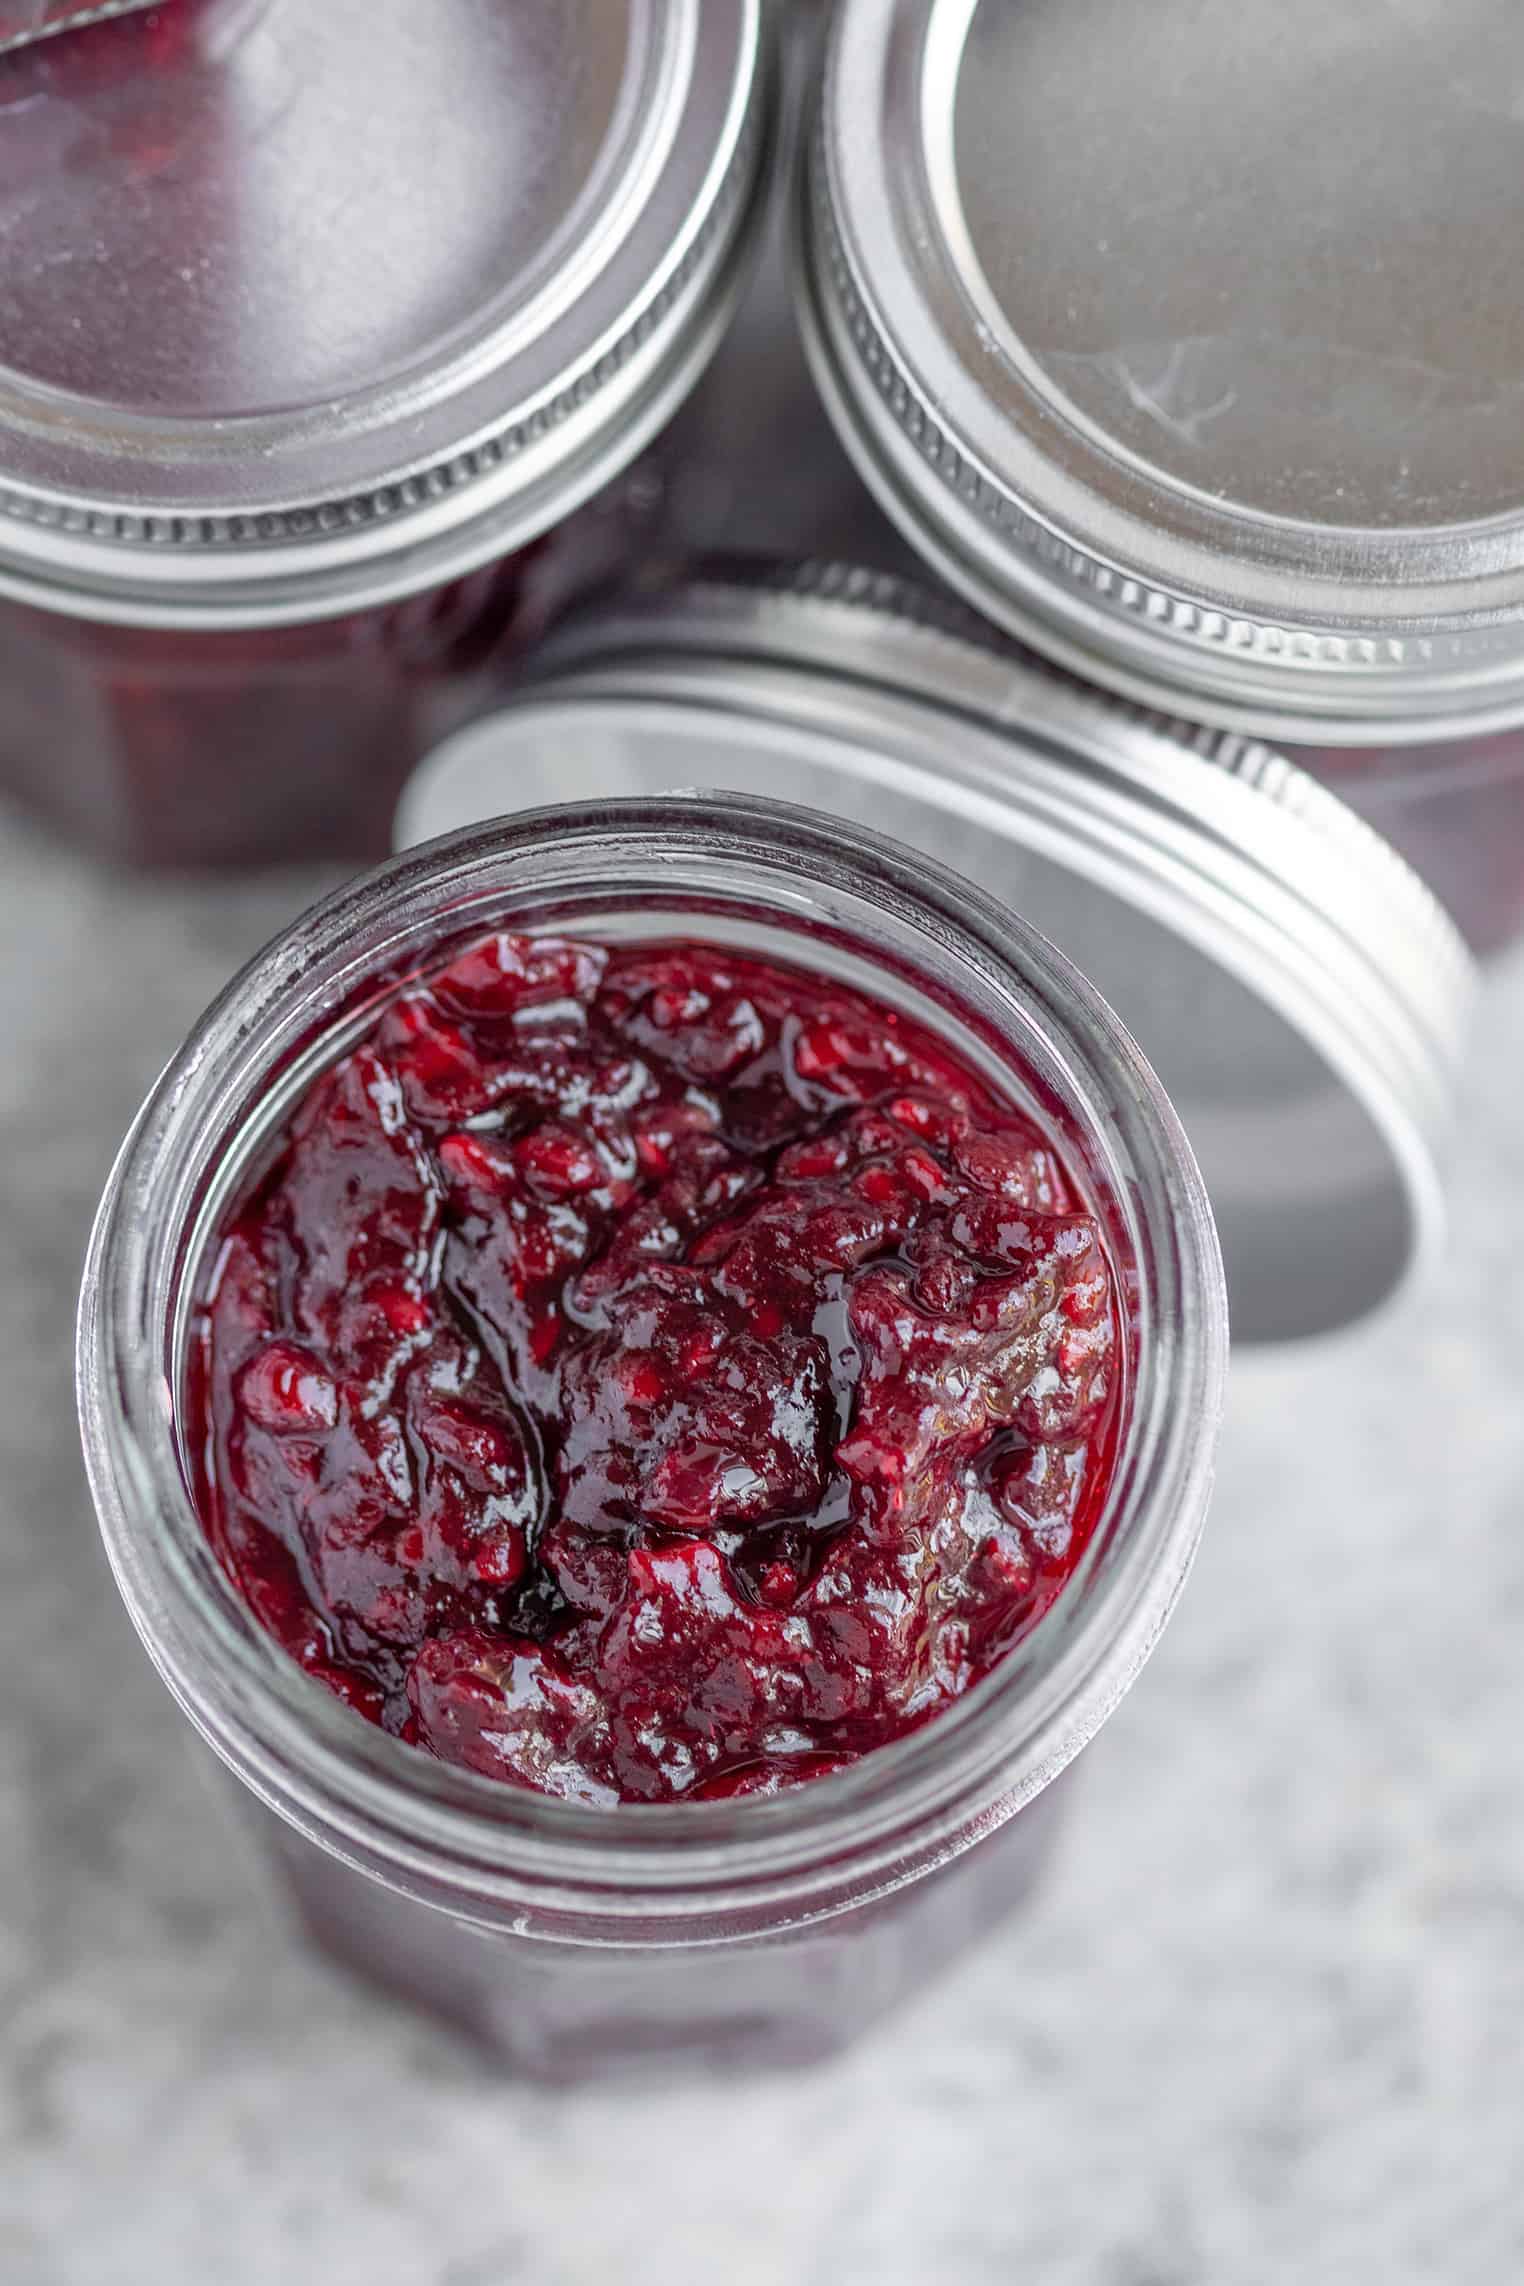
Everything You Need to Make Homemade Blackberry Jam
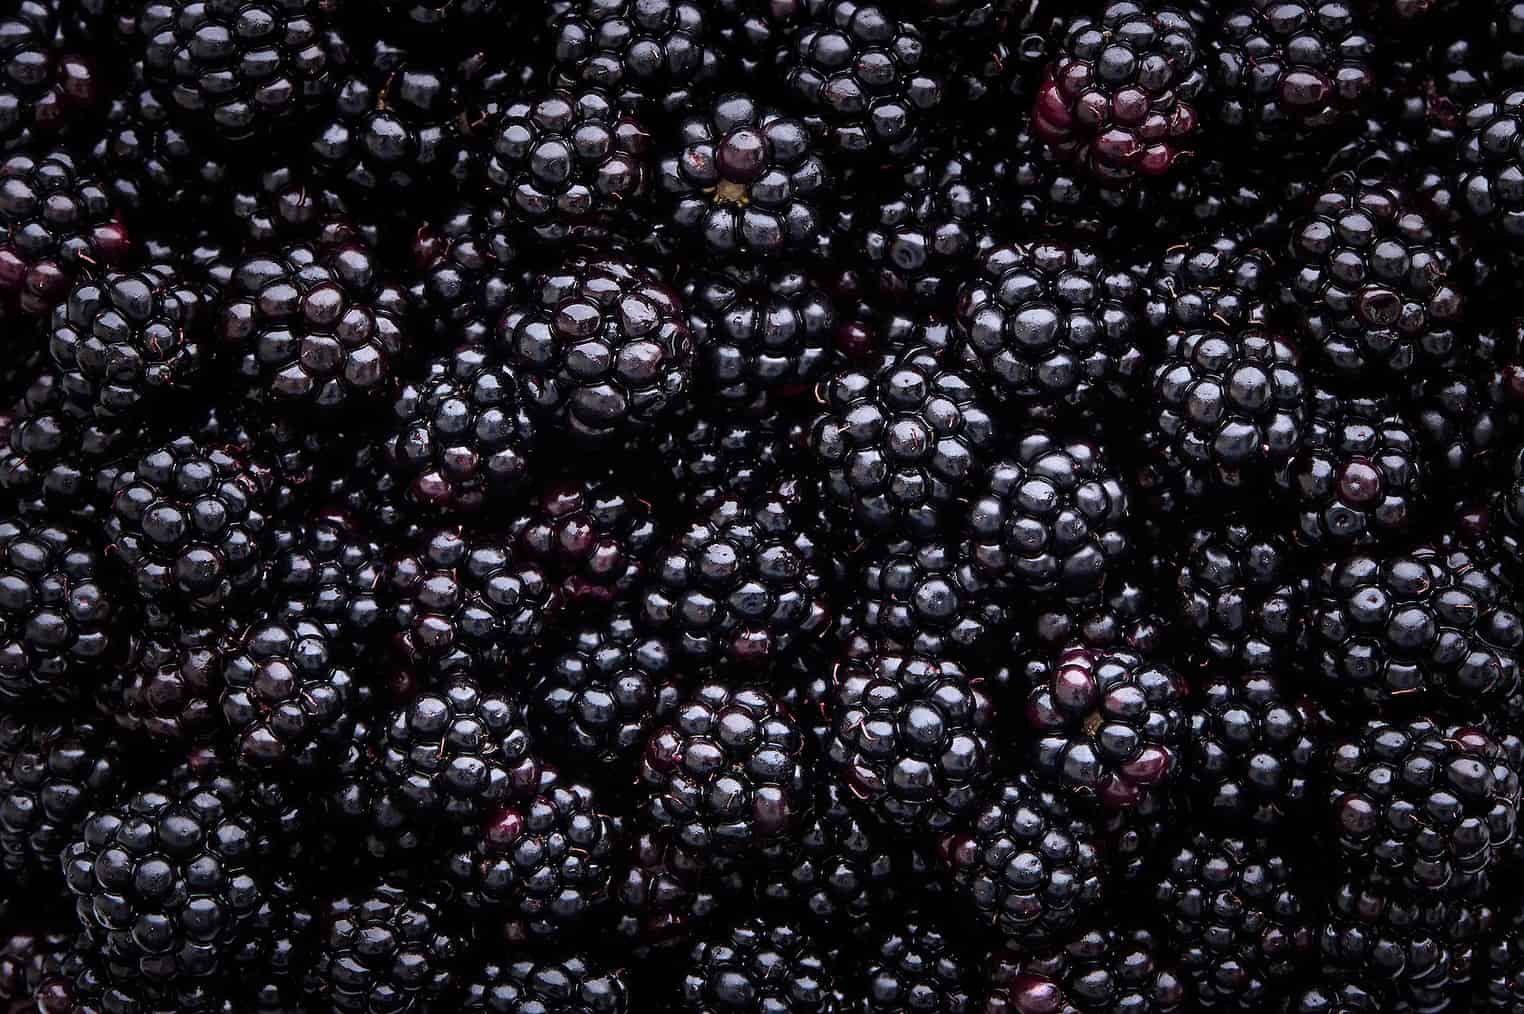
Ingredients for Low Sugar Blackberry Jam
To make this easy blackberry jam recipe, you’ll need the following:
- Blackberries
- Low Sugar Pectin
- Sugar
- Lemon Juice
To keep this recipe low in sugar, be sure use to find pectin specifically for low-sugar canning. It can be harder to find at some grocery stores, but you can purchase online.
White granulated sugar is needed for this recipe for best success. The final jam may not thicken the same if you use alternative sweeteners. As only 1 1/2 cups of sugar are used for the entire recipe, I don’t recommend trying to substitute another sweetener.
Equipment You’ll Need
If you are new to canning, you don’t need any special equipment though there are some things that will make the process easier.
A canning funnel is nice to transfer the hot jam into your prepared jars. A jar lifter is also really nice to be able to lift the hot jars out of the boiling water without tipping the contents.
I like this canning set as it also includes a few other thing you may use: long tongs, jar lifter, magnetic lid lifter, extra wide mouth funnel, jar wrench, bubble popper/measurer. Even if you don’t use all of them, it’s worth it to get the tongs, funnel, lid lifter and jar lifter for the low price.
You’ll also need a large pot to boil the water and place your filled jars. You don’t need a special canning pot, unless you really planning on canning often.
How to Make this Easy Blackberry Jam Recipe
Prep the Blackberries
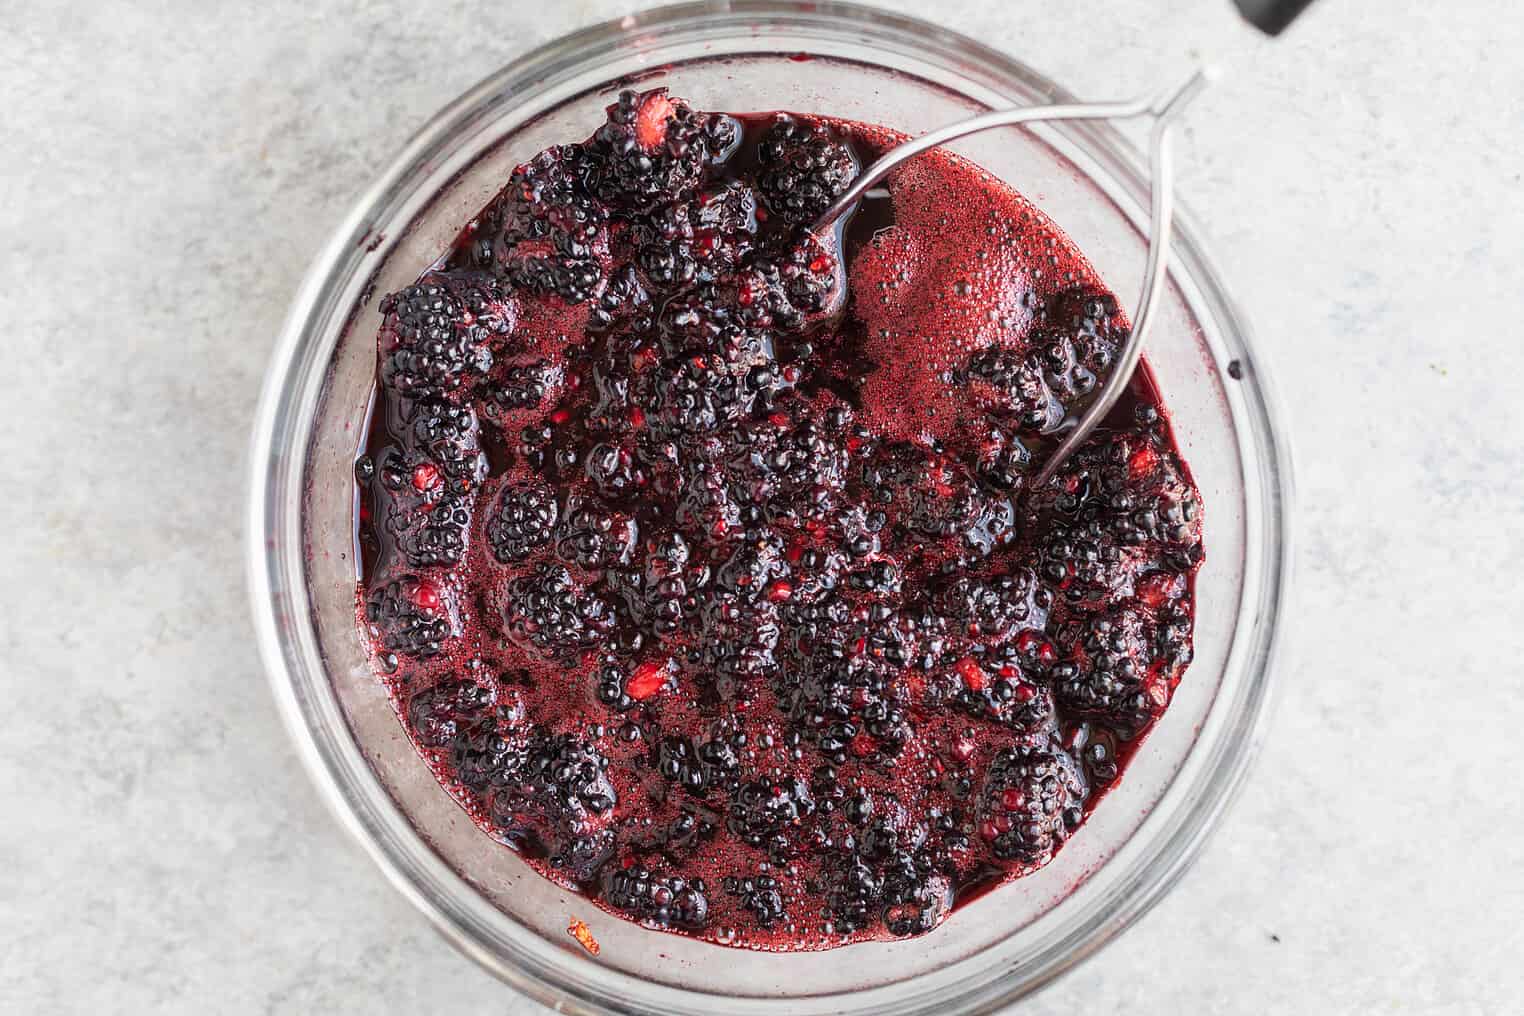
Wash the fresh blackberries, then mash a cup at a time, using either a food mill or potato masher. If you want jelly, blend the strawberries and strain the juice using a fine mesh strainer.
Cook the Blackberries
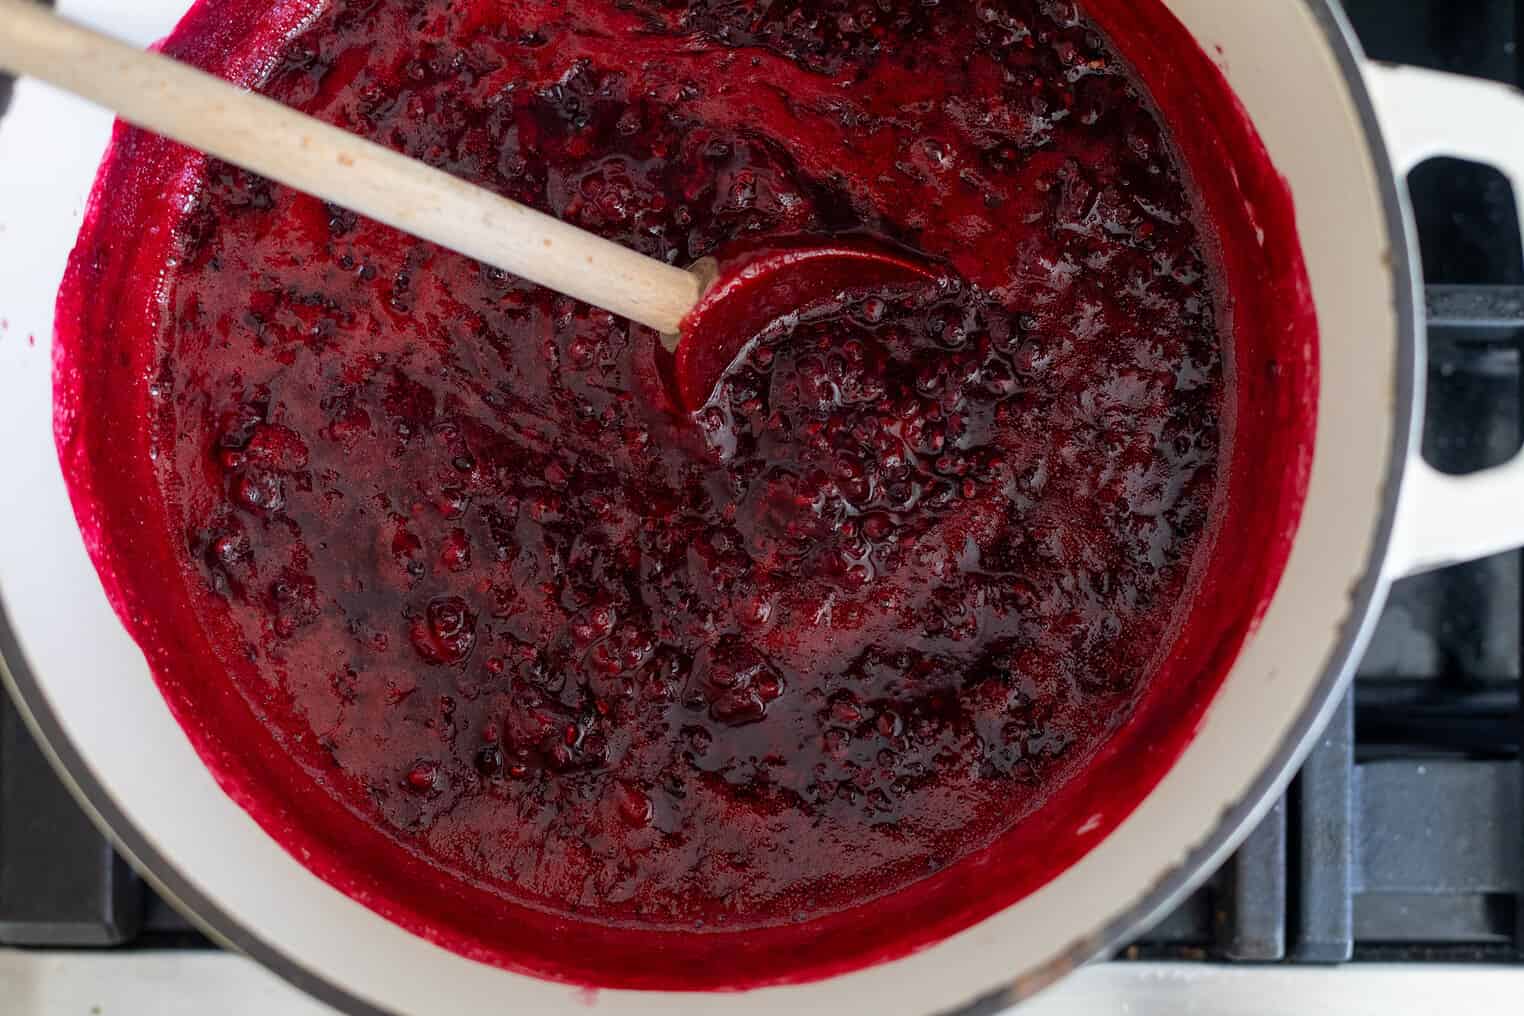
Place the blackberries, water and lemon juice in a large stock pot. Stir in the pectin and heat the mixture over high meat until it comes to a full rolling boil that cannot be stirred down. Keep stirring the mixture to prevent the bottom from burning.
Add in the Sugar
Add in the sugar and return to a rolling boil over medium-high heat. Continue boiling for a minute while stirring, then remove from heat.
Enjoy, Freeze or Can
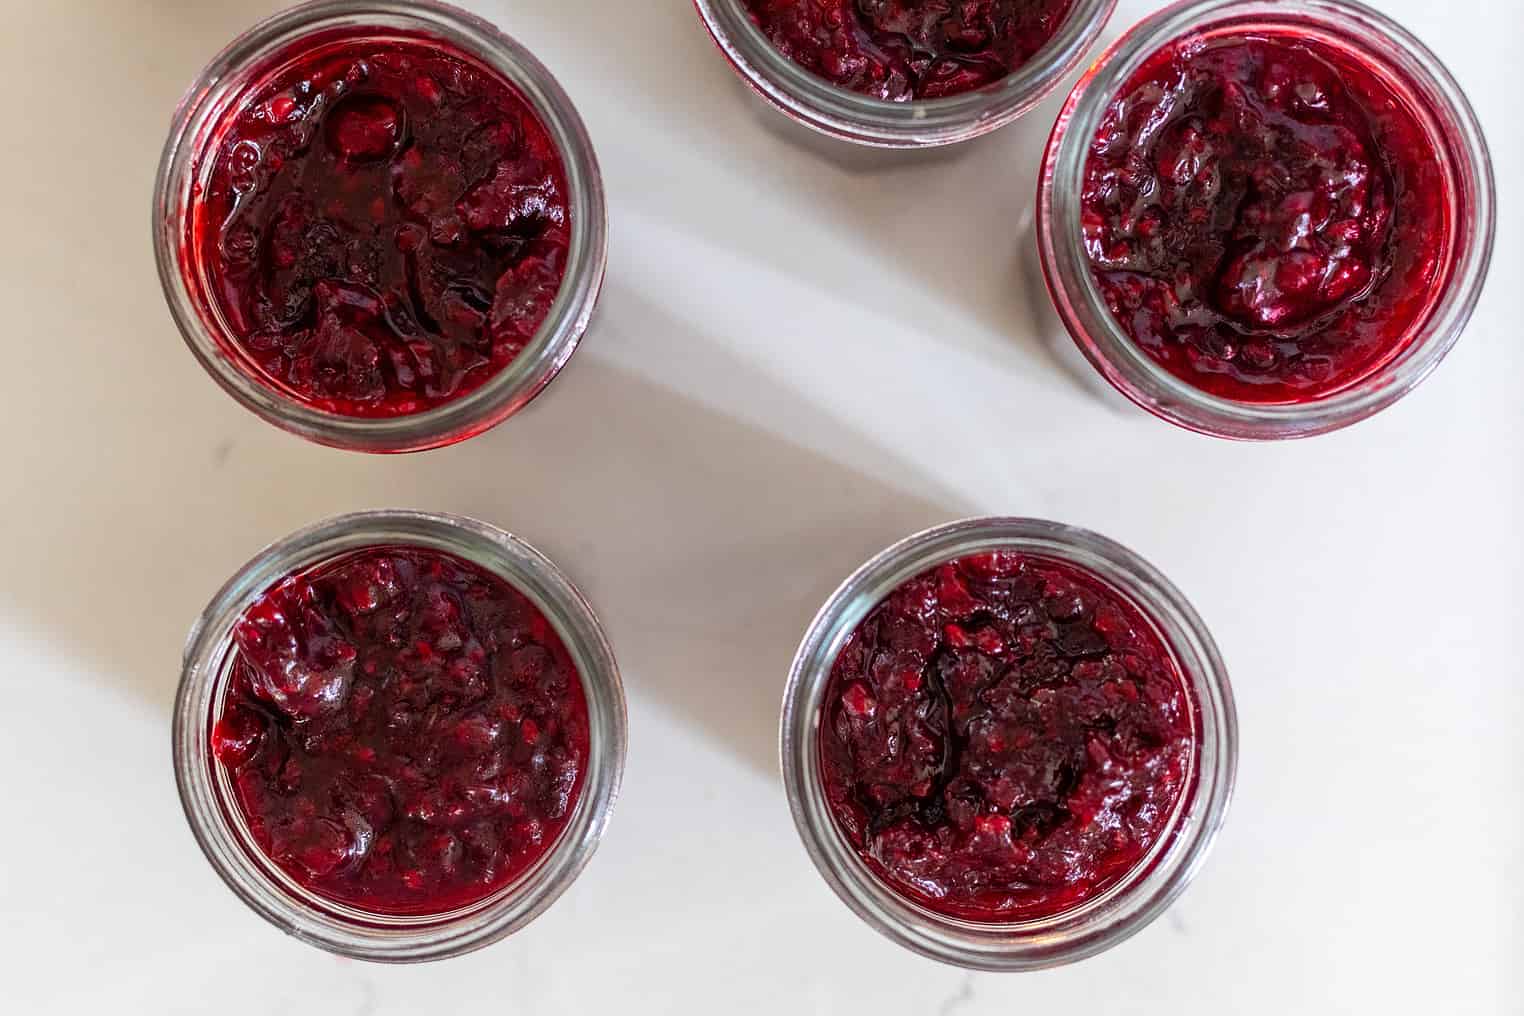
Pour the cooled jam into your clean jars. From here you can either enjoy it right away, place it in the freezer for up to 6 months or can. To can your low-sugar jam, follow the directions below.
The Canning Process
You’ll need to sterilize the jars first. Some suggest that it’s enough to wash jars in soapy water, but the safest way is to sterilize your jars first and not just wash them. This is true even for jars that you just purchased, as they are not sterilized, and debris from the packaging, along with dust, can be in the jars.
To sterilize your jars for canning, boil clean mason jars in a water bath for ten minutes, then remove them. Some dishwashers have a sterilizing option that you can use. Not only does this help sanitize the jars, but it also warms the jars before you put the hot jam in.
For water bath canning, like in this blackberry jam recipe, placing the warm jam directly into hot jars is recommended.
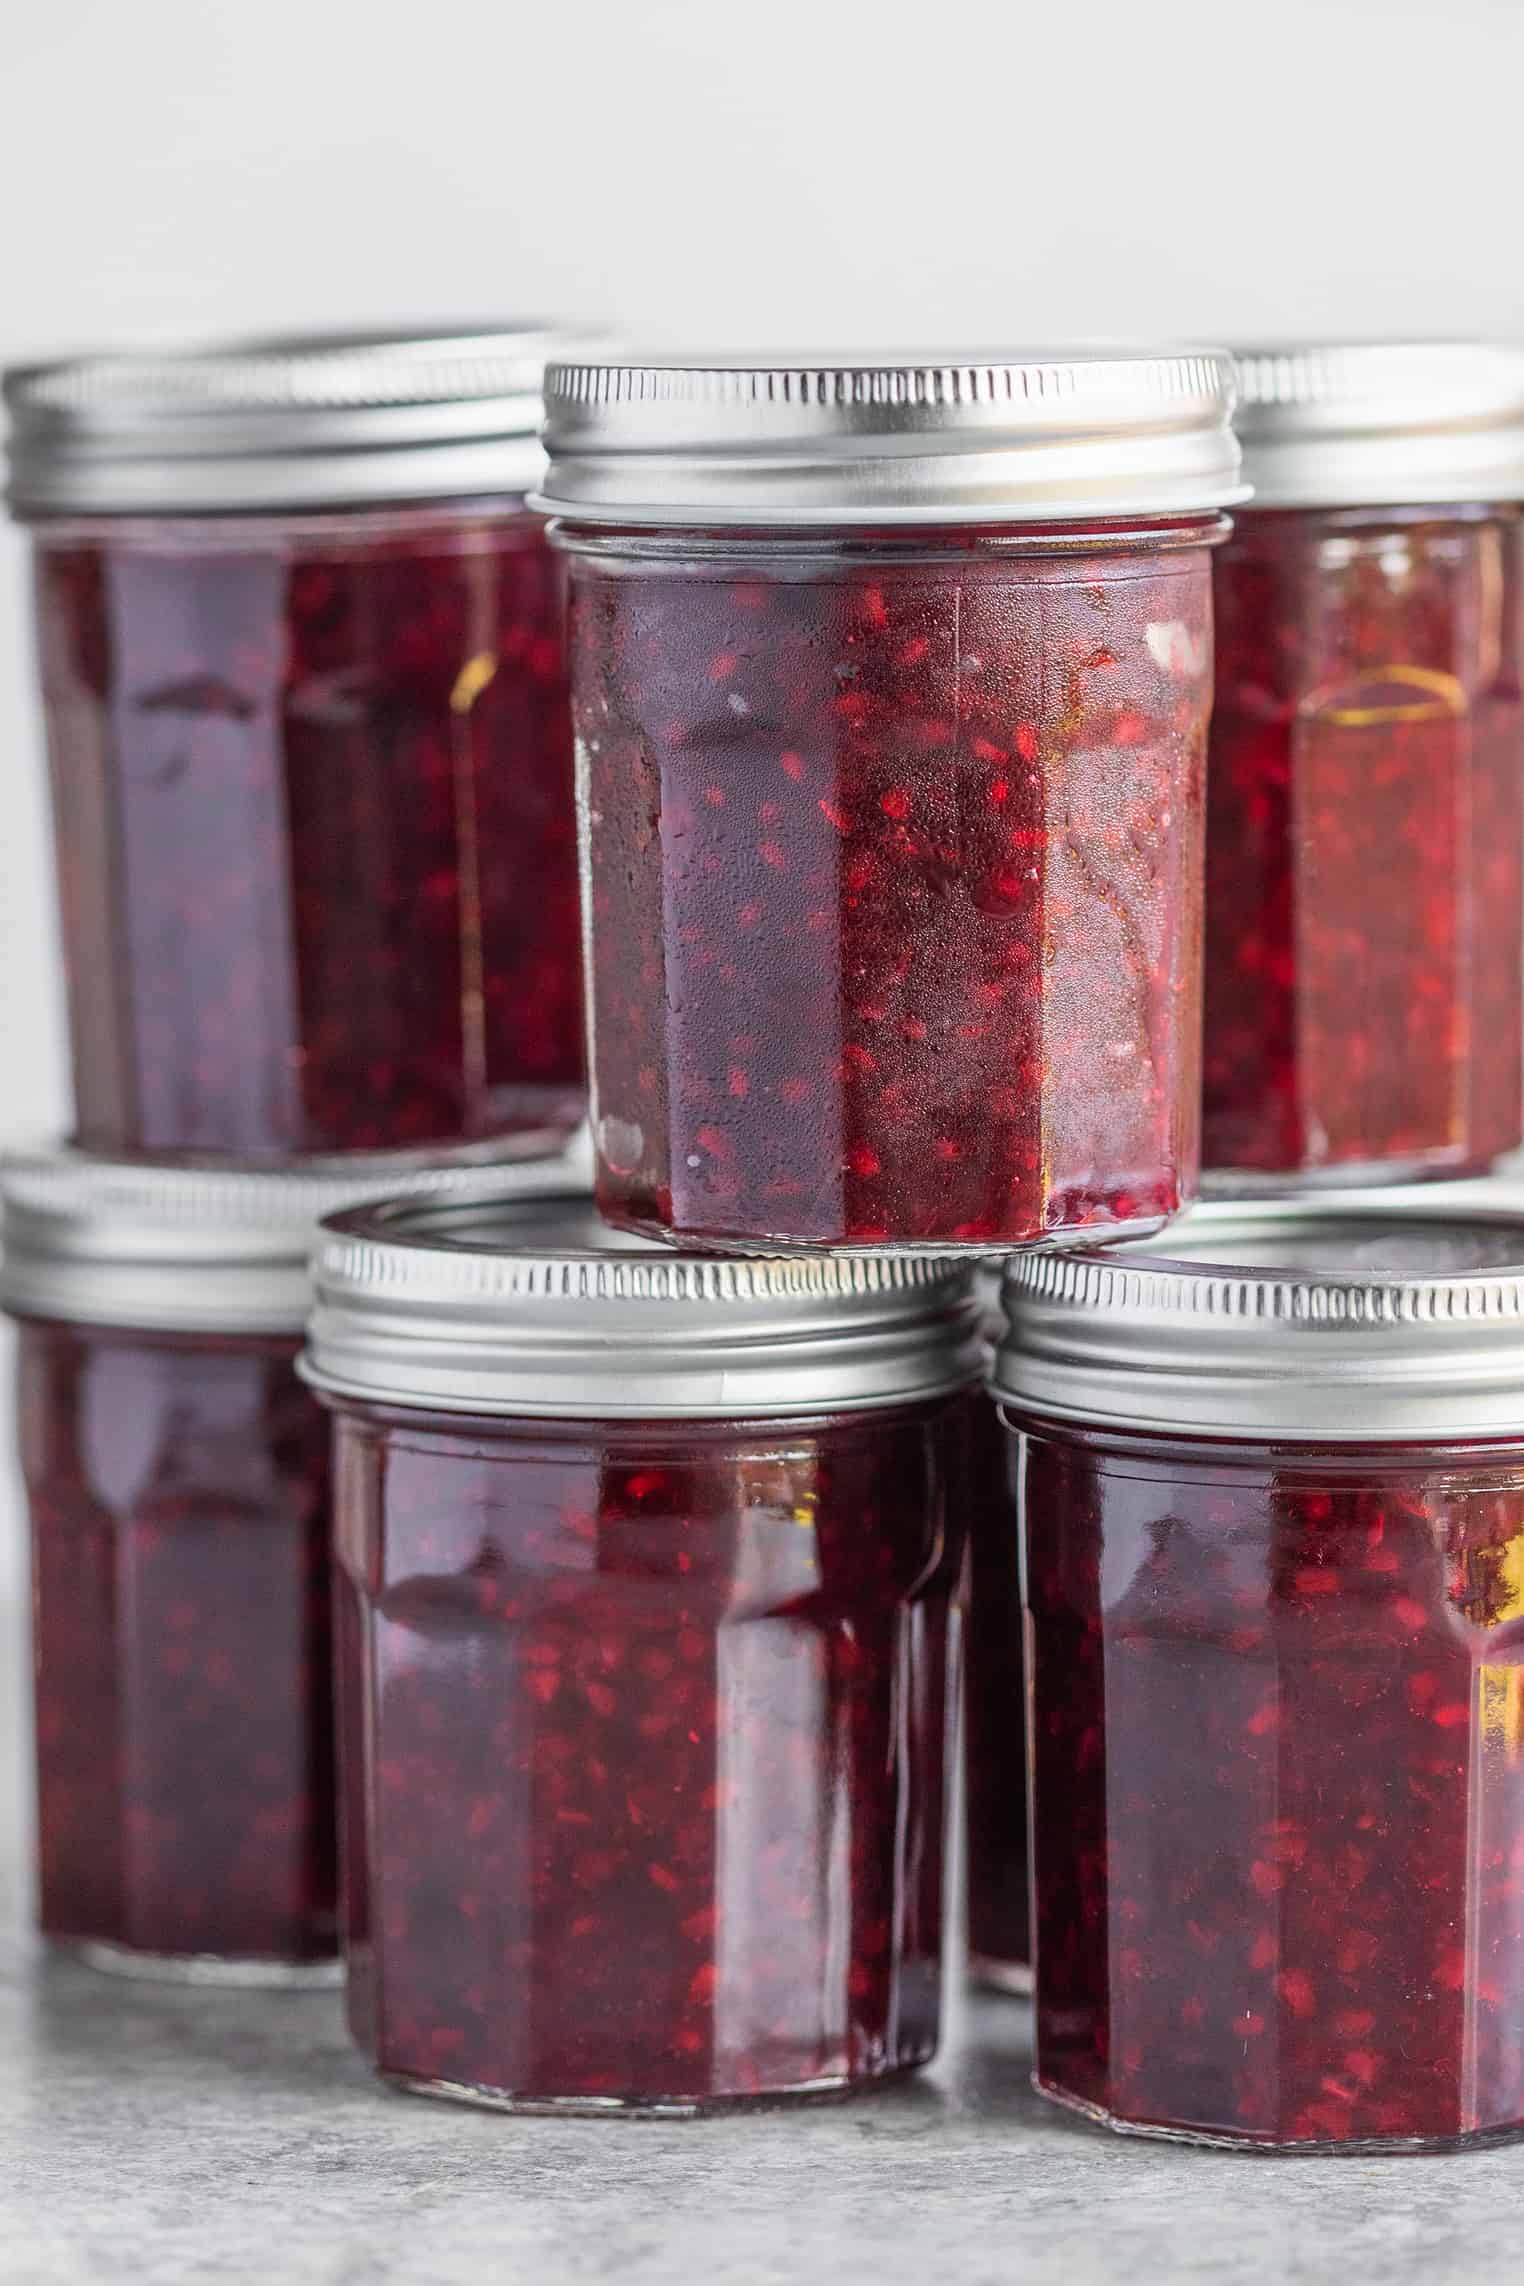
Once your homemade jam is ready to be canned, ladle the hot jam into the prepared jars, leaving 1/4″ headspace at the top of the jar. Wipe the rim of the jar with a clean towel and then screw the sanitized lid on top. Place the sealed jars into a boiling water bath canner and boil, fully submerged, for 10 minutes.
Remove and let the cans cool completely.
Making a Sugar-Free Jam
You can technically omit the sugar all together if needed. The pectin that you are using is safe to use in no-sugar and low-sugar recipes. However, I find that not adding any sugar makes for a bland jam, even when using the ripest berries.
I know some instances where this would be preferred, even with a lesser taste. You can also add in 100% fruit juice, like an apple juice or white grape juice instead of the water to add more natural sweetness.
How to Make Low Sugar Blackberry Jelly (seedless)
If you want to make jelly instead of blackberry jam, then you’ll want to blend the blackberries in a blender first and then strain the juice, discarding any seeds and pulp.
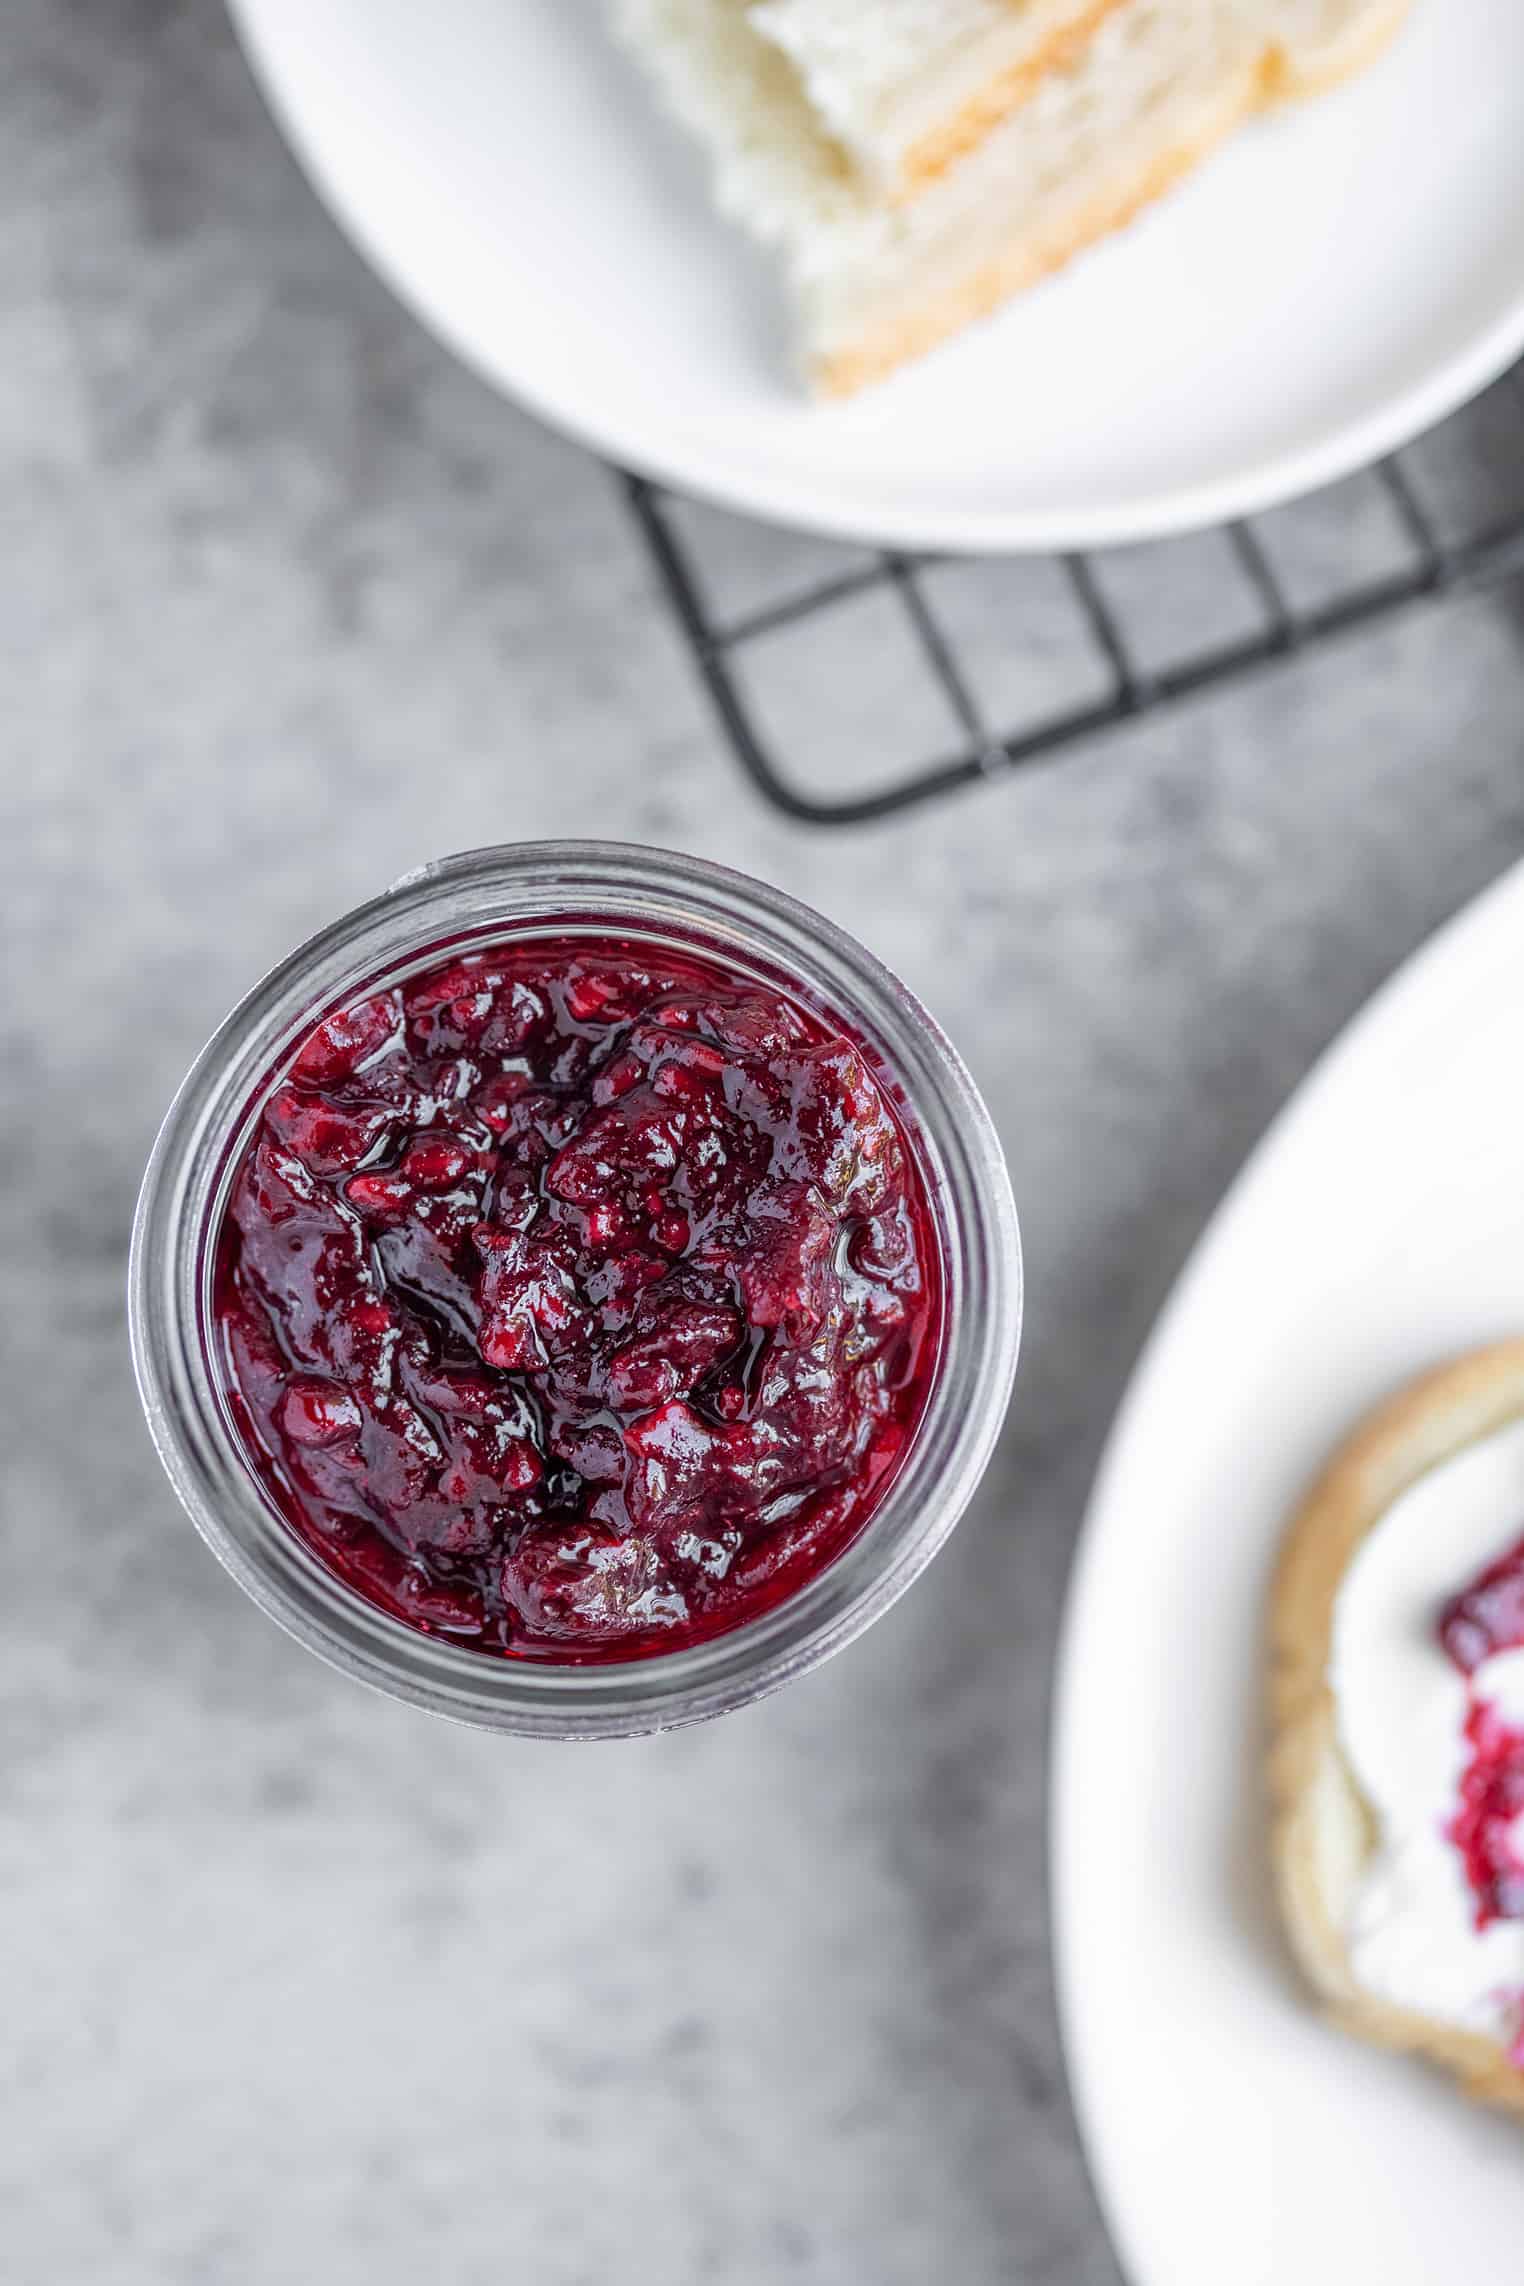
Your jam can be as chunky as you’d like, depending on how much you crush your berries first.
Tips for Success
This low sugar blackberry jam will thicken considerably as it cools. Don’t try to add more pectin if your jam is thin. If for any reason your jam is still very thin after canning, processing and cooling for 24 hour then you can reprocess it.
This jam is low sugar, but it’s not a sugar-free jam. I don’t recommend adding less sugar than the recommended amount as the amount is helpful to thicken the jam.
You need to use the low sugar pectin, not regular pectin for this low sugar strawberry jam. Regular jam will not work as it won’t thicken the same way.
Suggested Uses
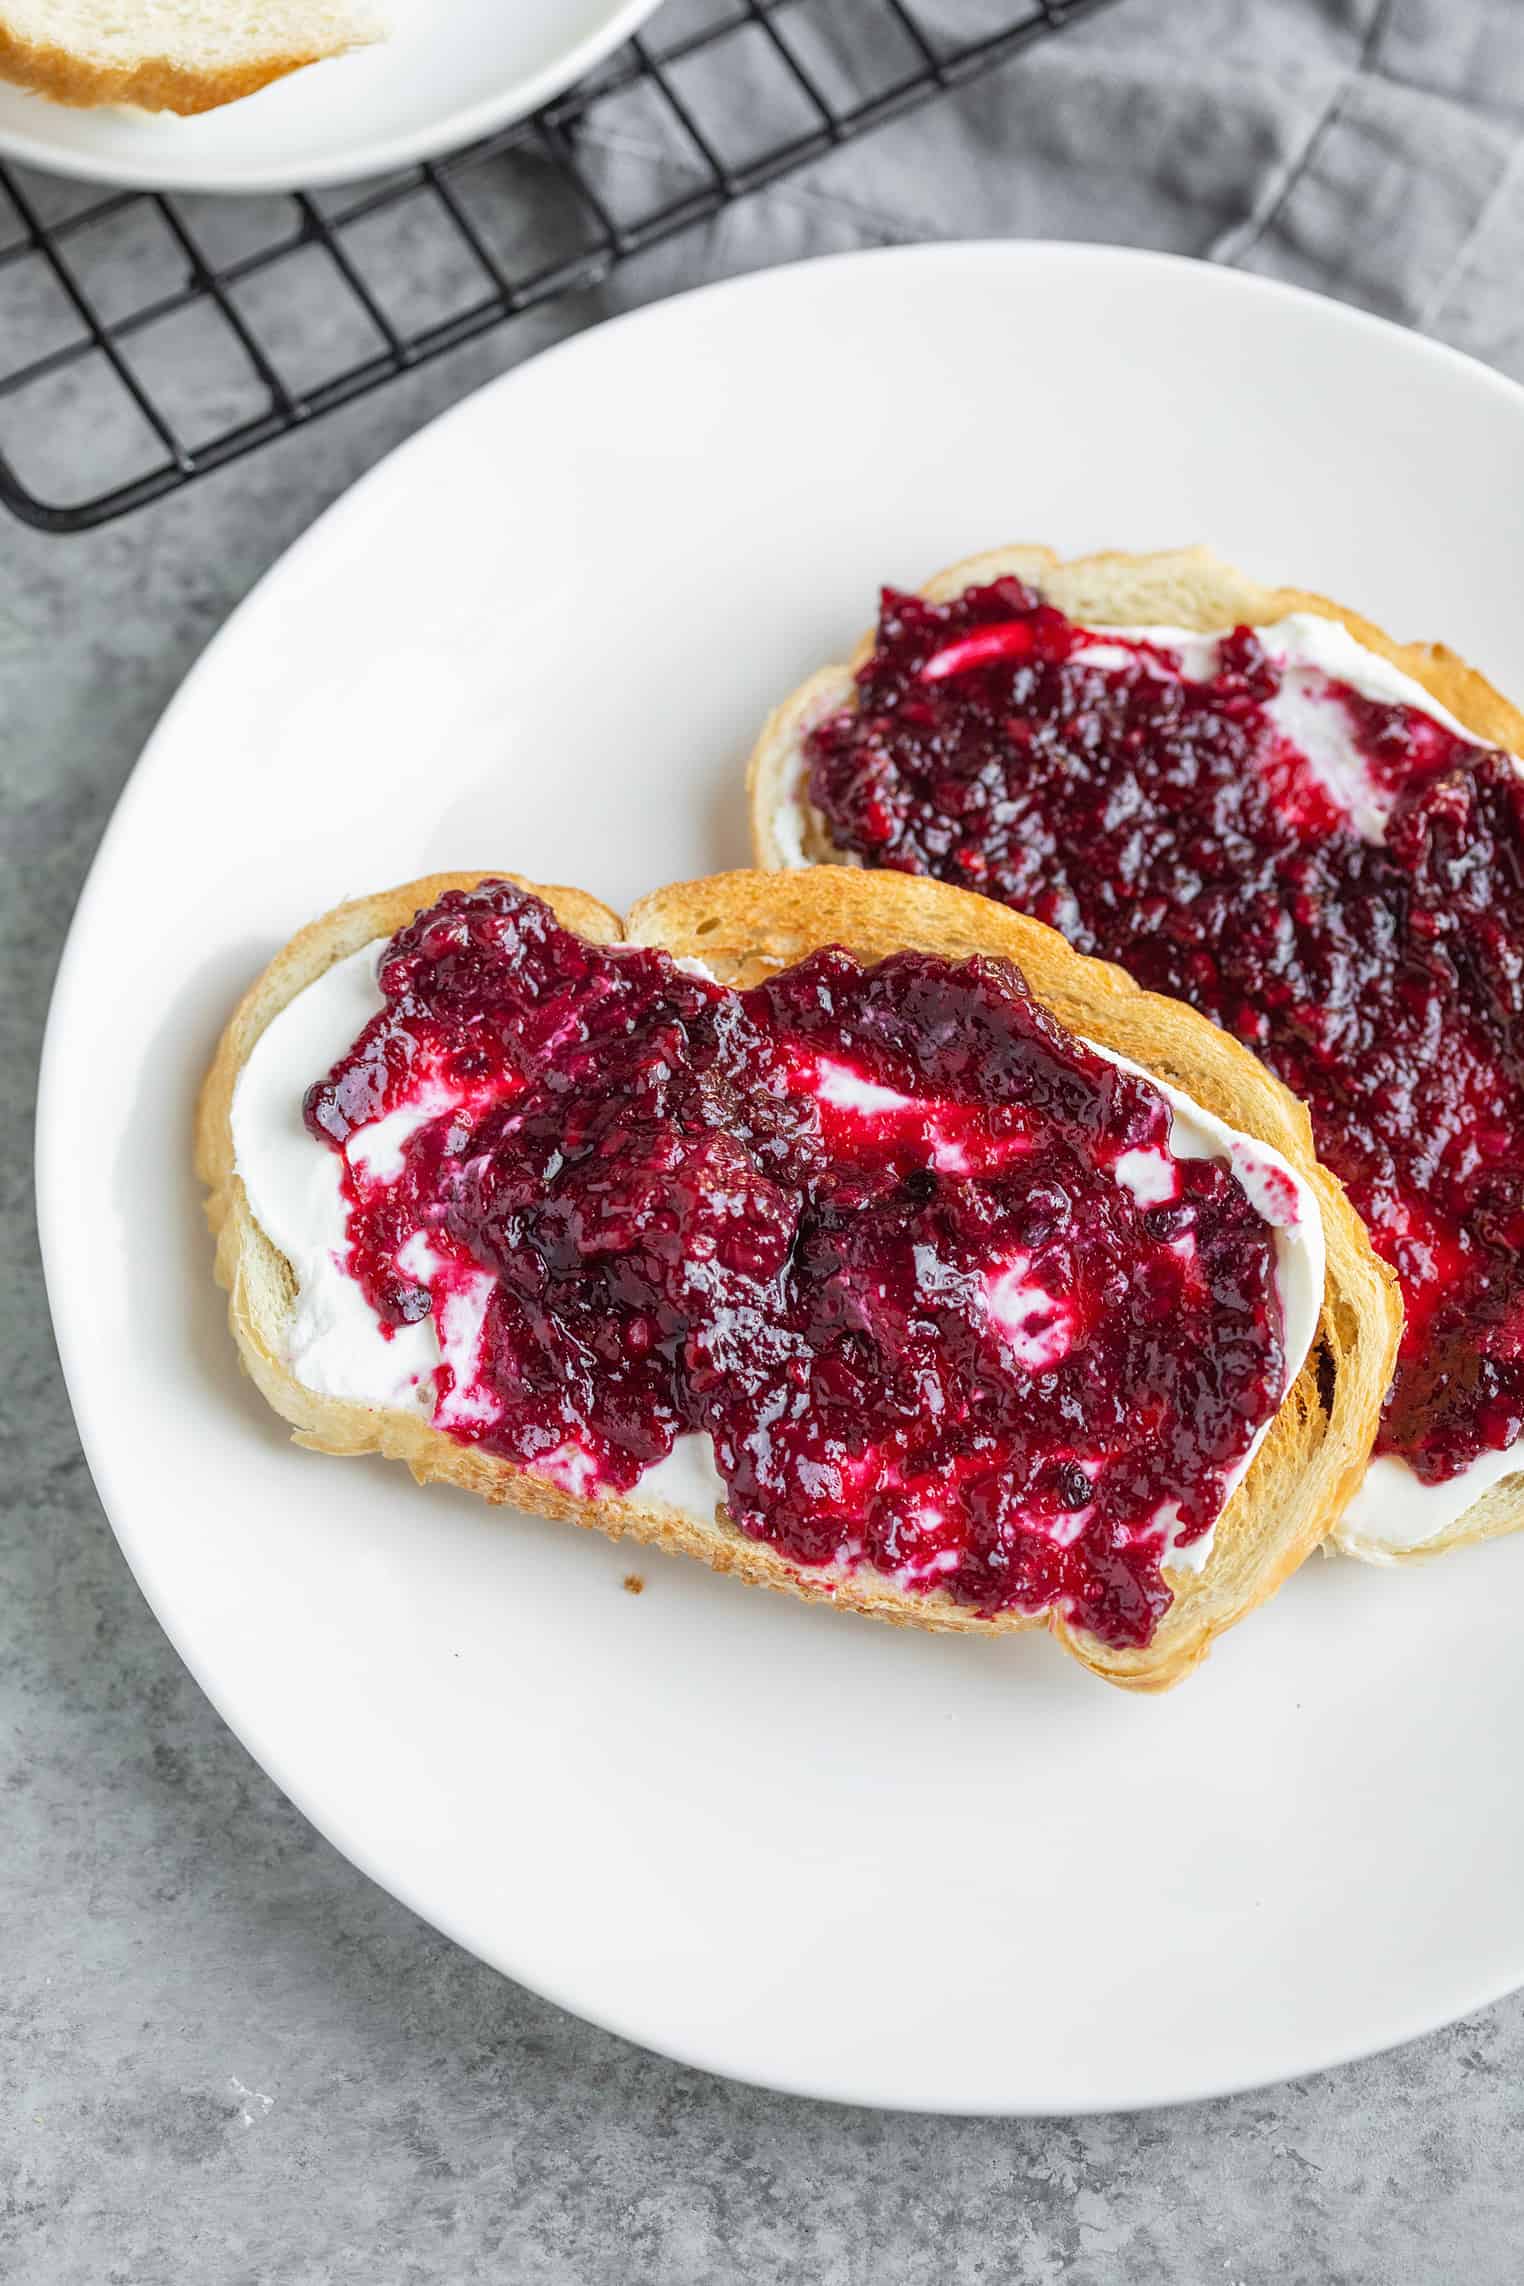
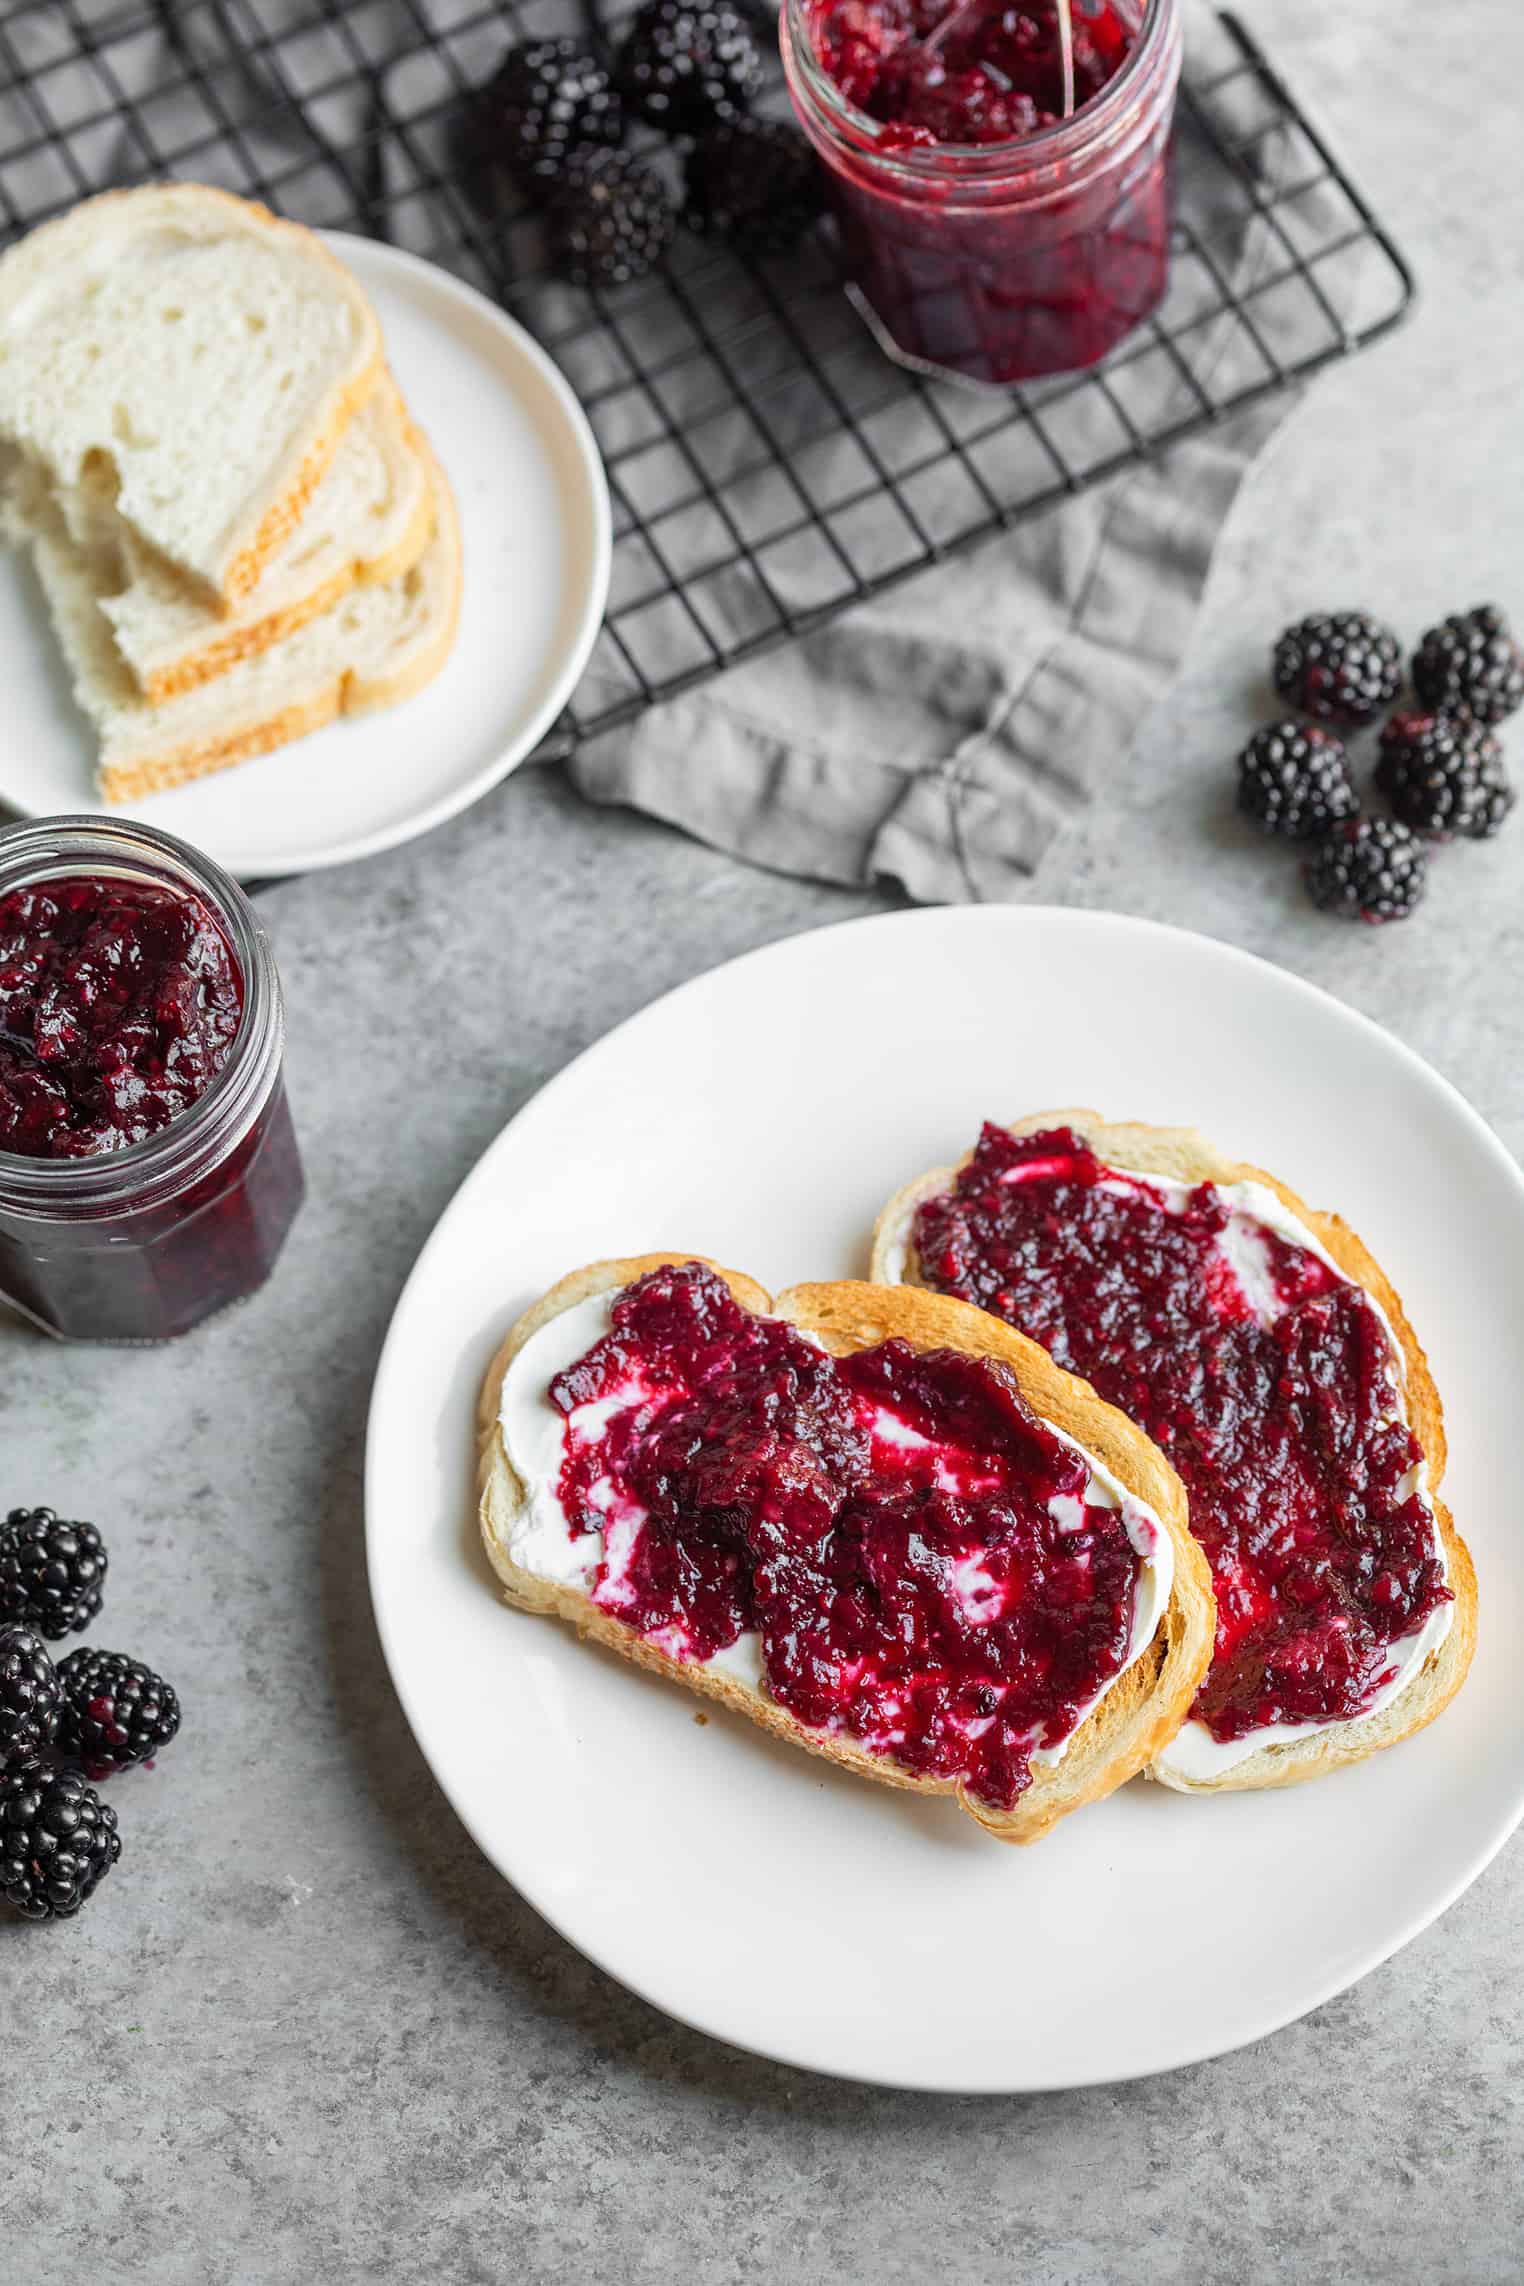
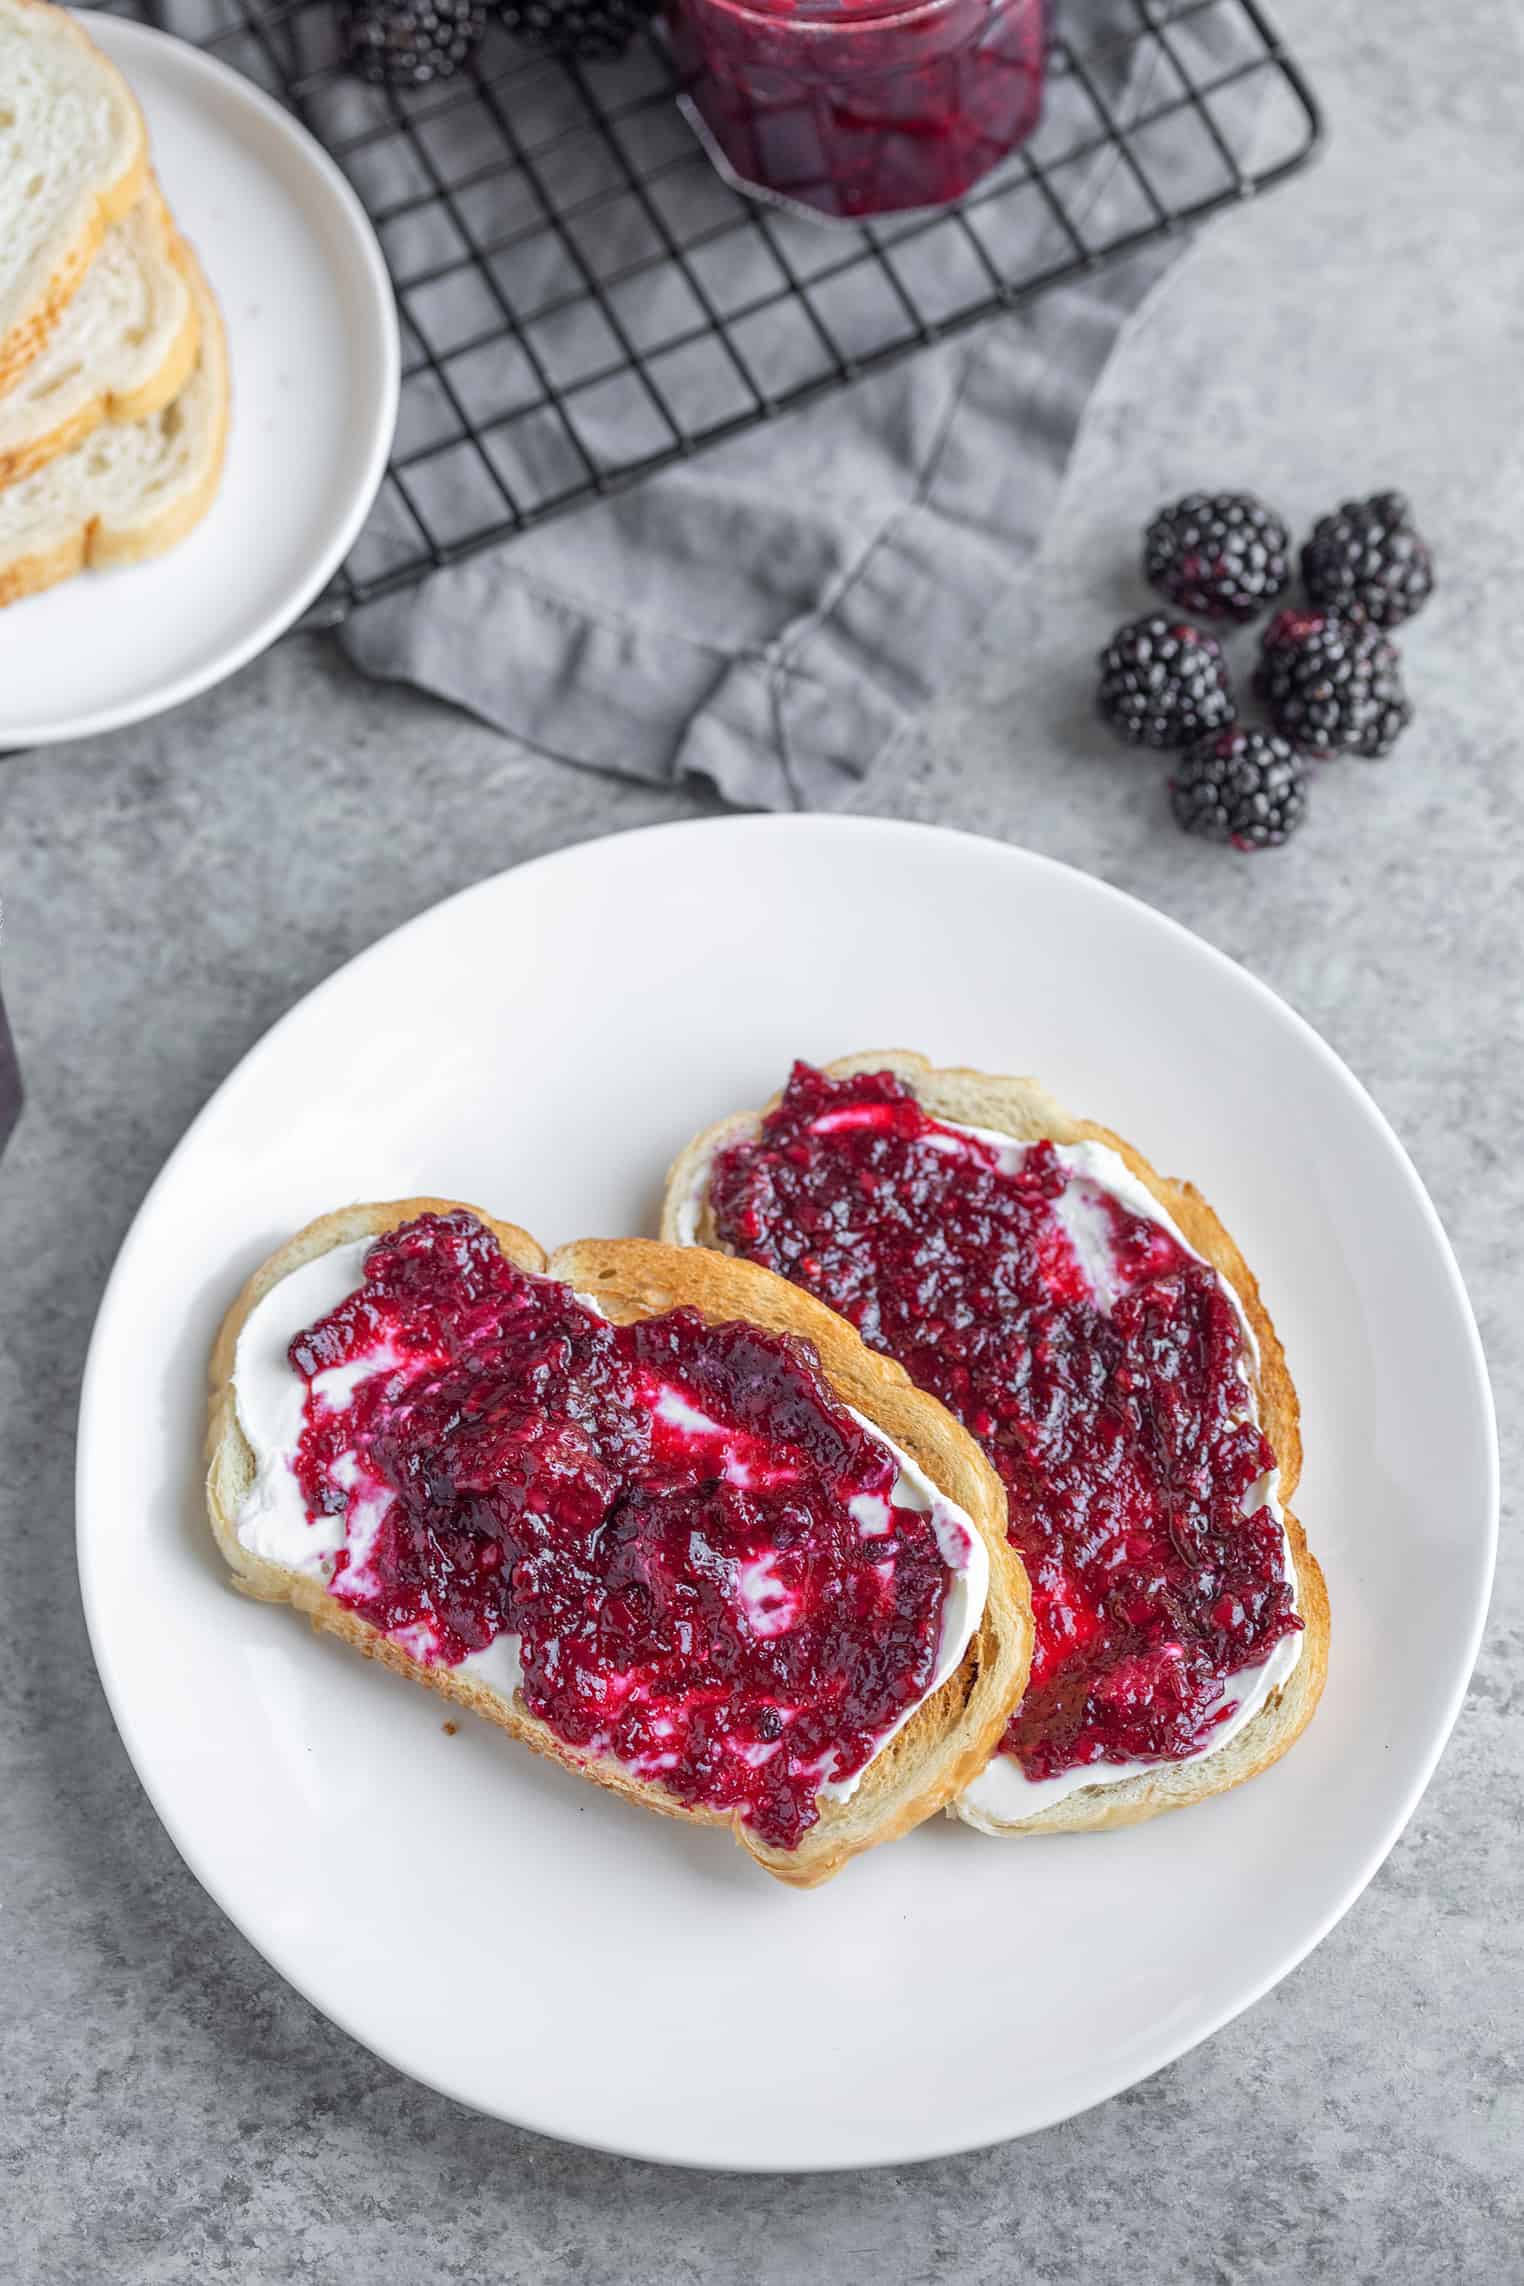
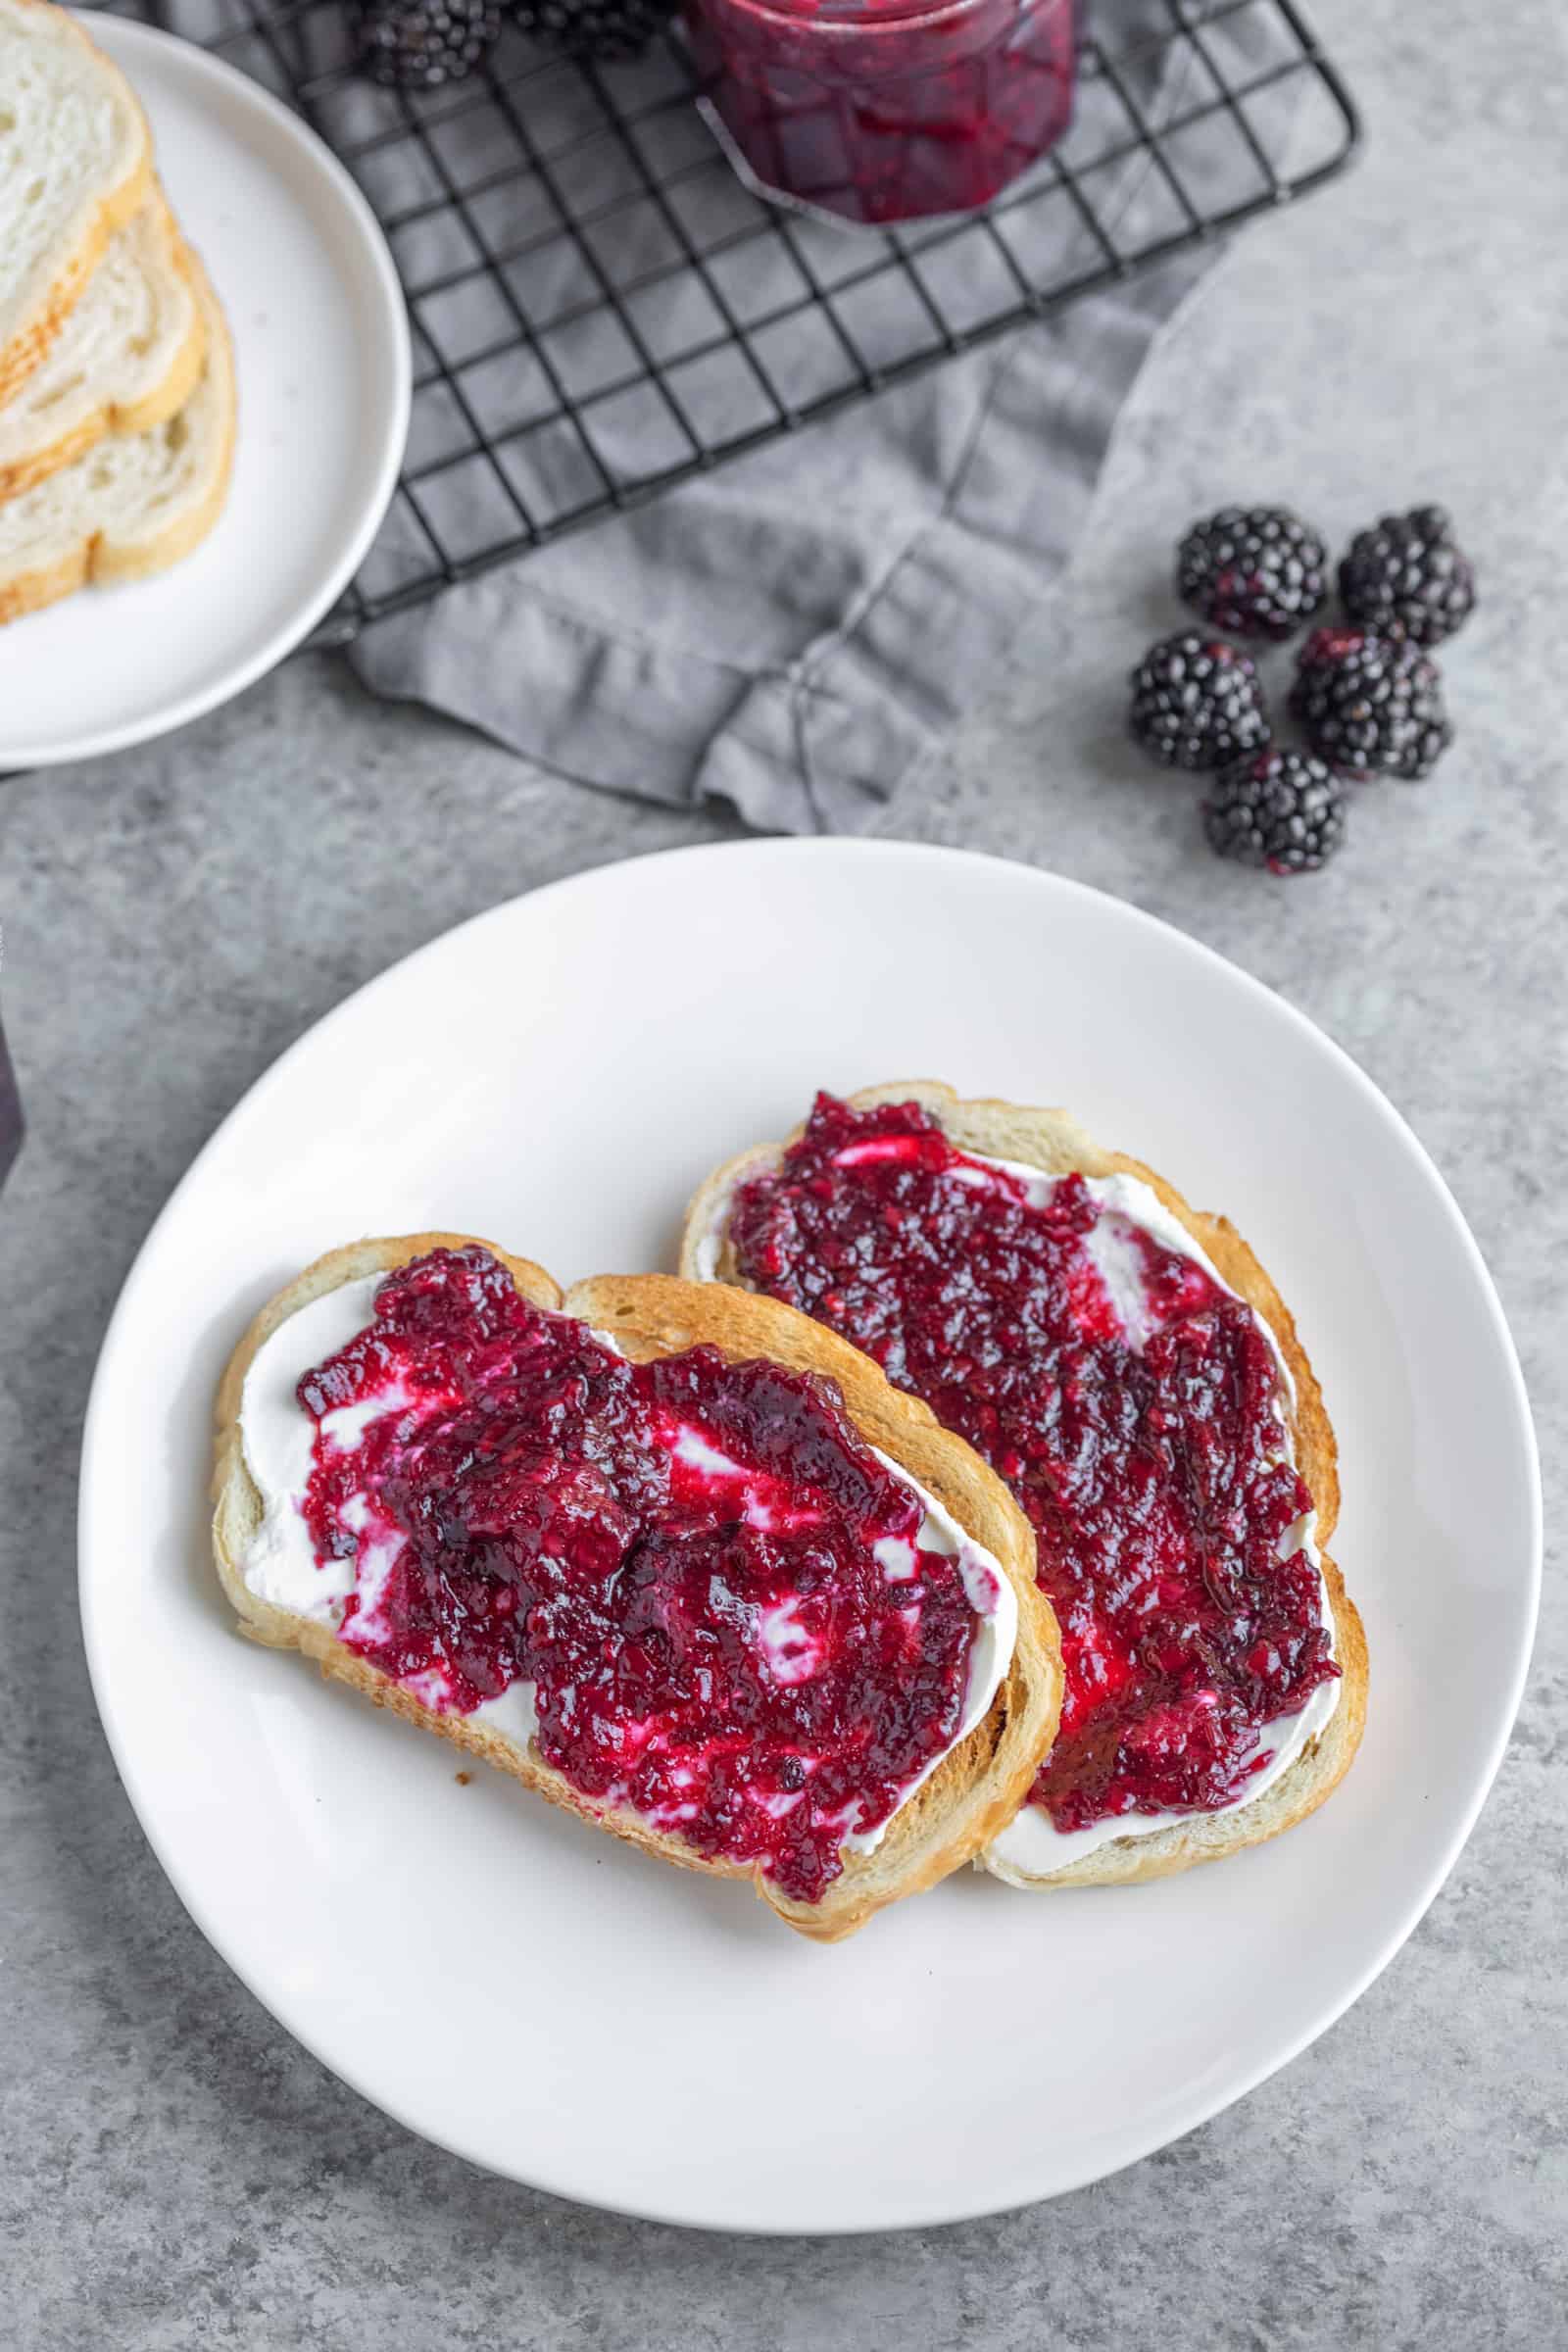
Enjoy this blackberry jam recipe on strawberry scones, shortcakes or on ice cream! A spoonful of jam on ice cream or yogurt is delicious!
We also love it on homemade waffles or in a classic PB&J sandwich.
Frequently Asked Questions
The lemon juice allows the pectin to set quicker and also neutralizes the flavor of the jam.
If you cook the jam too long, then it will form into a solid gel rather than a soft jam.
If you are not opening the jars immediately, the jam will last in a cool dry place for up to a year or two. If not canning, you can store homemade blackberry jam in the freezer in an airtight container for a year!
Yes, the jam will thicken as it cools. Be patient! If for any reason your jam did not set, then you can reboil the jam with pectin and reprocess it.
I recommend following this recipe exactly. You need the amount of sugar listed here for the jam to set properly. This recipe has not been tested with other sweeteners or liquid sweeteners like honey or maple syrup and should not be substituted.
More Canning Recipes
- Best Homemade Salsa for Canning
- How to Can Tomatoes
- Homemade Spaghetti Sauce for Canning
- Low Sugar Strawberry Jam
If you try this recipe, let me know! Leave a comment, rate it, and tag your Instagram photos with #delishknowledge . I absolutely love seeing your creations. Happy cooking!

Homemade Blackberry Jam (Low Sugar)
Ingredients
- 8 cups fresh blackberries
- 1/2 cup water
- 1 tablespoon fresh lemon juice
- 5 tablespoons Low or No-Sugar Needed Pectin
- 1 1/2 cups granulated sugar
- 7 half-pint mason jars
Instructions
- If you are canning your jam, then sanitize and prepare the jars. Boil them in a water bath for ten minutes, then remove. Not only does this help sanitize the jars, it also warms the jars before you put the hot jam in.
- Wash blackberries. Crush the blackberries a cup at a time either by using a food mill or hand potato-masher. If you want jelly, then blend the blackberries in a blender and strain the juice, discarding any seeds. Note that you will get less than 7 jars if you do this.
- Place blackberries, water, and lemon juice in a large stock pot. Stir in pectin and heat the mixture over high heat until it comes to a rolling boil that cannot be stirred down. Keep stirring the mixture to prevent the bottom from burning.
- Add in the sugar and return to a rolling boil. Continue boiling for a minute, while stirring then remove from heat.
- If you don’t plan on canning the jam then let cool for a few minutes before pouring into containers. Cool completely, then place in the fridge to harden. You can store jam that hasn’t been canned in the fridge for ~5-6 days.
- If you are canning the jam, place a funnel in jar, then ladle the hot jam into the warm jars, leaving a 1/4″ head space. If any jam got onto the lid space, clean off then top with lids and rings.
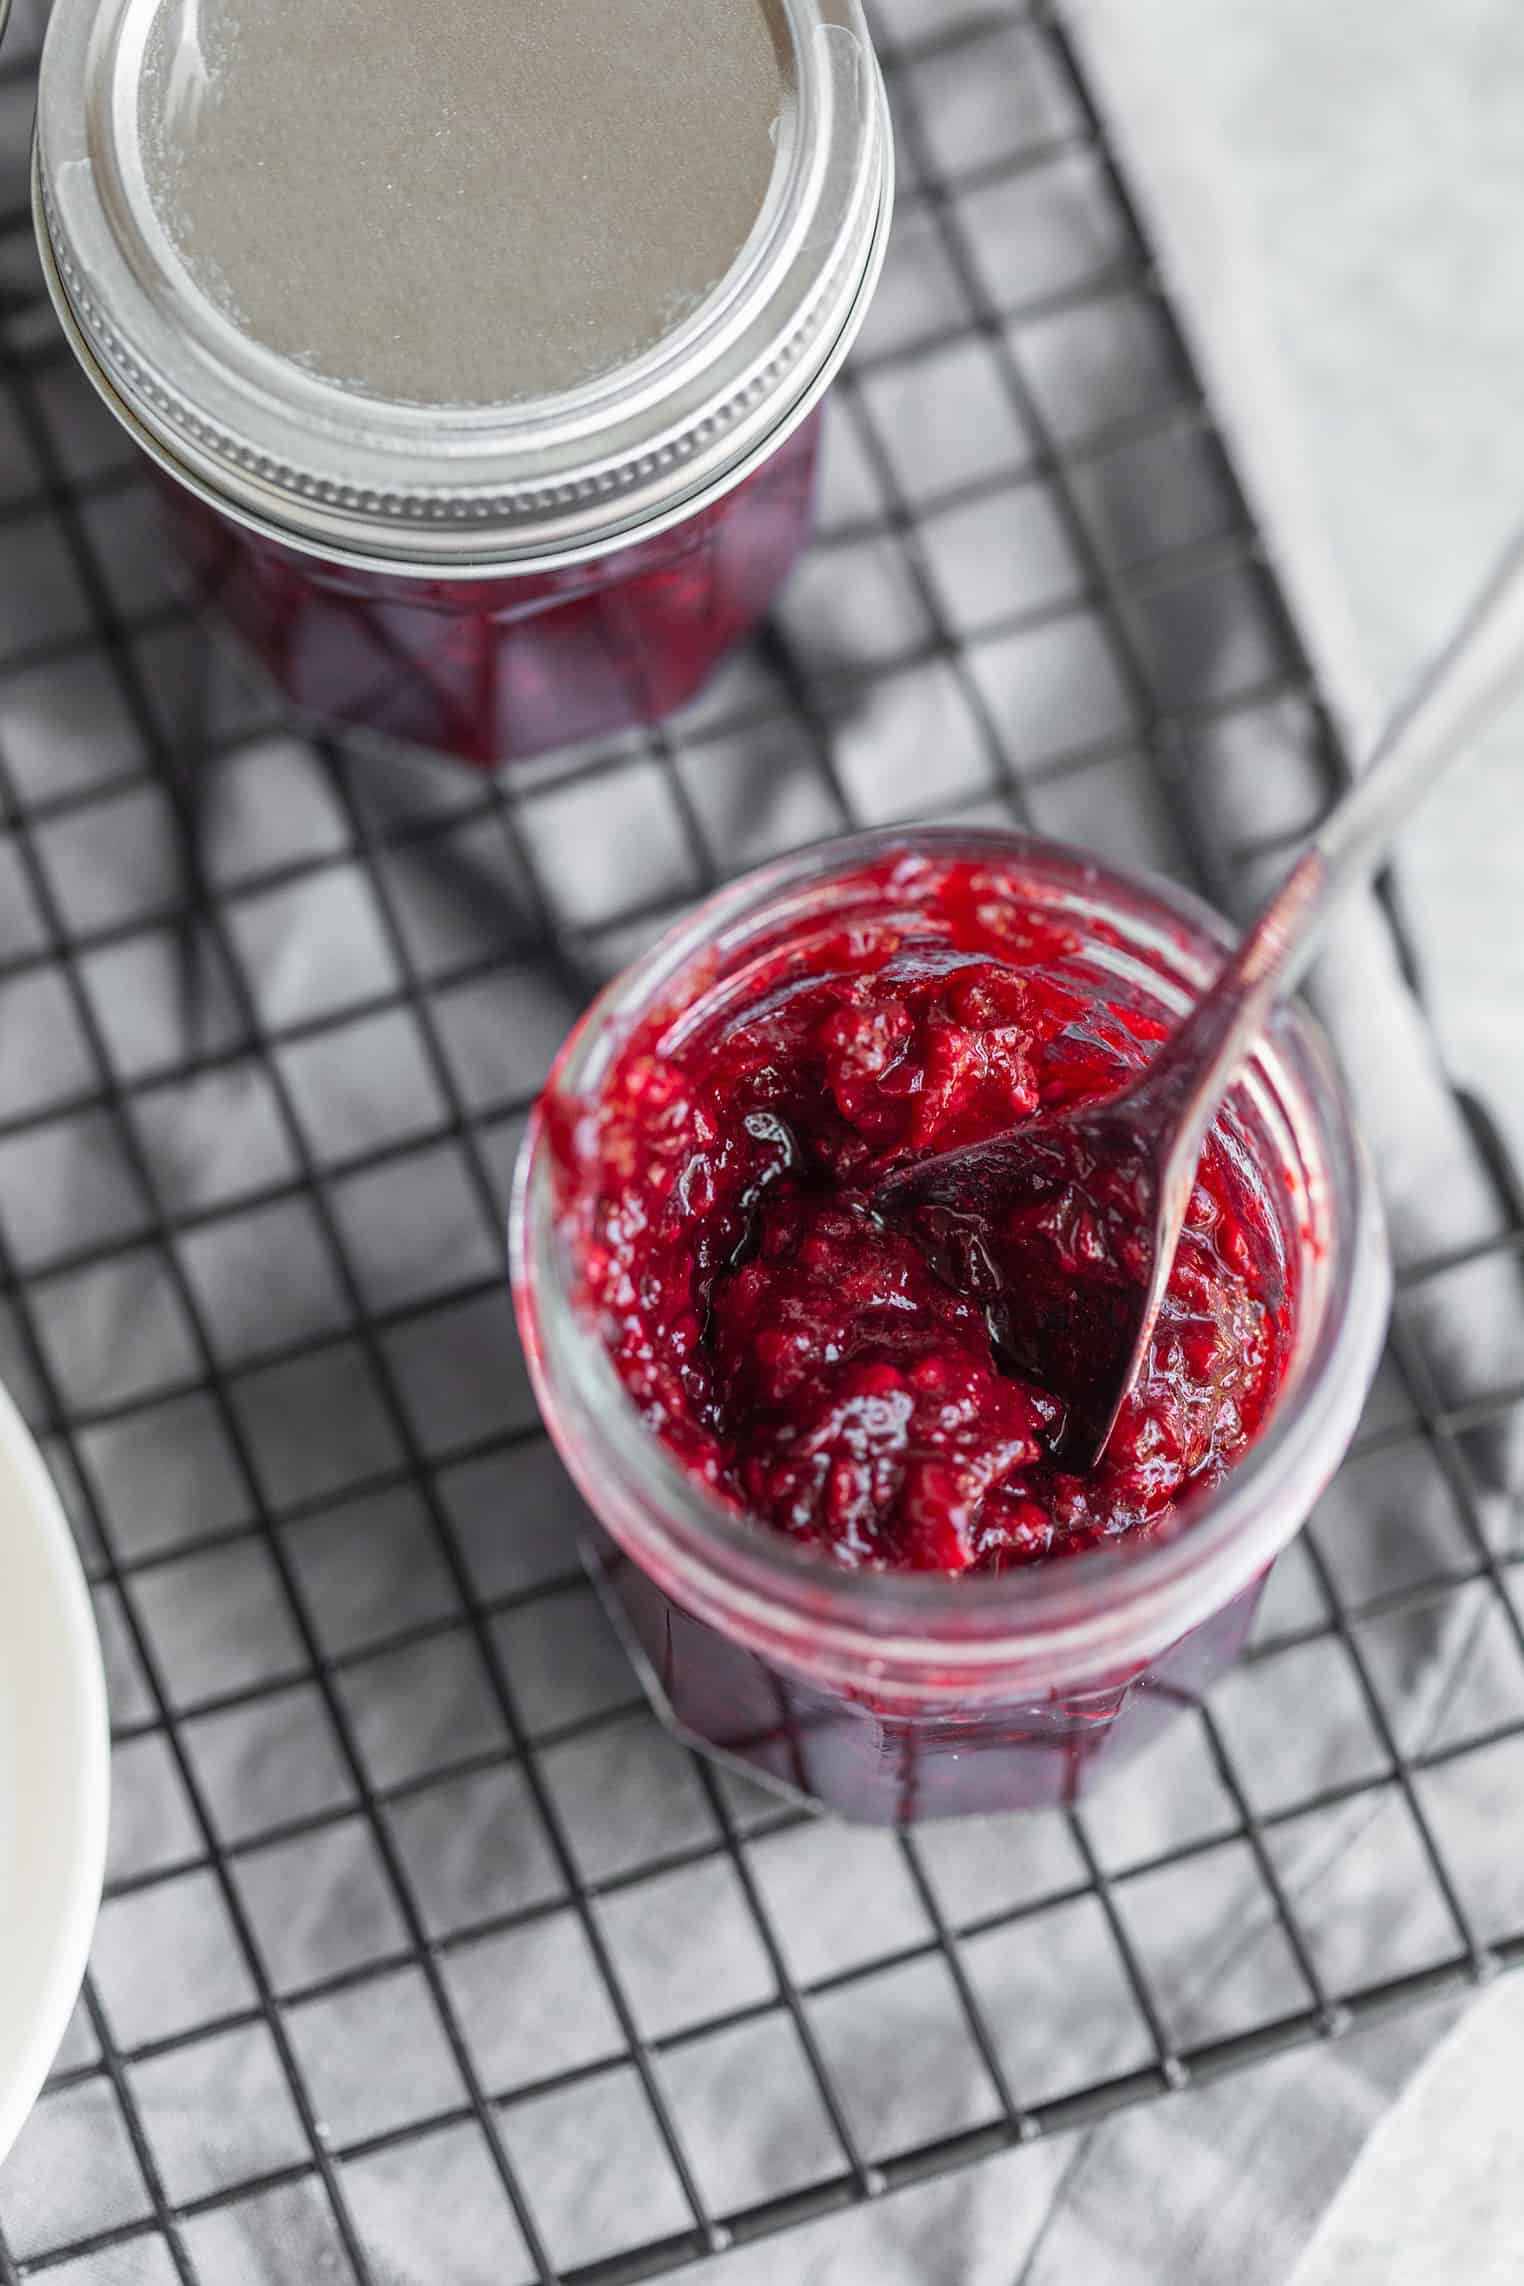
- Place sealed jars into a boiling water bath and boil, fully submerged, for 10 minutes. Carefully remove jars (I use tongs or my canning tongs) and place on a cooling rack to cool. Once cooled, the lids should seal. You can check this by pressing down on the center of the lid- if it is able to be pushed down, then it hasn’t sealed correctly. The one’s that haven’t sealed (if you have any) can either be reprocessed in a water bath or just placed in the fridge to eat immediately.


