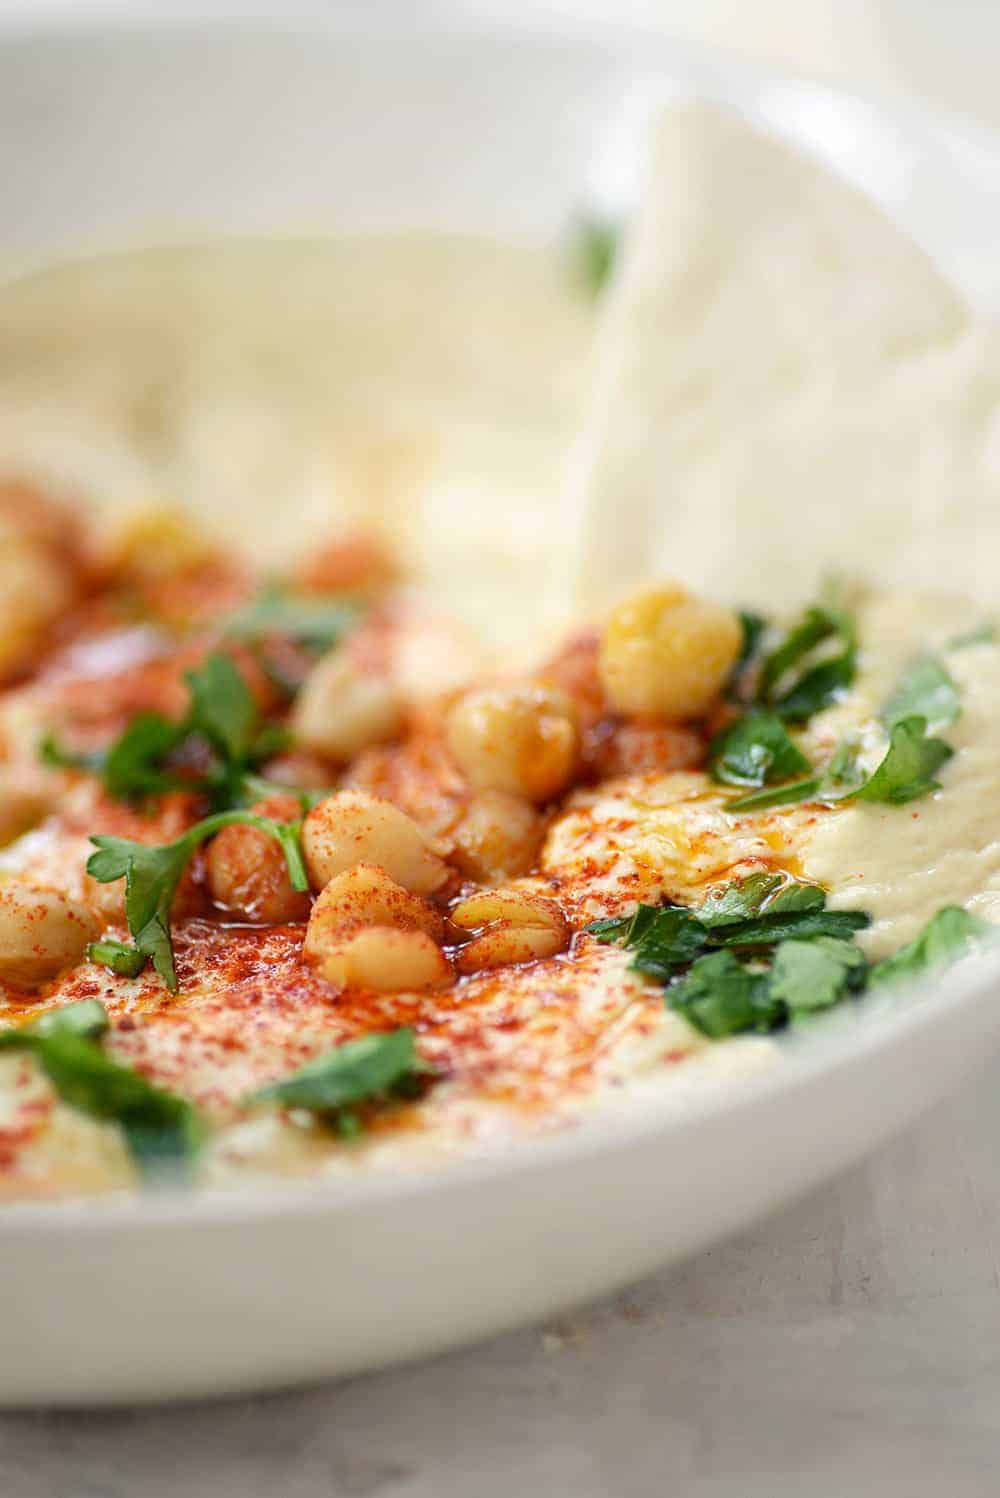
Instant Pot Hummus
Instant Pot Hummus! This homemade hummus is SO much better than store-bought and oil-free! Vegan, gluten-free and delicious.
You can’t beat the flavor of homemade hummus and this one requires such minimal effort, it’ll almost convince you not to buy store-bought again.
We go through a lot of hummus. Which, makes sense as a household of two vegetarians. I admit that I usually just grab a few containers of it each week at the store. It’s so much easier than soaking chickpeas and lugging my food processor out from the hallway closet, especially when BL can easily down a tub at a time.
That all changed when I realized I could use my Instant Pot to make a big batch of hummus that lasts throughout the week. Dried beans and a pressure cooker were made for each other. It’s the reason I was convinced to buy an Instant Pot in the first place; a simple way to prepare dried beans that don’t require hours of soaking before hand.
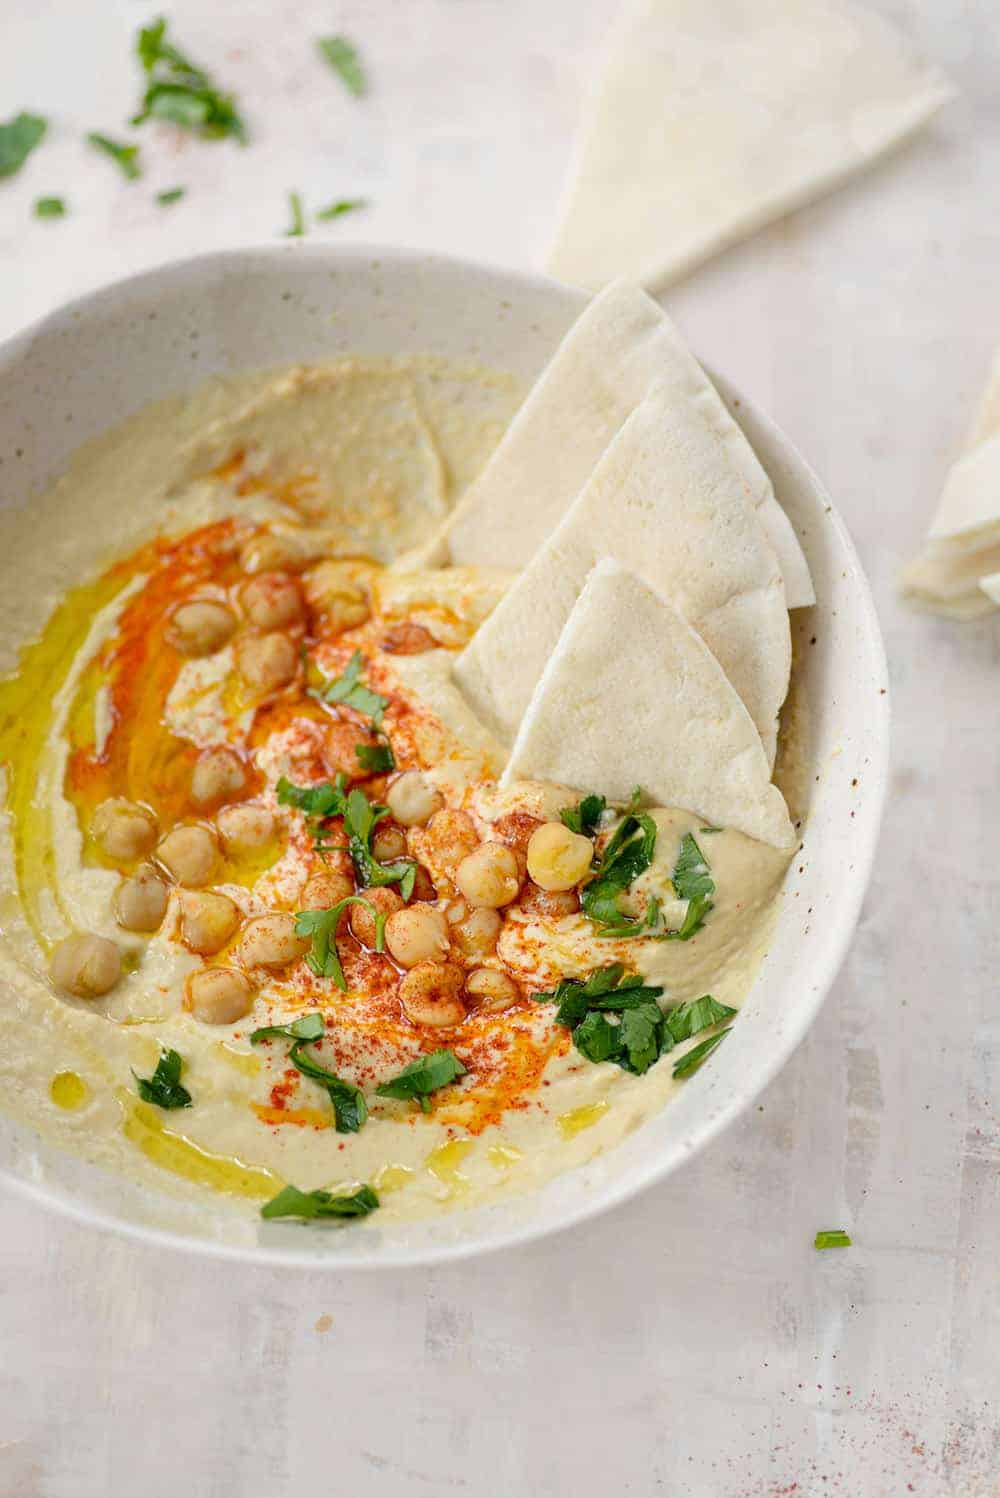
This recipe makes homemade hummus almost fool proof. Using dried beans instead of canned produces the creamiest hummus. It’s so, so good.
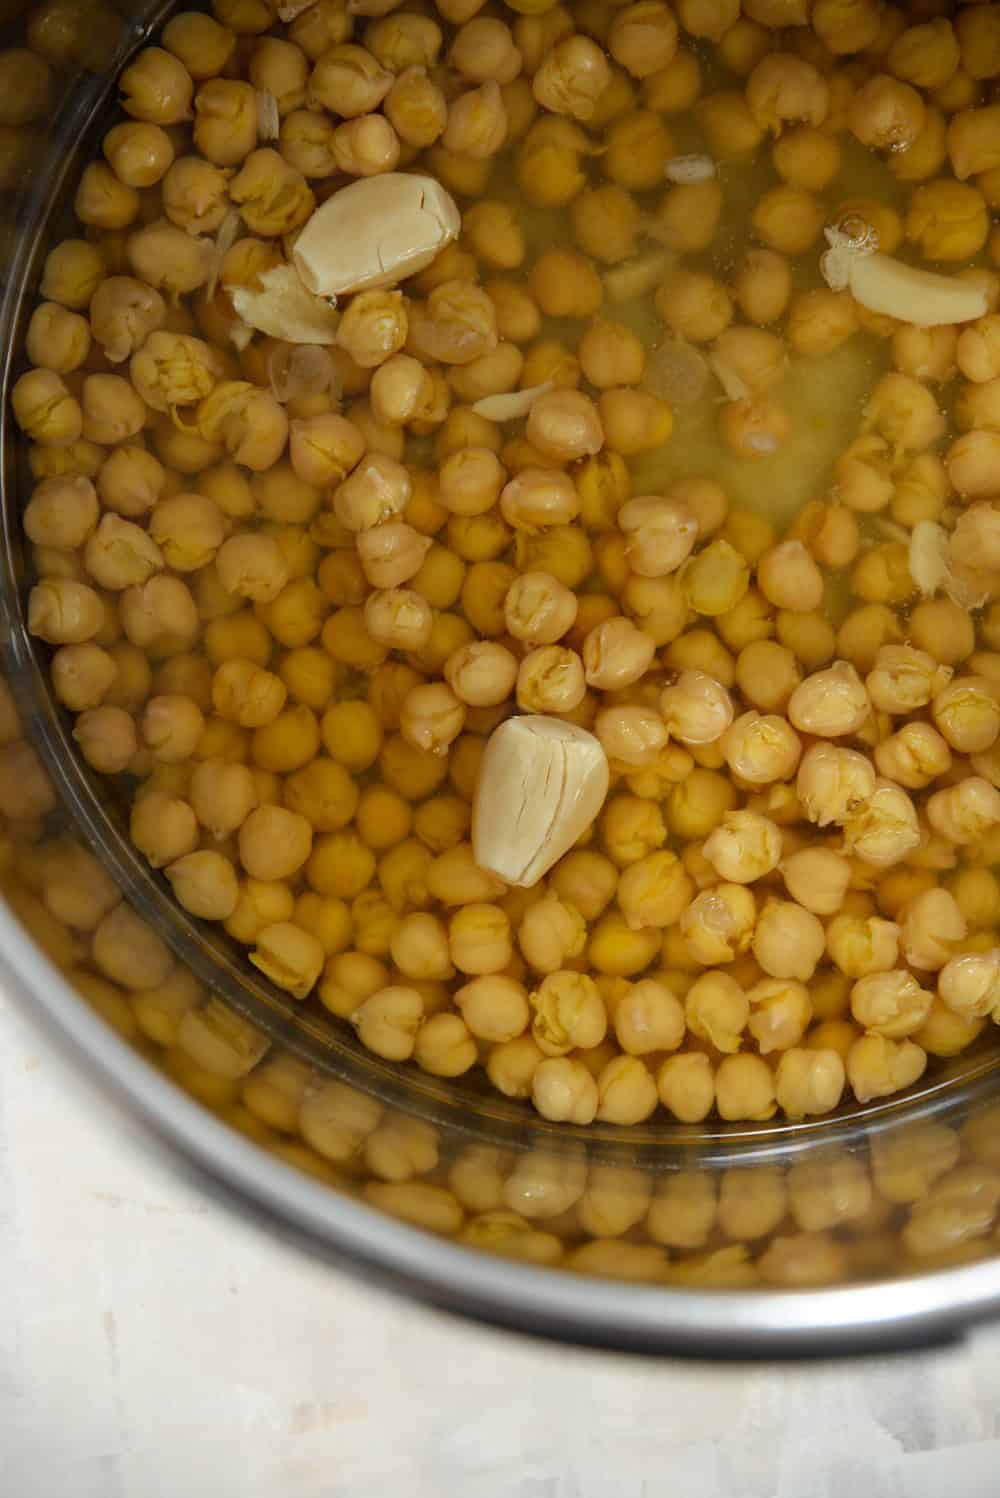
To start, add the dried chickpeas and water to the pressure cooker. I prefer the taste of cooked garlic instead of the bite that raw garlic can give, so I cook my cloves right alongside the beans. Depending on your preference, I suggest 2-3 cloves per batch. If you’re half vampire Italian like me, then you might prefer 4-5. Either way, their flavor mellows once cooked.
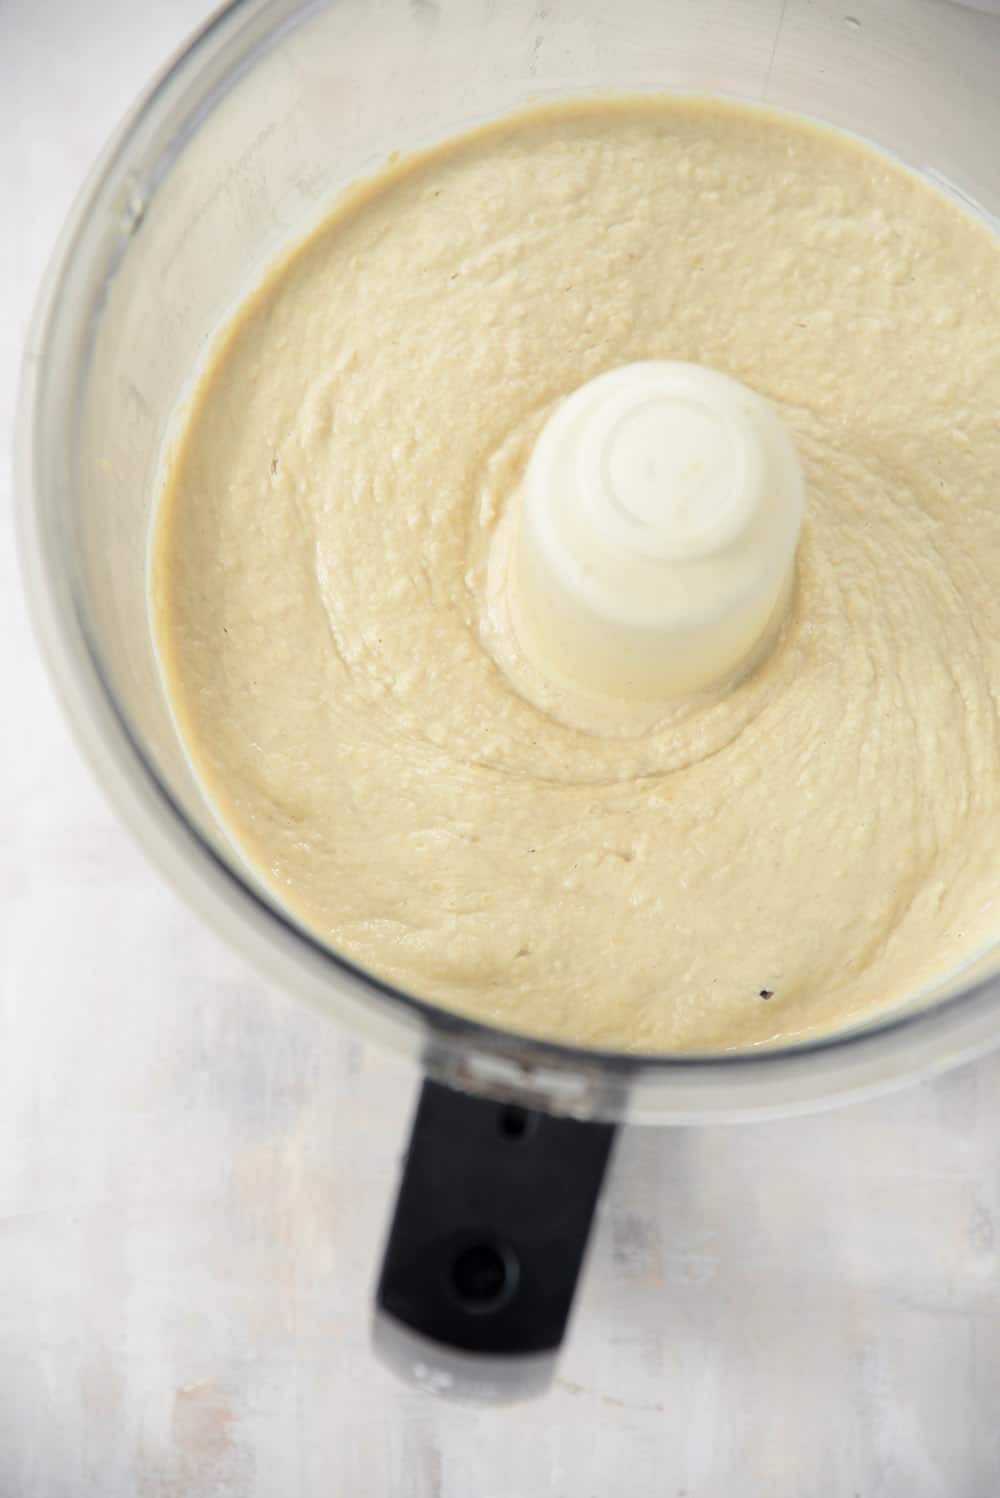
Here’s the best part of this hummus: it’s almost oil-free. Save for the fancy drizzle at the end, this hummus doesn’t use any additional oil to allow it to come together. If you’ve ever made hummus using canned beans, you know that you usually have to add in a bit of oil for flavor and texture.
Not here. The trick is reserving some of the cooking liquid to puree with the chickpeas. I like to save it all and use the aquafaba in other recipes (like my chocolate cherry mousse), but you’ll only need 1/2-3/4 cup. Start with a half cup and then add more if you like a thinner consistency.
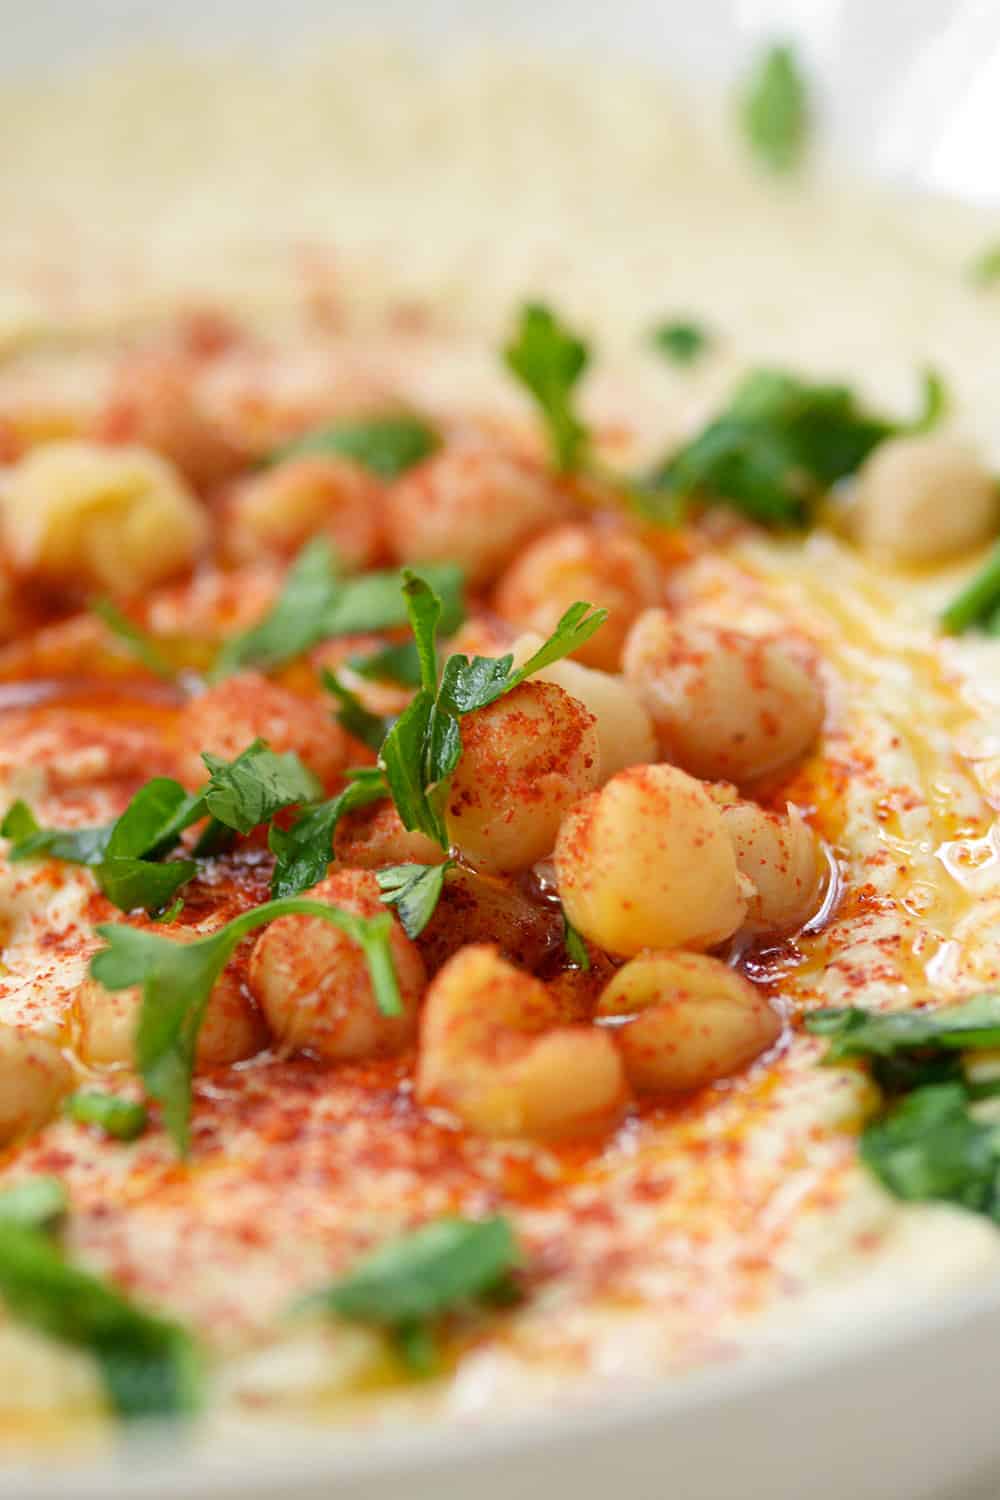
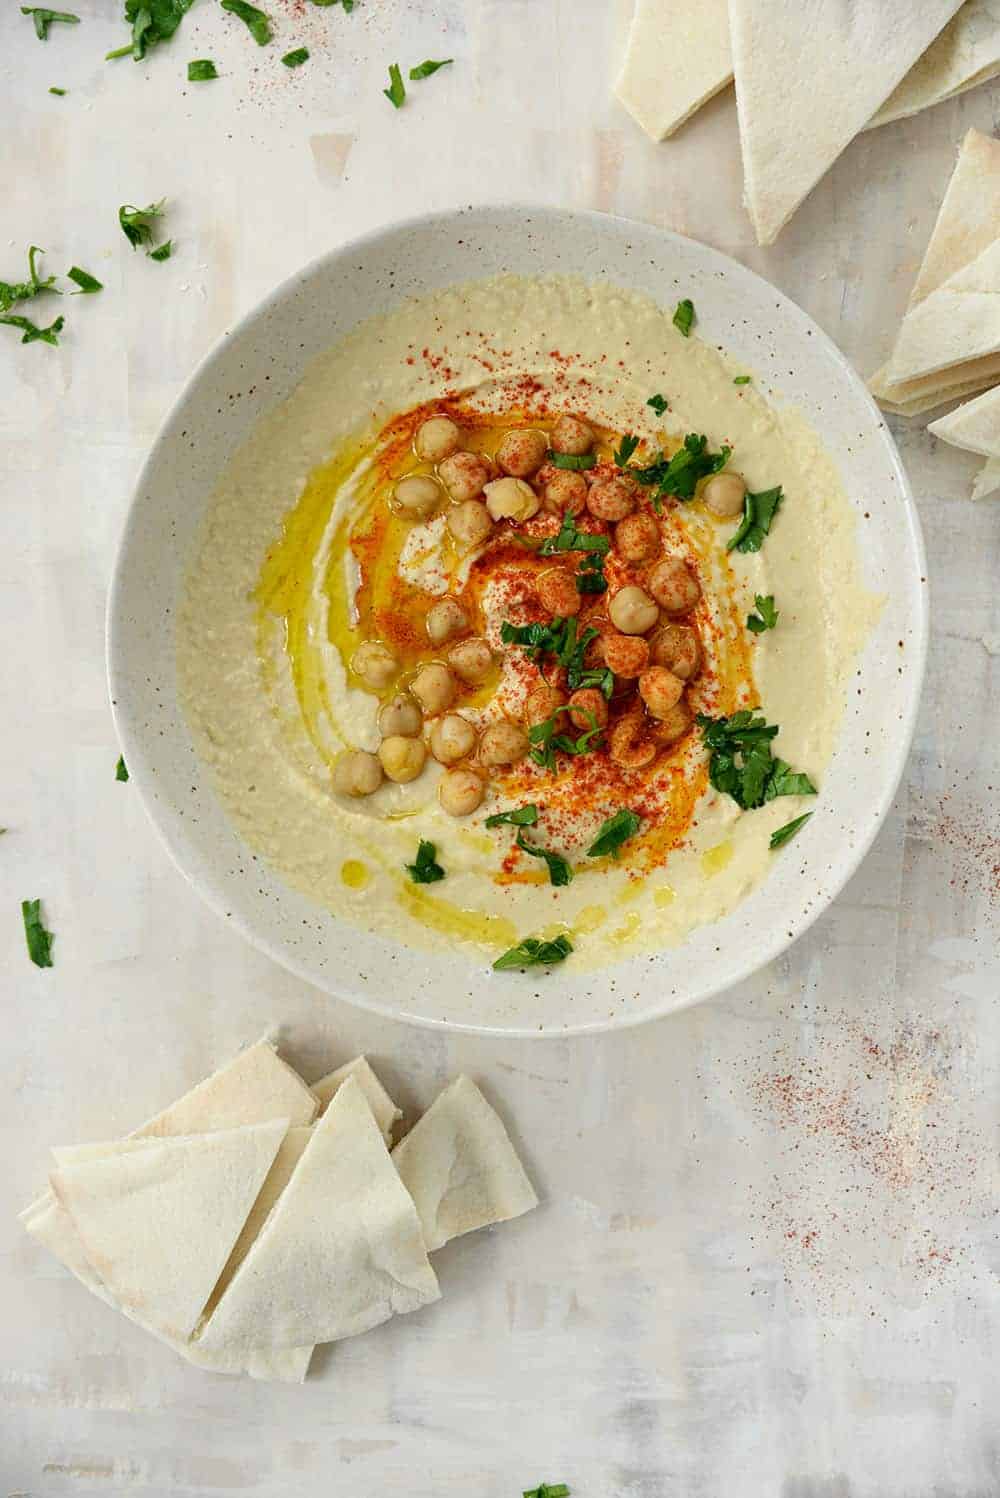
To plate, mound the hummus in the center of the plate, then use a back of a spoon to gently push the hummus up to create an edge. This not only looks pretty, it provides space to add a pretty drizzle of good-quality olive oil and a sprinkle of smoked paprika and parsley.
If you try this recipe, let me know! Leave a comment, rate it, and tag your Instagram photos with #delishknowledge . I absolutely love seeing your creations. Happy cooking!

Instant Pot Hummus

Equipment
Ingredients
- 1 cup dried chickpeas
- 4 cups water
- 1 teaspoon salt
- 4 garlic cloves
- 1/4 cup fresh lemon juice
- 1/4 teaspoons ground cumin
- 1/2 cup tahini
- olive oil, for drizzling (optional)
- smoked paprika, for drizzling (optional)
Instructions
- Place the dried chickpeas in the Instant Pot along with 4 cups water, garlic and salt. Cover the lid and turn the vent to sealed, then cook for 40 minutes using the manual setting on high pressure.
- Let the pressure come down naturally for 15 minutes, then release the pressure completely.
- Drain the chickpeas and garlic cloves, reserving 1 cup of the cooking liquid.
- Place the drained chickpeas and garlic in the base of a food processor along with 1/2 cup cooking liquid, lemon juice, cumin and tahini. Puree until creamy and smooth. If you need more liquid, add another two tablespoons and puree again. This is usually where I stop adding liquid, but if you want it thinner, add another tablespoon or two.
- To serve, place the hummus in the center of a bowl, then use the back of a spoon to push the hummus up along the sides to make a thick circle.
- Drizzle the center with olive oil and sprinkle with smoked paprika and parsley.
Notes
Nutrition


