No-Knead Instant Pot Bread With Rosemary – Ultimate Guide

RECIPE VIDEO PRINT COMMENTS
4.89 from 9 votes

Instant Pot Bread! Yes, one of the best things about owning an Instant Pot is that it makes bread-making a breeze. No-knead bread recipes are great for those who don’t have time to spend in the kitchen but still want a delicious fresh loaf.

My no-knead bread recipe made in the Instant Pot! If you’ve got an Instant Pot, then you are going to want to save this recipe. This no-knead version allows you to make rosemary bread right in your Instant Pot. Perfect for serving with soups, in sandwiches or salads.

I know I’ve been a broken record about the whole Instant Pot thing, but I promise it’s worth it. I use mine at least a few times a week. And now that I’ve figured out how to make bread in it, I know that number will only increase.

The Inspiration Behind This Instant Pot Bread Recipe

Have you ever had no-knead bread before? This is based on the famous NYT bread recipe, using whole-wheat flour, fresh rosemary, and flaky sea salt. If you’ve ever eaten at Macaroni Grill and know their rosemary bread, that was my inspiration.

My husband and I used to eat there all the time in graduate school and would easily down a loaf of bread while we waited for our pasta meals.
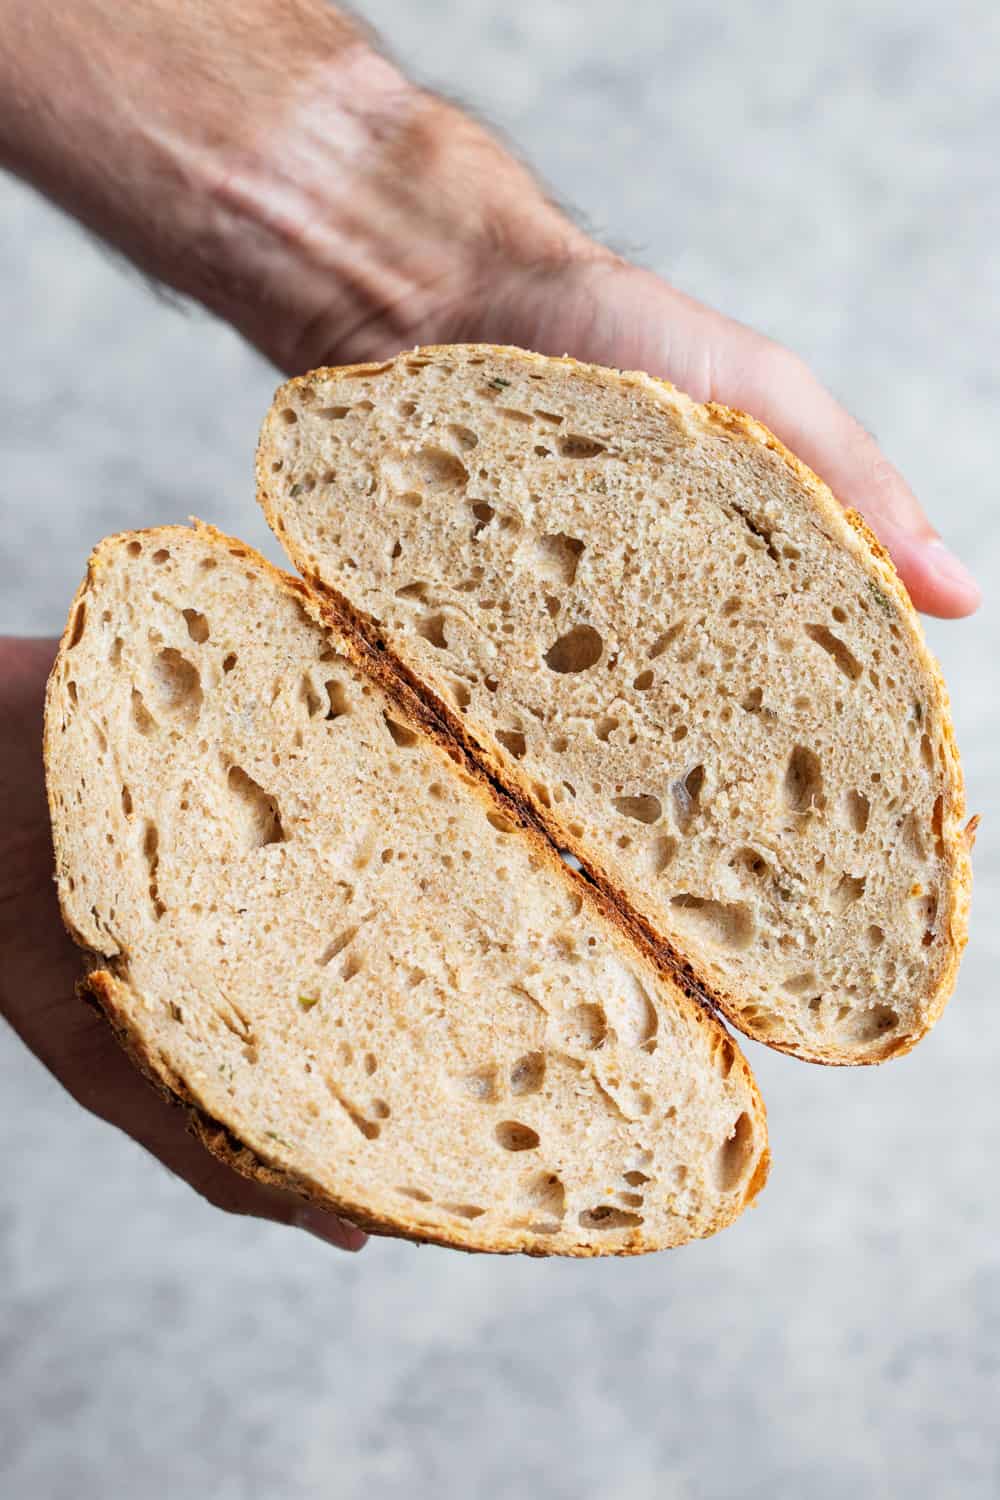
No Knead Instant Pot Bread

How to use the Instant Pot to Proof Dough

To proof the dough, you will use the yogurt setting in your Instant Pot as a continuous warm spot that allows the bread to proof in a fraction of the time. 

The Instant Pot just saves you time, but it’s not a necessary thing. Original no-knead bread recipes take hours to proof overnight, and using the Instant Pot cuts that prep time in a third. You can start homemade bread at noon and have it warm and ready to eat for dinner that night. 

However, in the spirit of being a kinda-sorta-minimalist, I will continue to provide stove-top alternatives for those who don’t want yet another thing in their kitchen and prefer the old method.
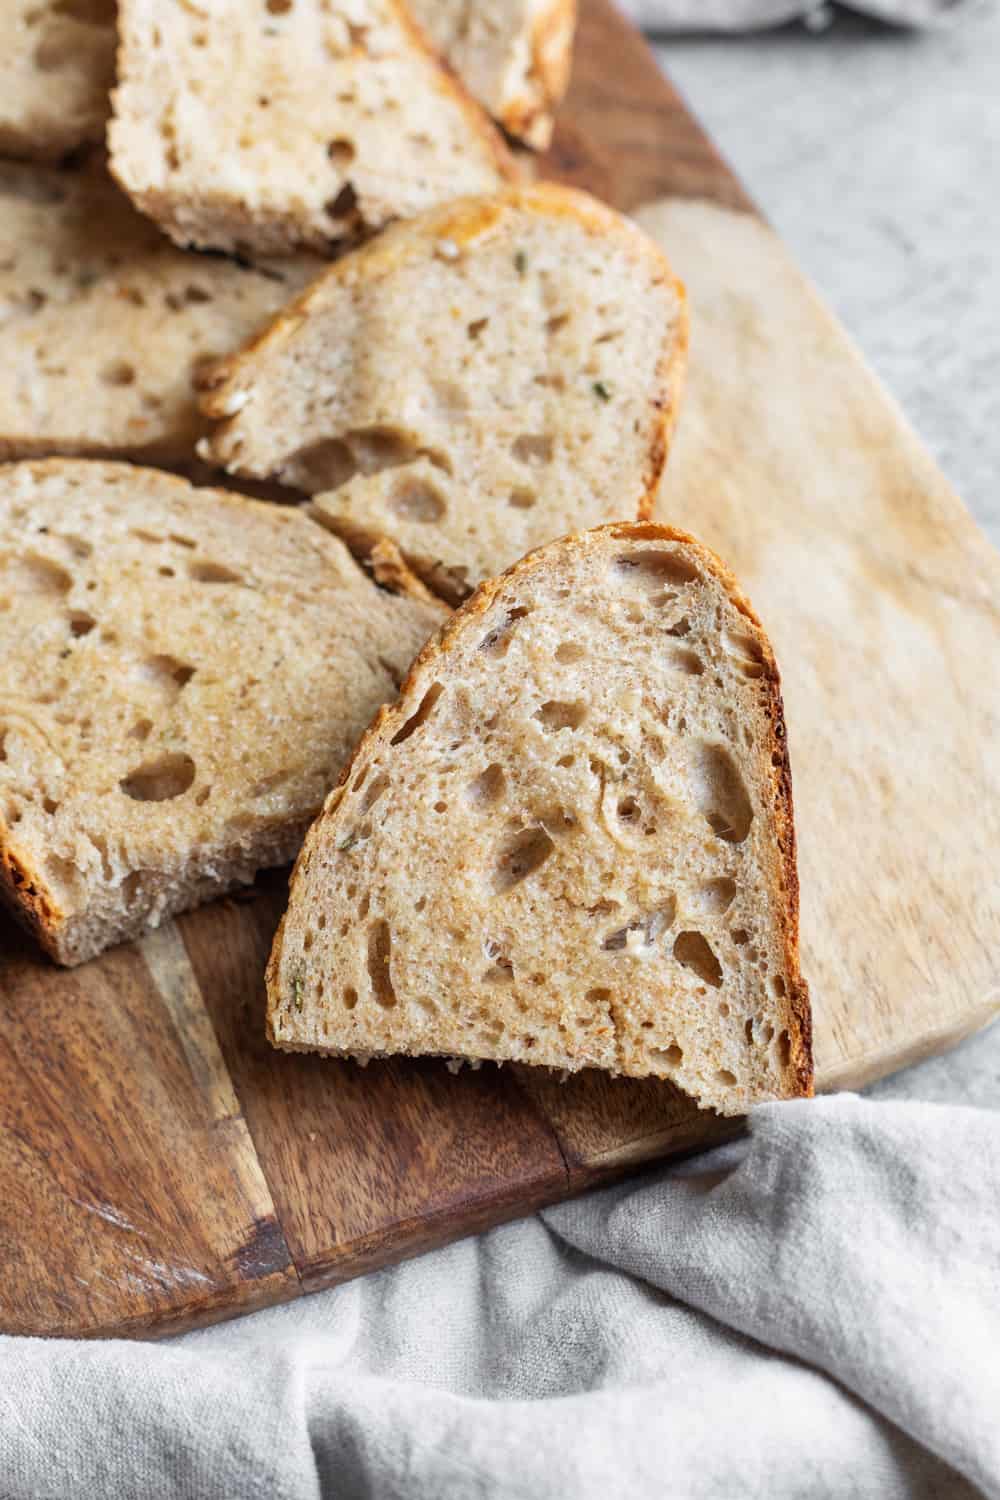
Instant Pot No Knead Bread

Ingredients Notes for No-Knead Bread

As with most bread recipes, you’ll need bread flour along with either whole-wheat flour or all-purpose flour. The same is true for this Instant Pot bread recipe.

Bread flour contains more gluten than all-purpose flour and is essential for making chewy bread with texture. 

You’ll also need salt, fresh rosemary, and water. I use instant yeast for this recipe over regular yeast. Since you are only proofing for a few hours, you’ll want to make sure the yeast is fast-acting. You should be able to find the yeast next to regular yeast in the grocery store!

How to Make this Instant Pot Bread Recipe

See below for step-by-step directions with photos, or scroll down to the full recipe card below.

Start by Making the No-Knead Dough
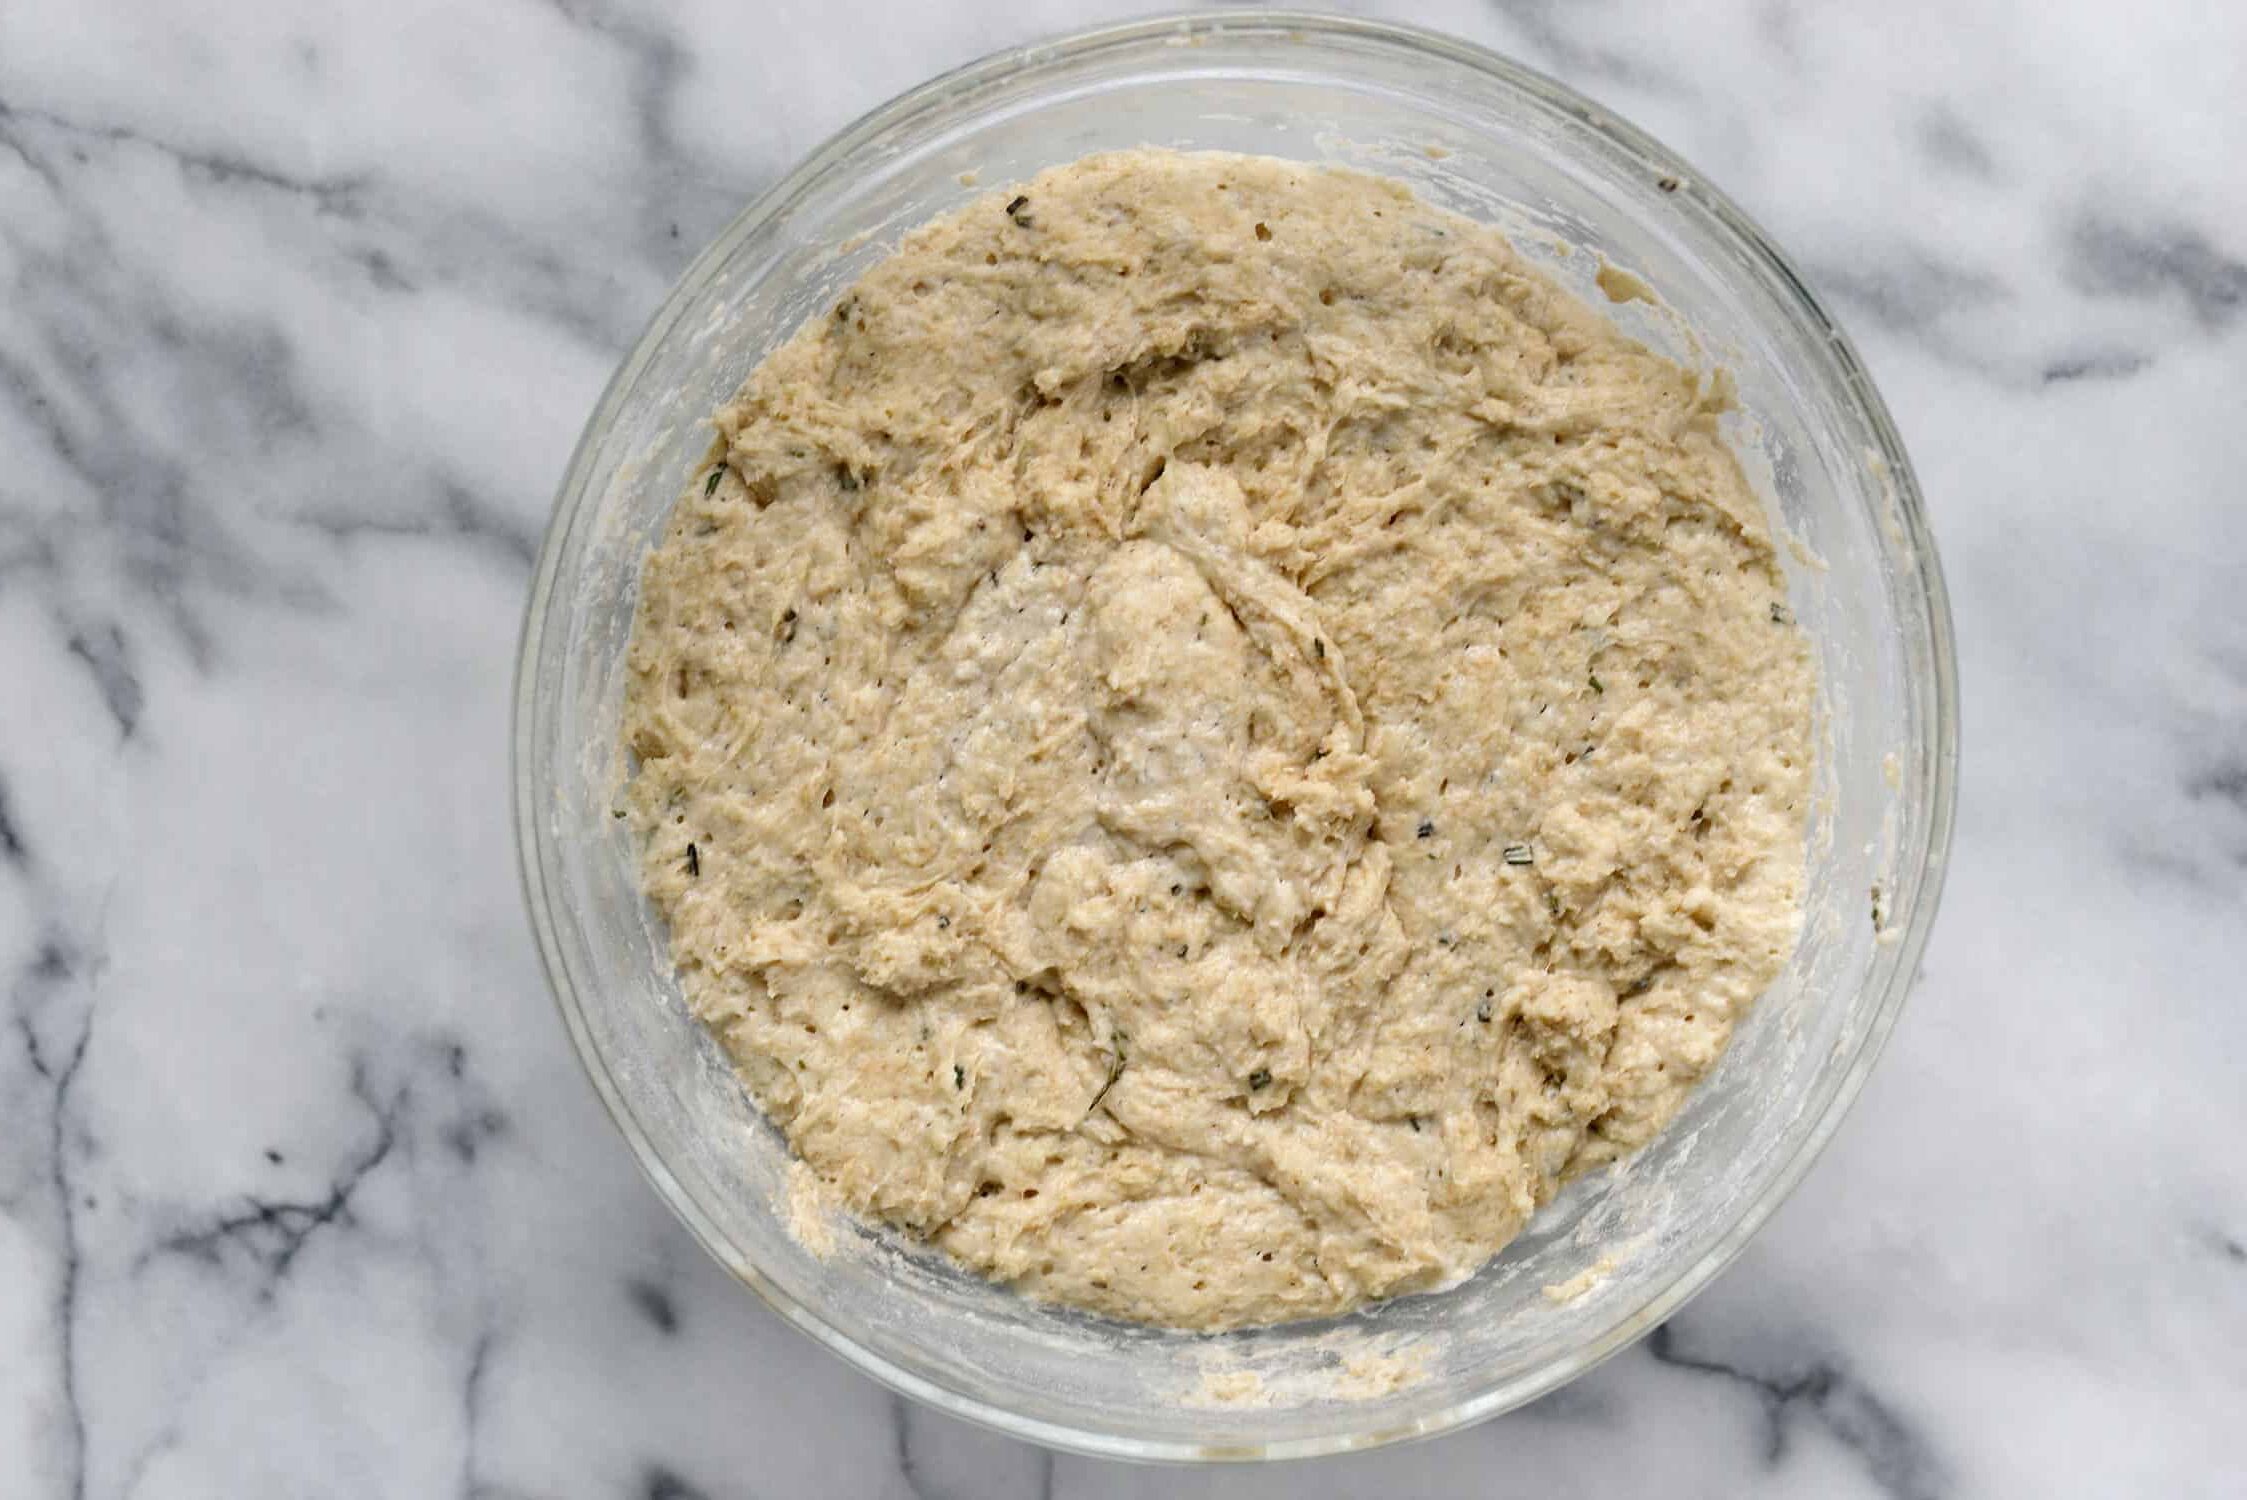
Bread Dough For Instant Pot Dough

You’ll need a glass bowl large enough to fit in the Instant Pot. Instead of using the inner pot that the Instant Pot comes with, you’ll remove that first and place a heat-resistant bowl, like a glass bowl on top of a trivet. You can use the rack that came with your Instant Pot, or a large mason jar top turned upside down. You can see this in the photos and in the video in the recipe card below. 

Once your Instant Pot is prepped, mix together the flour, salt, yeast and 2 tablespoons of the fresh rosemary in the bowl. Add in the room temperature water and mix with a spatula or wooden spoon until just incorporated, taking care not to over mix. This yeast mixture will be very sticky and shaggy, like the photo above.

Proof the Dough
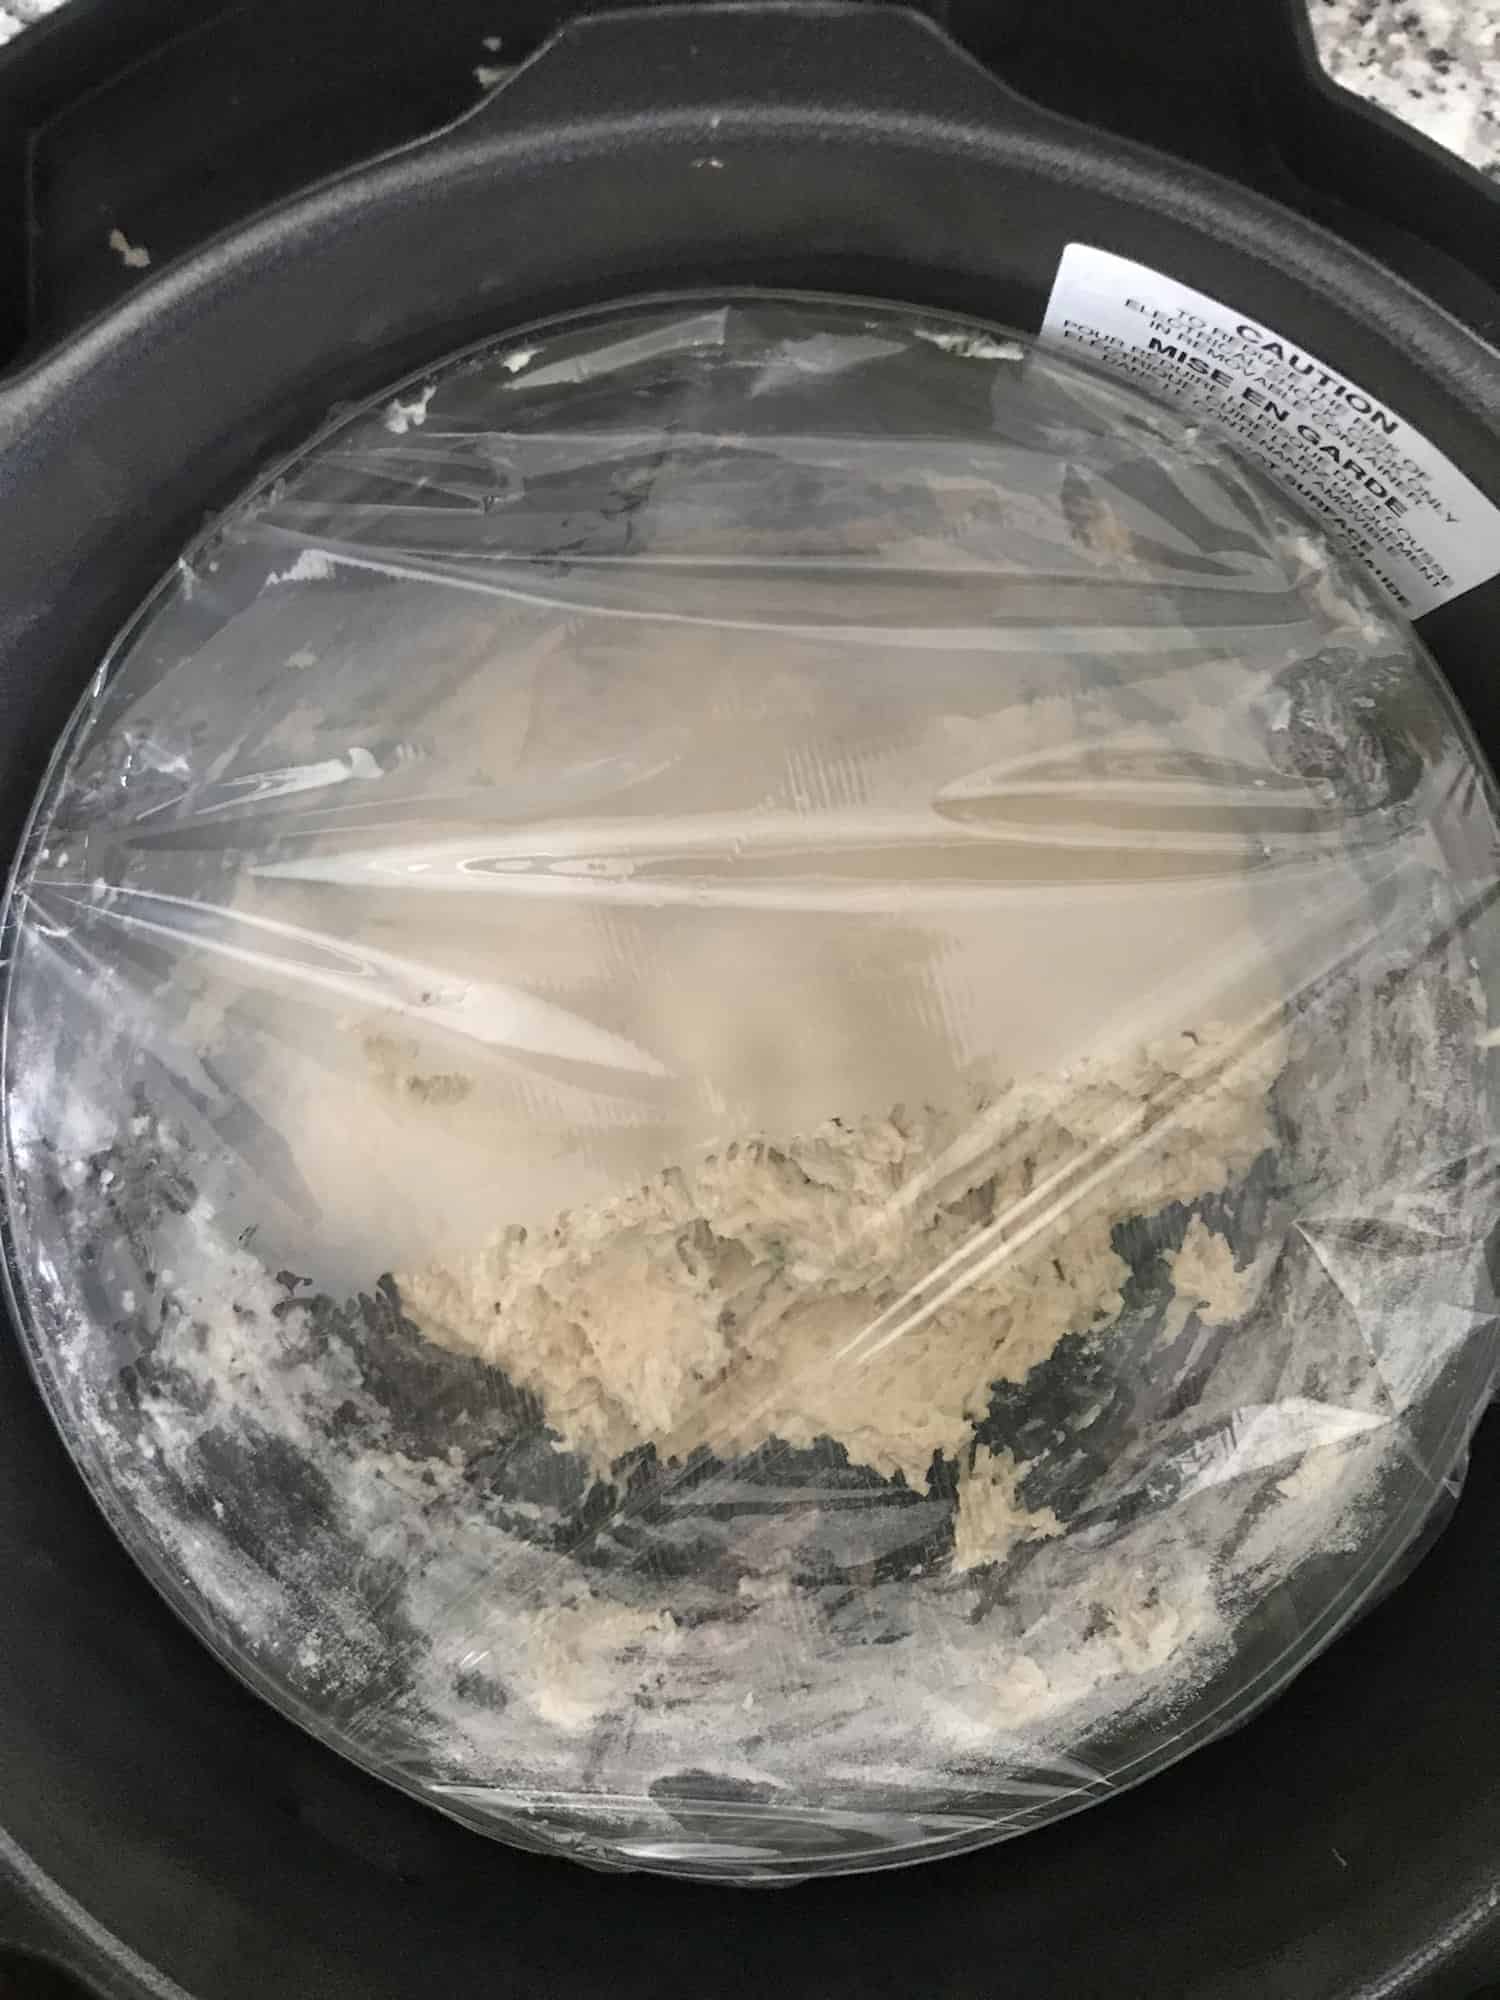
No Knead Bread To Be Proofed In The Instant Pot

Cover the glass bowl with plastic wrap and place on the trivet in the pot. Cover, press the yogurt button to turn on the yogurt setting and turn the vent to “venting”. Set for 4 hours to proof. When the dough is done proofing, it should be double in size. If not, proof another 30 minutes.

Prep the Bread for Baking
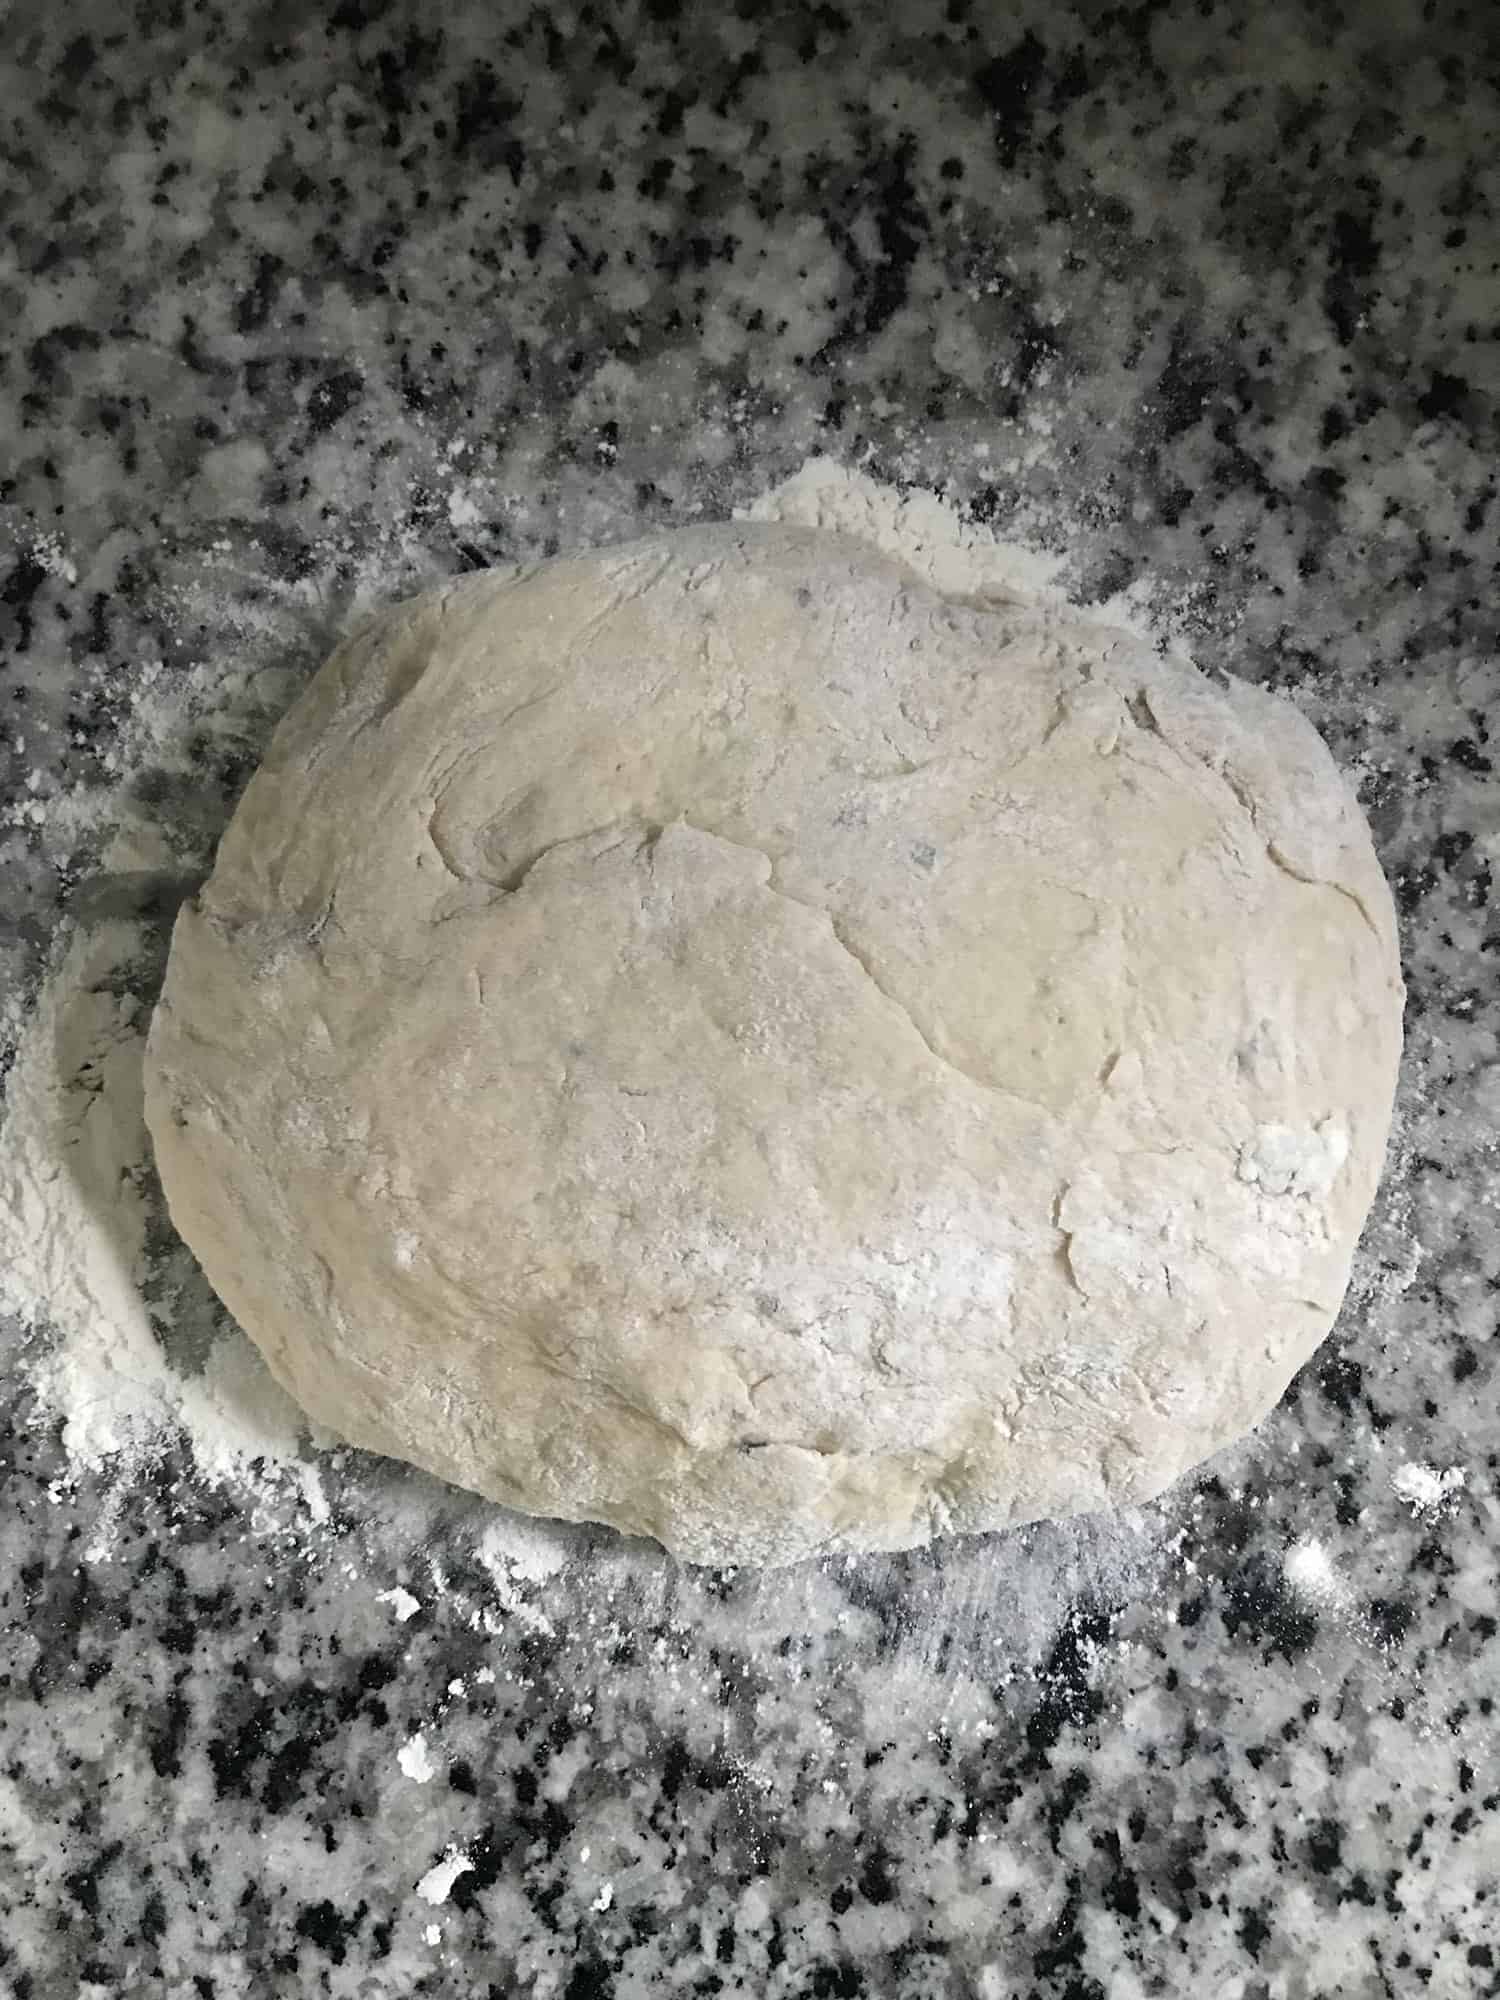
Instant Pot Bread Ready To Be Baked

Now you are ready to bake. Preheat the oven to 450 degrees F and place a dutch oven with a lid in the cool oven to warm up. This helps the bread get a crispy, exterior crust. 
Turn the proofed dough out onto a lightly floured counter and gently shape into a ball. I do this by pulling a corner up and to the center of the dough, then turn and repeat with the remaining 3 corners.
Then I flip the dough over and shape into a smooth ball– this technique helps to stretch the dough one last time before baking and provide height and structure.

Bake the Bread
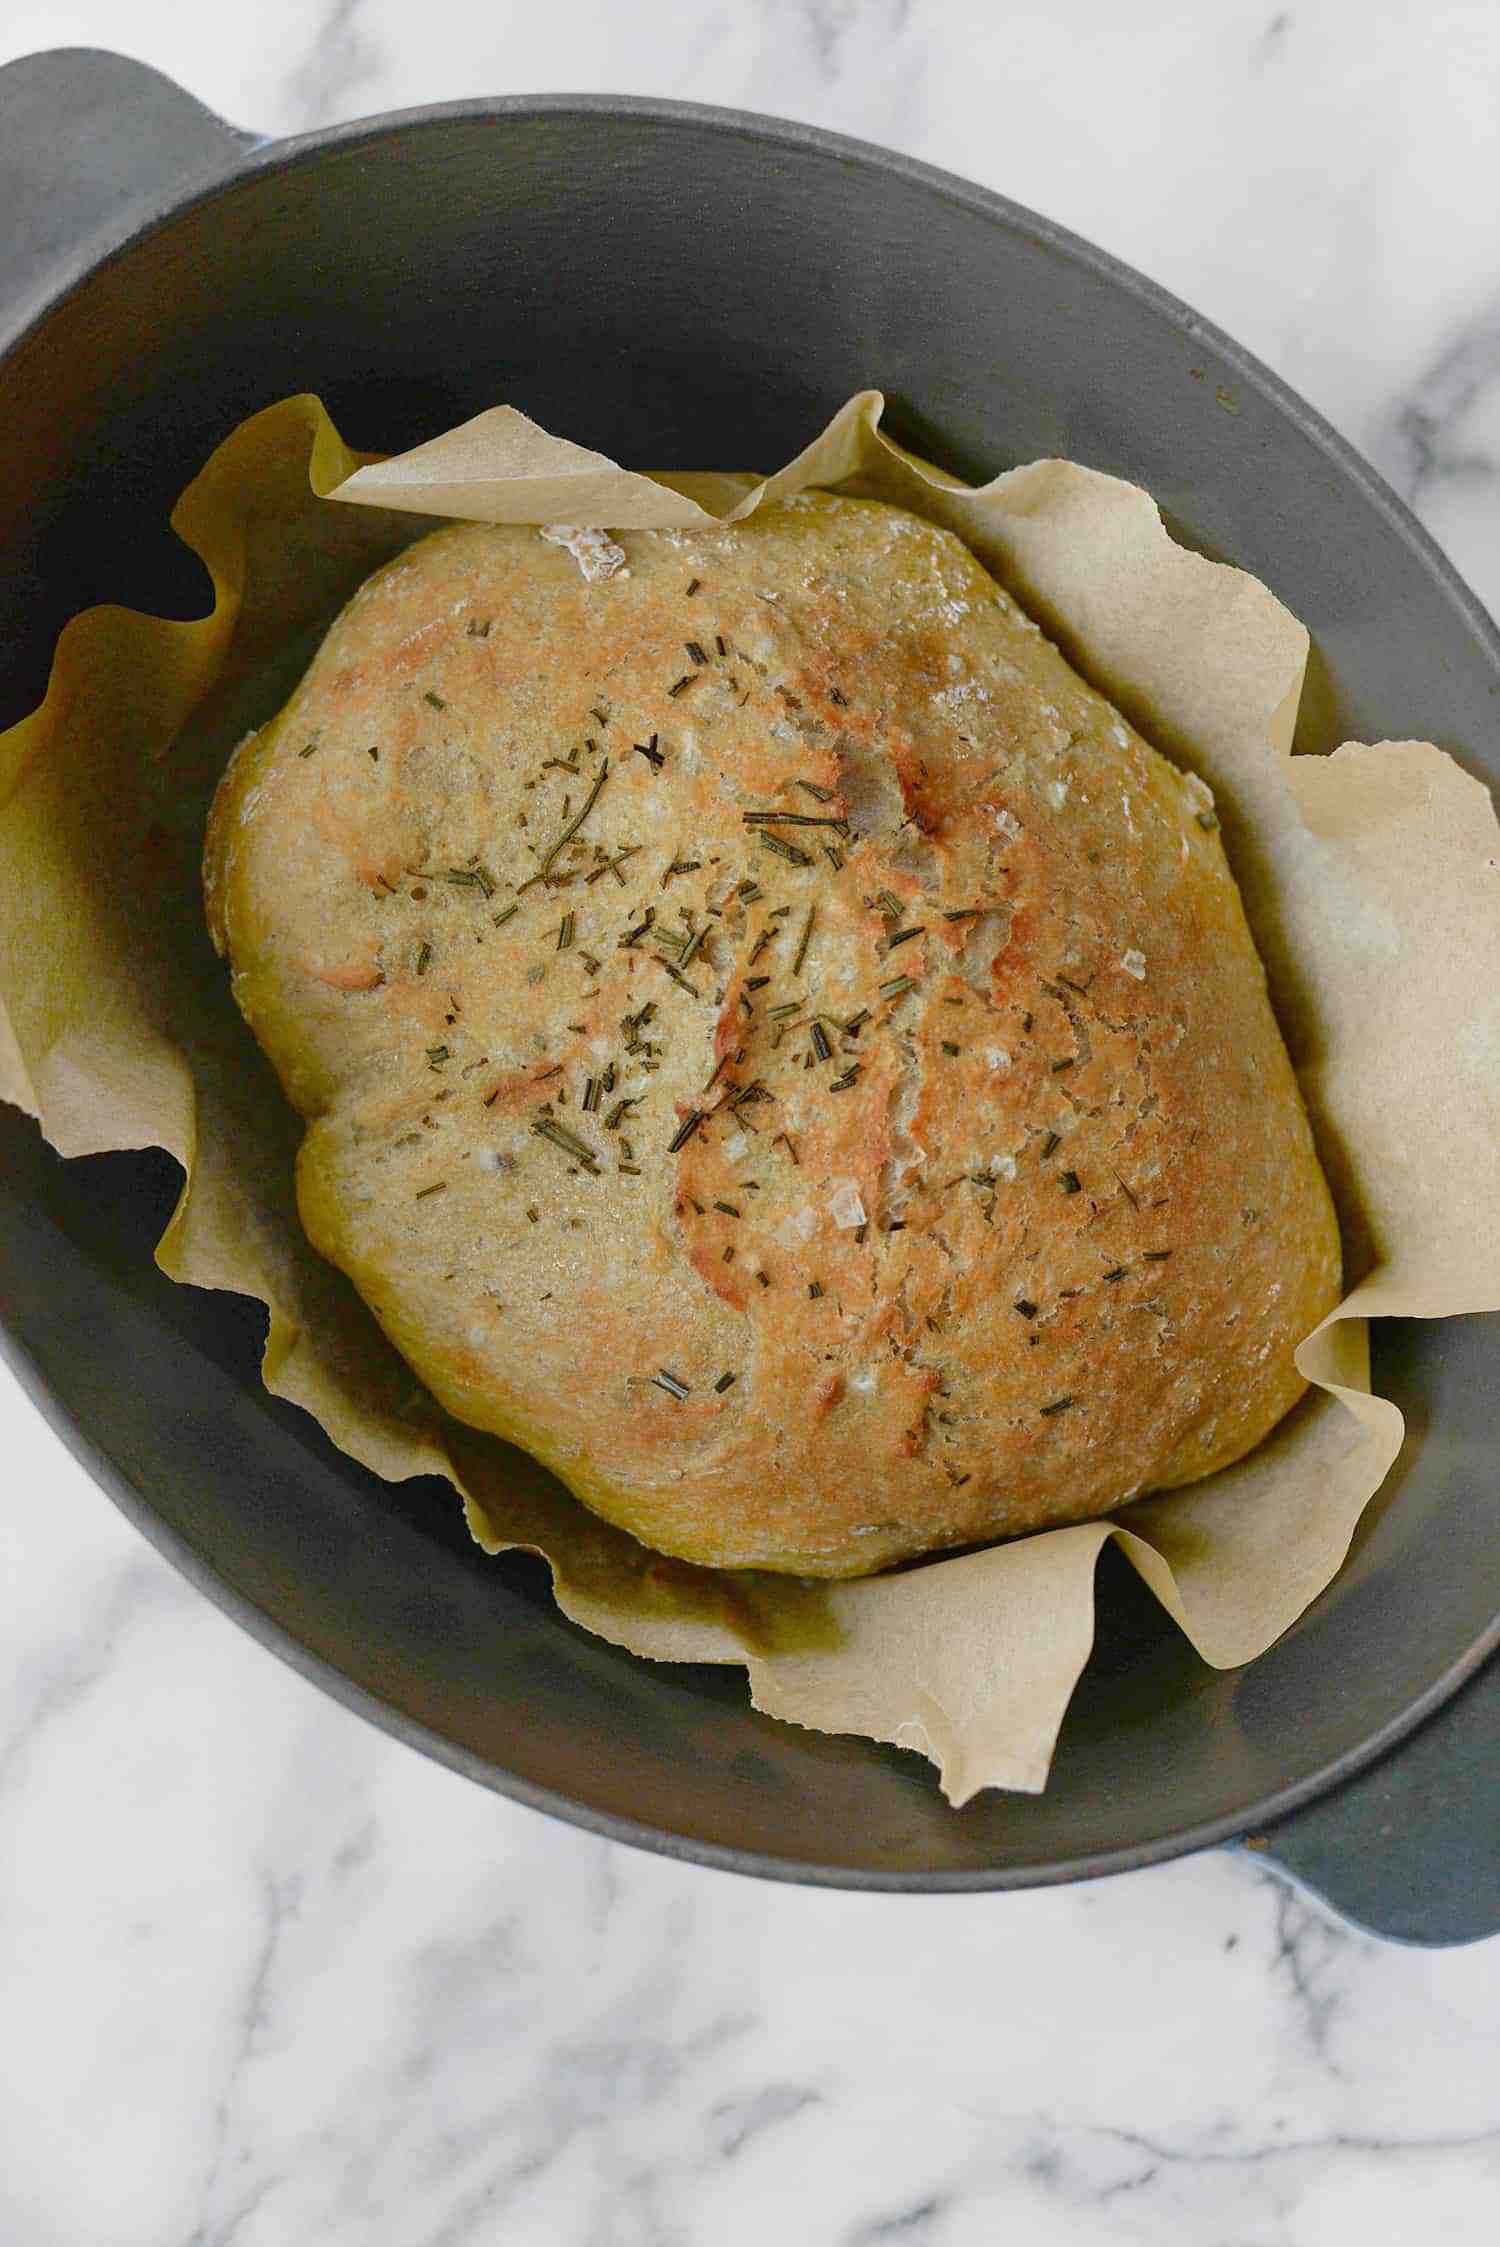
Baked Bread In The Instant Pot

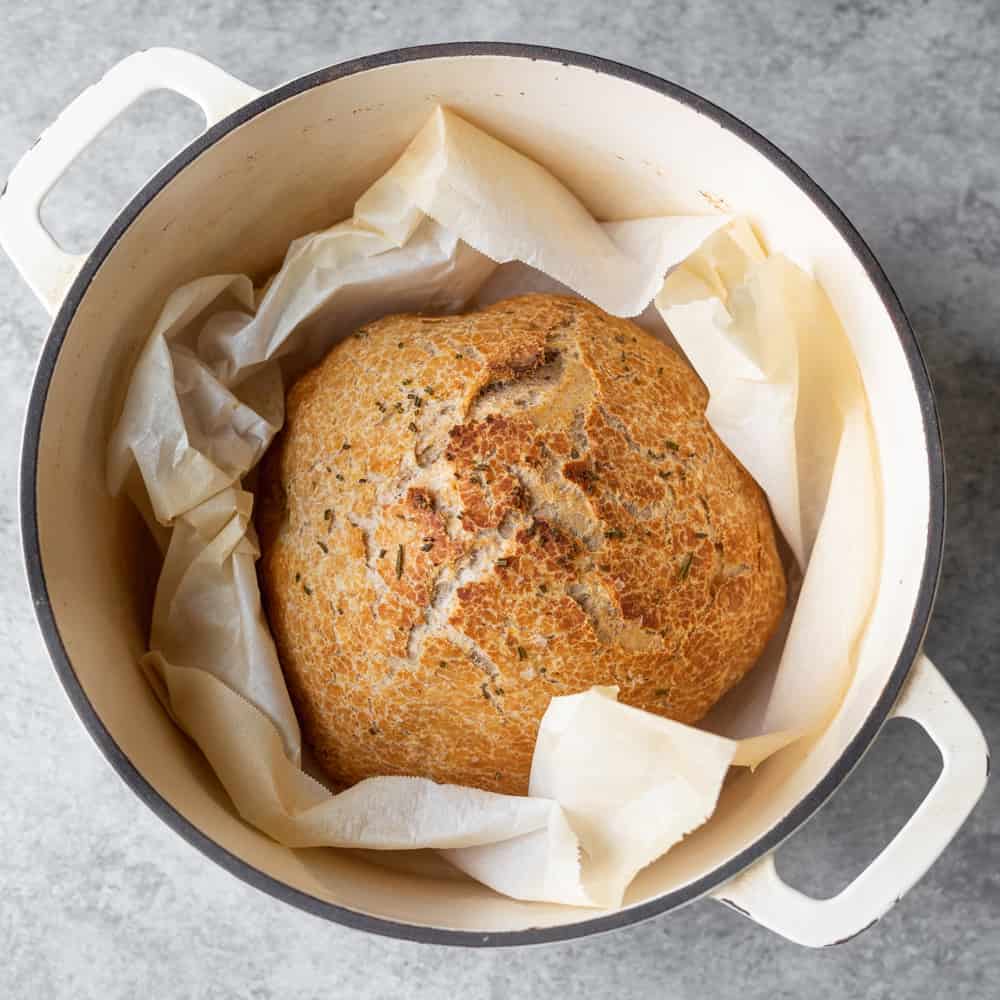
Brush the dough with olive oil and sprinkle with sea salt and the remaining fresh rosemary. Let stand on the counter while the oven is preheating. Carefully remove the hot dutch oven from the oven and uncover. To prevent sticking, I like to place the dough ball on a piece of parchment paper; this also gives you a handle with which to place the dough into the hot dutch oven. Gently place the dough ball into the dutch oven and cover with the lid. Place back in the oven and cook for 30 minutes, covered. Remove lid and bake for an additional 15 minutes until golden brown.

Let Cool and Enjoy
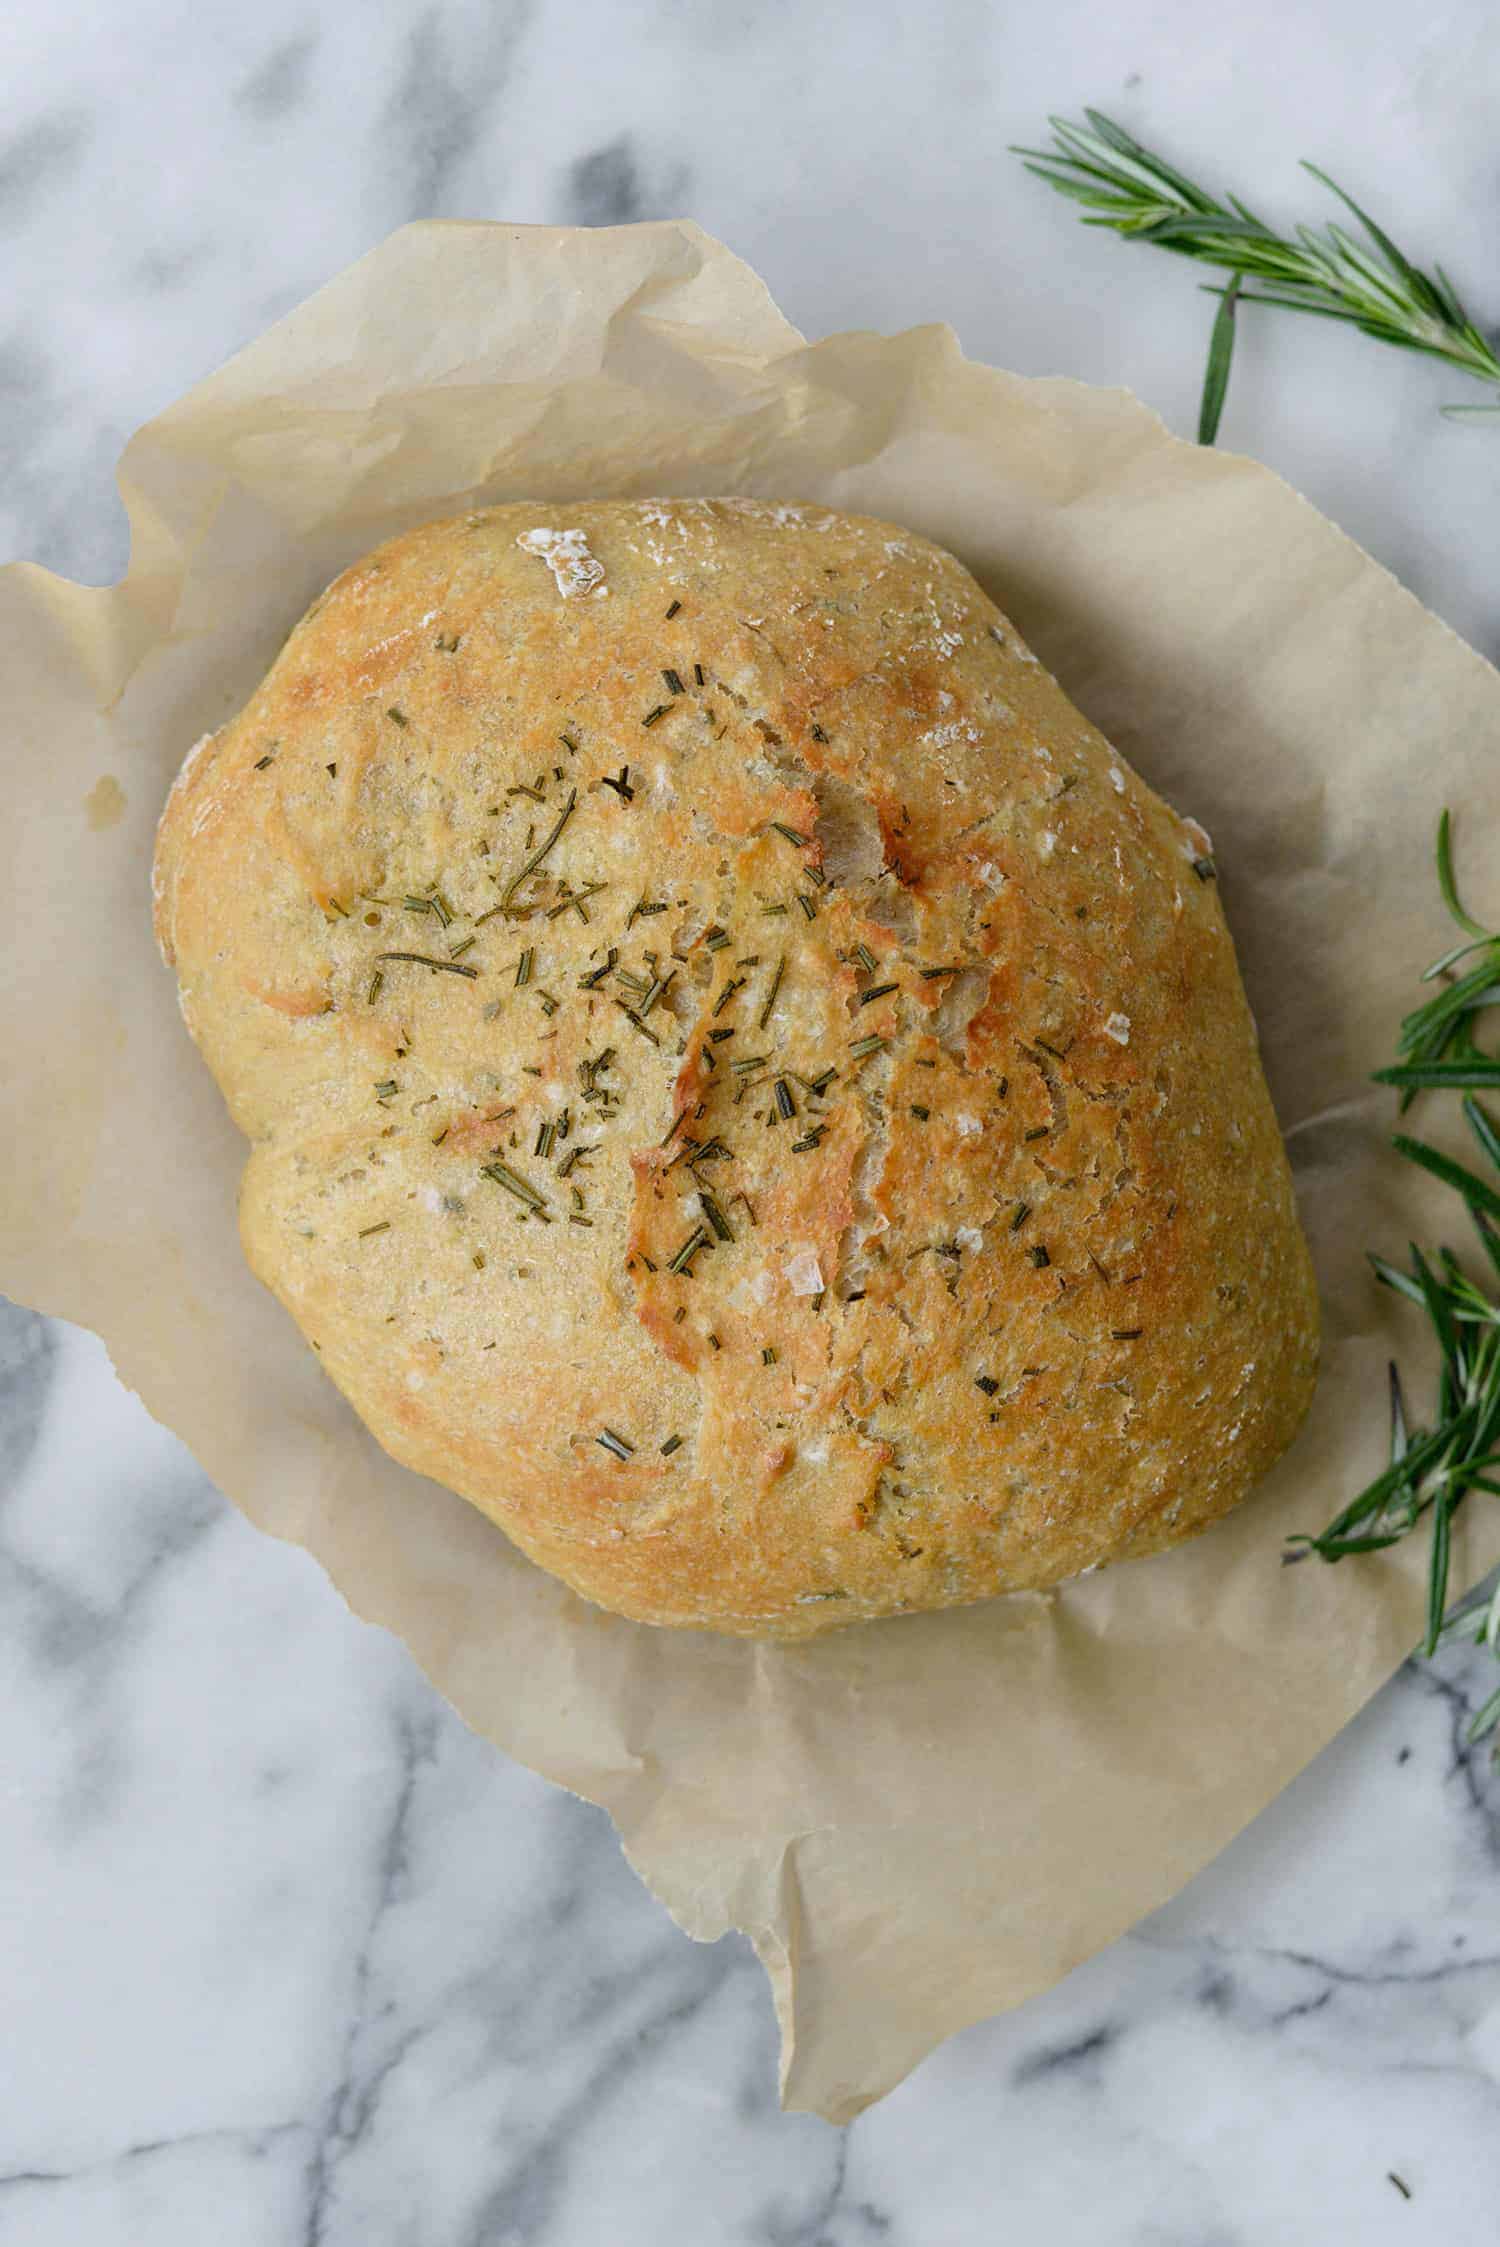
Baked Instant Pot Bread Recipe

Remove bread from oven and let cool completely before slicing with a sharp knife and serve
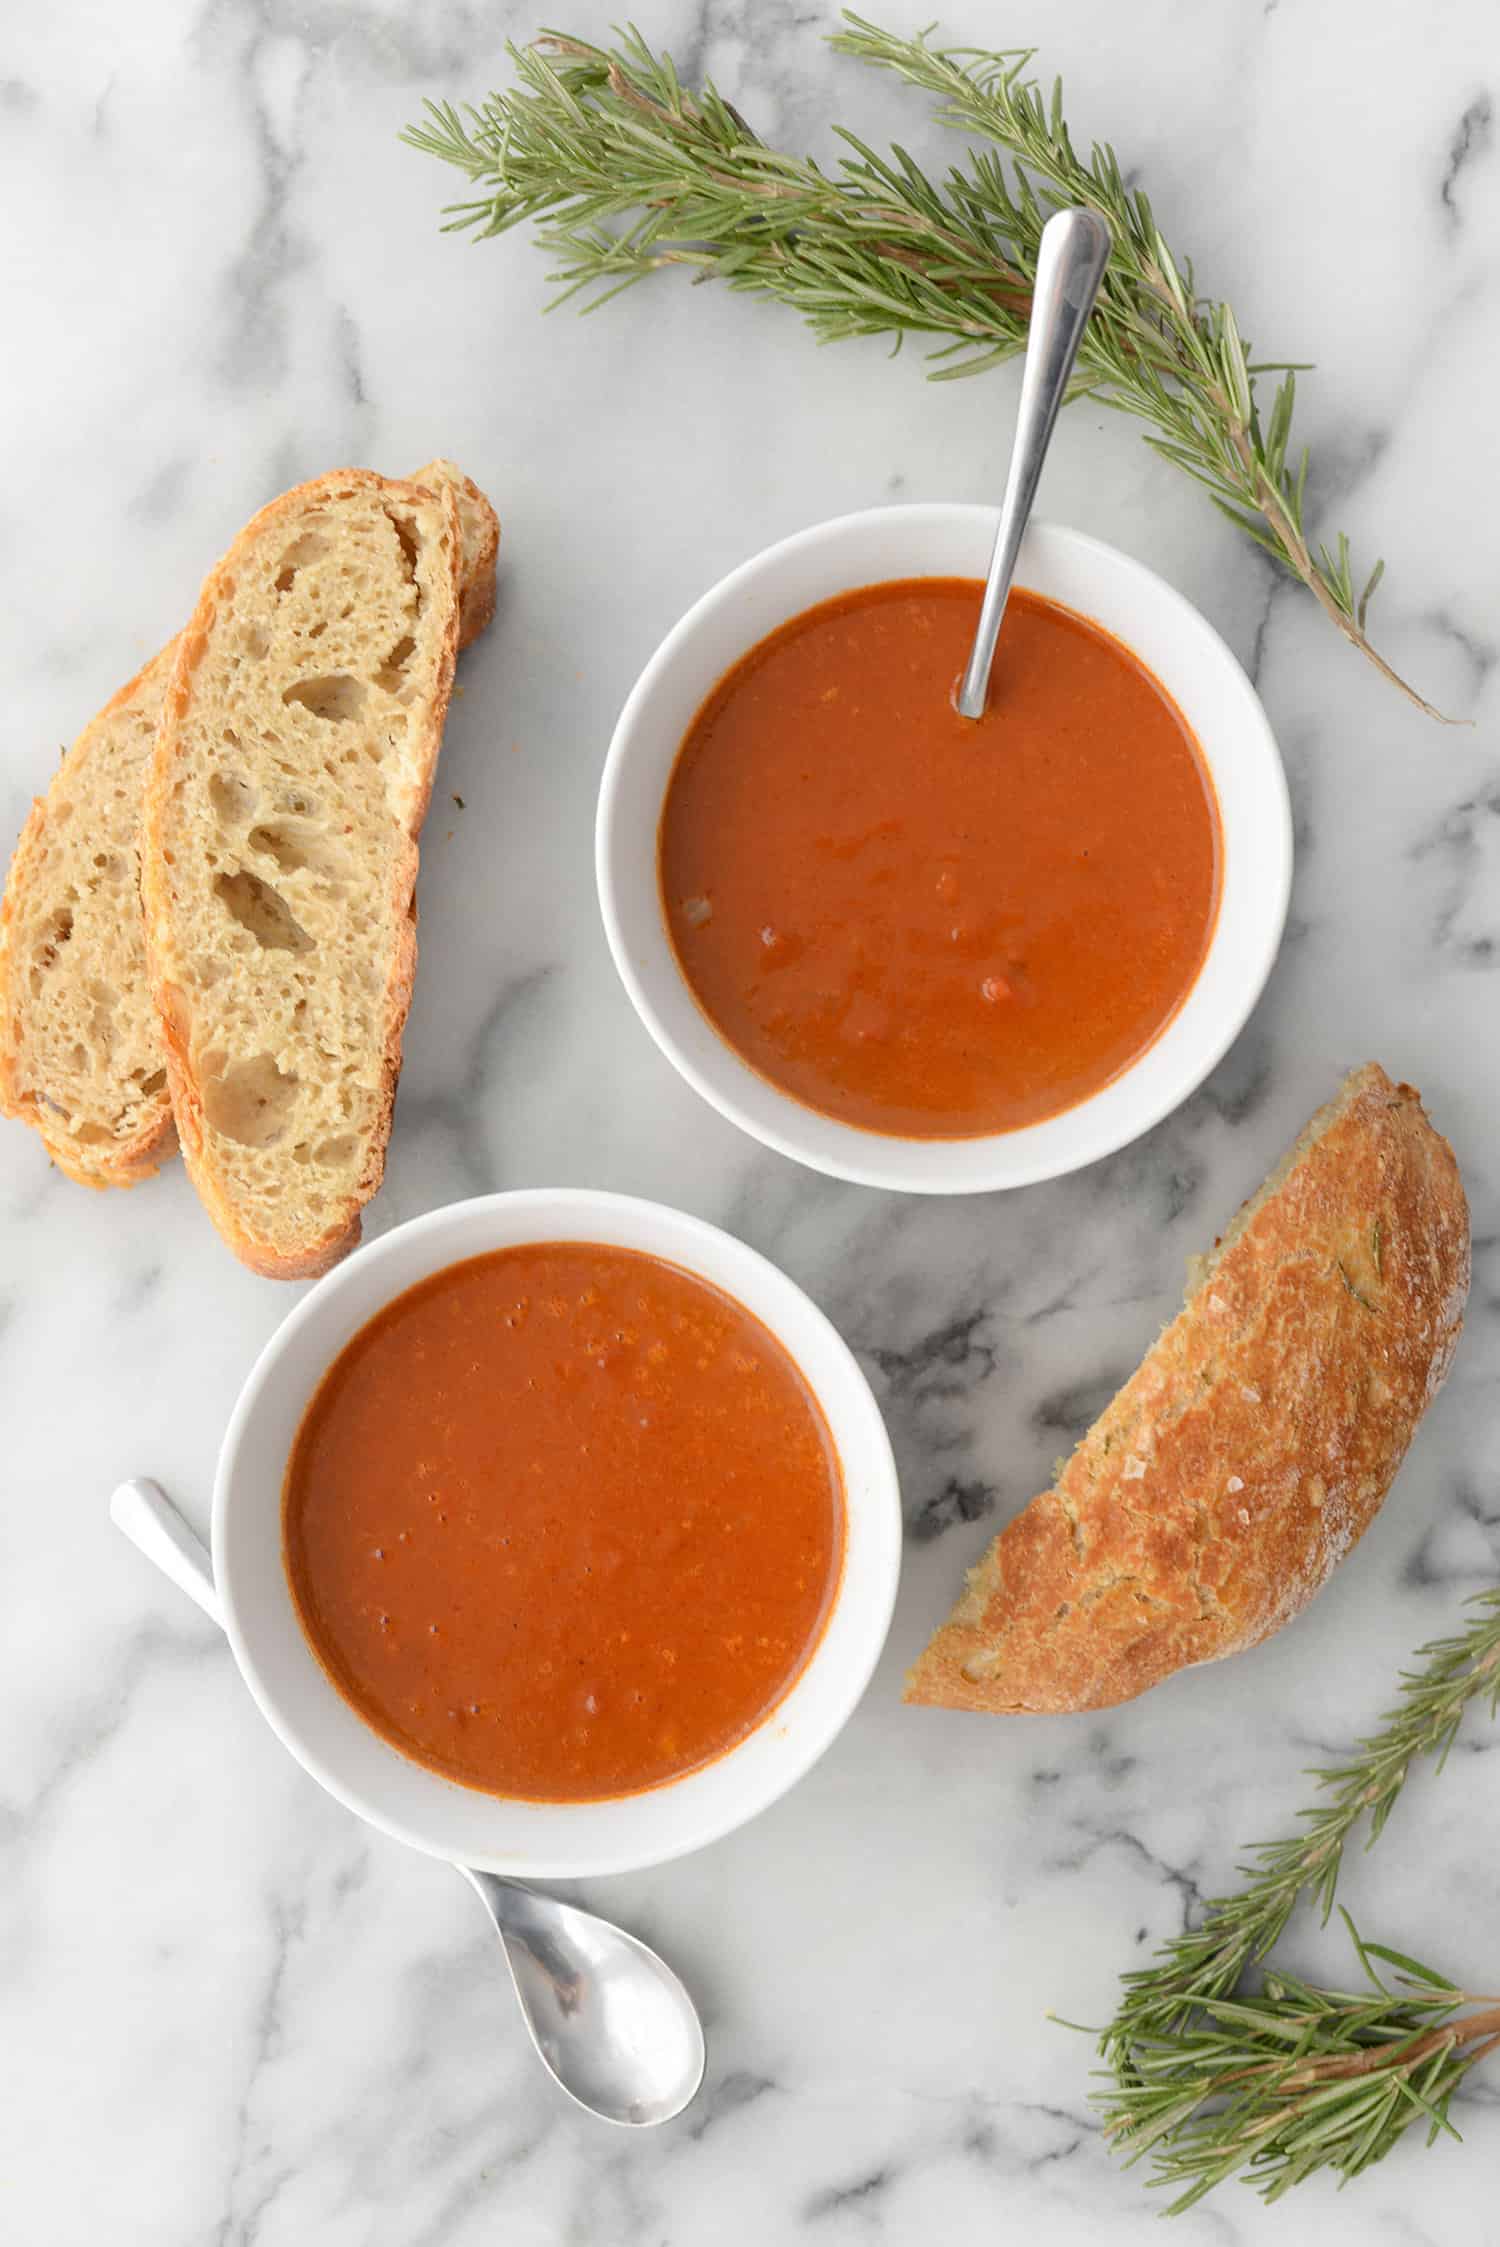
No Knead Whole Wheat Rosemary Bread Slices With Soup Bowls

How to Store Leftovers

Store leftover bread in a plastic bag, a bread box, or wrapped tightly in plastic wrap. 

If you’re not going to eat the loaf in 2-3 days, the best option is to freeze it for later. You can do this by wrapping the sliced bread in plastic wrap and then in aluminum foil and place in the freeze for up to 3 months. 

Counter Top Instructions for Instant Pot Bread

If you don’t own an Instant Pot, you can proof the dough on a warm spot on a counter until it has doubled in size, roughly 12-18 hours.

Before you add the dough to the bread pan, you want to make sure the bread baker to be piping hot when you put the dough in for the ultimate crust. I like to use either my dutch oven or this la cloche bread baker.

Tips For Making A Delicious Rosemary Bread Loaf In Your Pressure Cooker

Here are a few tips to making this recipe if you want crusty, bakery bread in just 4 hours. 

Don’t like rosemary? Swap it out for fresh thyme or other fresh herbs. Or, you can also skip the rosemary altogether!

If you have any rosemary leftover, use it to make this sweet and spicy nut mix.
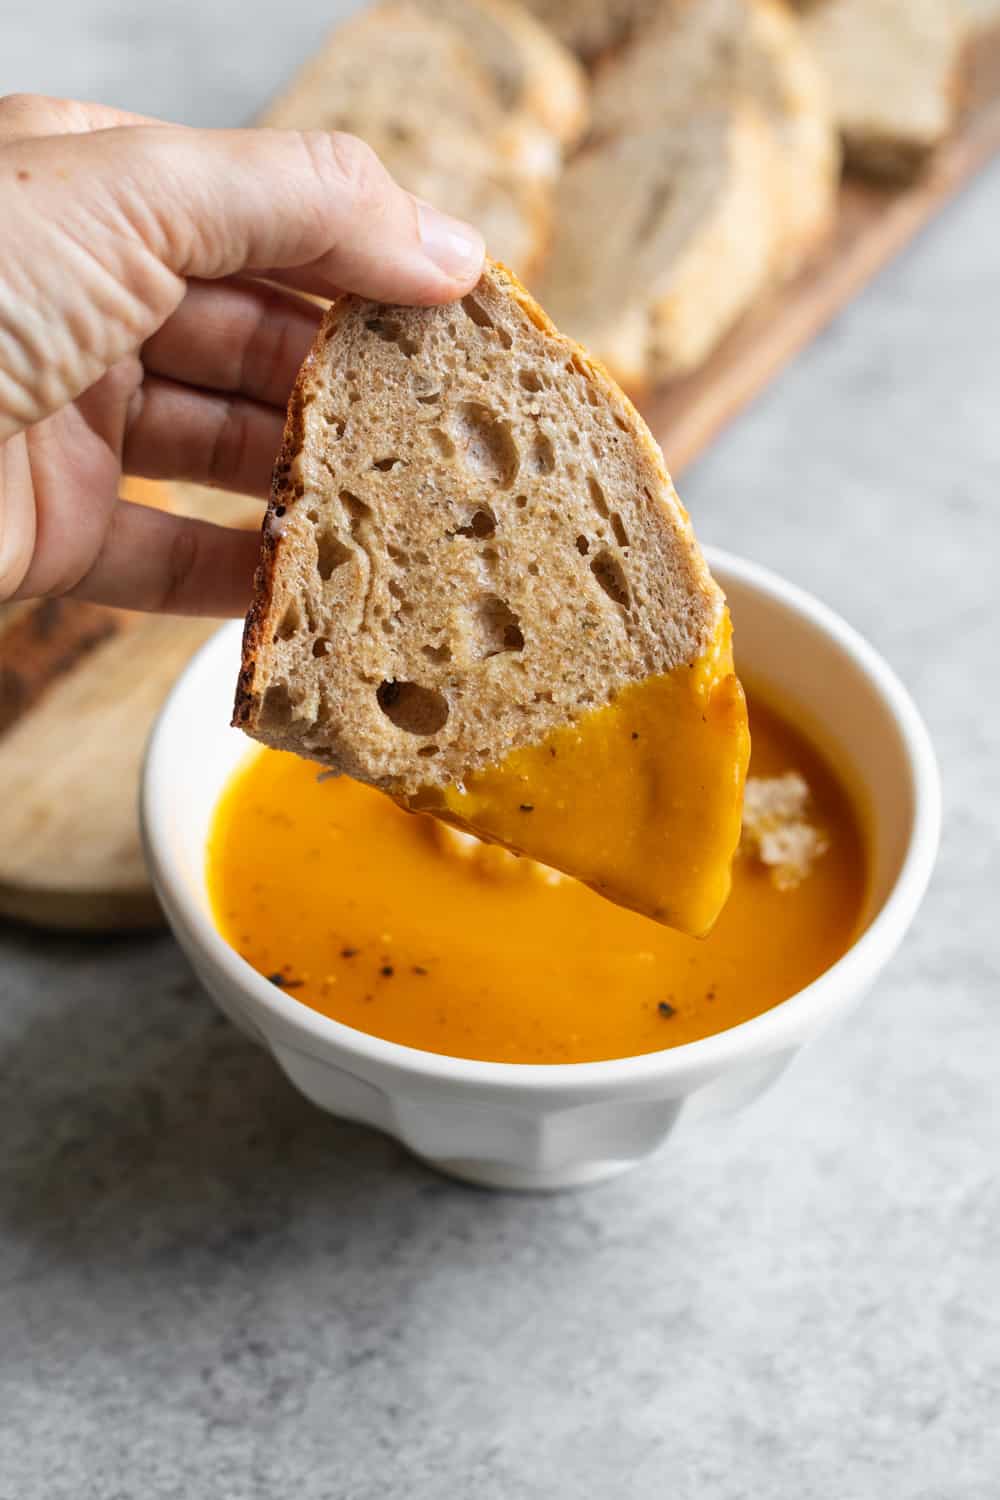
No Knead Instant Pot Bread

What To Serve Alongside No-Knead Rosemary Instant Pot Bread

See that gorgeous golden crust? It’s so delicious on its own, dipped into soups or made into sandwiches. Some of my favorites are this tempeh bacon BLT or just a simple vegan grilled cheese. My family and I love this bread paired with my Tuscan Kale Soup or my Slow-Cooker Tomato Basil Soup.

So yum!

More Baked Goods Recipes

Strawberry Lemonade Scones
Orange Olive Oil Cake
Banana Chocolate Chip Muffins
Vegan Cranberry Orange Bread
Pumpkin Cornbread Muffins

I hope you enjoy this rosemary Instant Pot bread as much as we do. If you try it, make sure to come back, leave a comment, and rate it. Your feedback helps others, and seeing you make my recipes makes my day!

Delish Knowledge

Video

No Knead Whole Wheat Bread made in the Instant Pot
4.89 from 9 votes
No Knead Whole Wheat Bread made in the Instant Pot! Want crusty, bakery bread in just 4 hours? Then you’ve gotta save this recipe!
Servings: 1 loaf bread
Prep Time: 20 minutes
Cook Time: 4 hours

Equipment

Ingredients 

  • 2 cups bread flour
  • 1 cup + 1 tablespoon white whole-wheat flour, or regular whole-wheat flour
  • 1 3/4 teaspoon salt
  • 1/2 teaspoon active dry yeast, not regular yeast
  • 2 tablespoons plus 1 teaspoon fresh chopped rosemary
  • 1 1/2 cups room temperature water
  • Olive oil, for brushing

Instructions

  • In a glass bowl large enough to fit in the Instant Pot, mix together the flour, salt, yeast and 2 tablespoons of the fresh rosemary. Then, add in the water and mix with a spatula or wooden spoon until just incorporated, taking care not to over-mix. Note the mixture will be very sticky and shaggy, like the photo above.
  • After that, place a trivet on the bottom of the Instant Pot, I used the top of a large mason jar turned upside down. Then, place the trivet directly onto the heating unit, as shown in the photos and the video– you will remove the inner cooking pot for this recipe.
  • Next, cover the glass bowl with plastic and place on the trivet in the pot. Then, turn on the yogurt setting and turn the vent to "venting". Set for 4 hours to proof.
  • When the dough is done proofing, it should be double in size. If not, proof another 30 minutes.
  • Preheat the oven to 450 degrees F and place a dutch oven with cover in the cool oven to warm up.
  • Turn the dough out on a floured counter and gently shape into a ball. I do this by pulling a corner up and to the center of the dough, then turn and repeat with the remaining 3 corners. Then I flip the dough over and shape into a smooth ball– this technique helps to stretch the dough one last time before baking and provide height and structure.
  • Brush with olive oil and sprinkle with sea salt and the remaining rosemary. Let stand on the counter while the oven is preheating.
  • Carefully remove the hot dutch oven from the oven and uncover. Gently place the dough ball into the dutch oven (I added a piece of parchment paper to prevent sticking) and cover. Place back in the oven and cook for 30 minutes covered. Remove lid and bake an additional 15 minutes until golden brown.
  • Remove bread from oven and let cool completely before slicing and serving. Cover any leftovers, which should last for 2-3 days.

Notes

No Instant Pot? No problem. First, make the dough as directed, then let proof in a warm spot for 12-18 hours until doubled in size. Then, bake as directed. See more in the post above.
*Bread flour will provide more structure, but all-purpose flour will work in a pinch!

Nutrition

Serving: 1loafCalories: 1321kcalCarbohydrates: 269gProtein: 47gFat: 8gSaturated Fat: 1gPolyunsaturated Fat: 3gMonounsaturated Fat: 1gSodium: 4079mgPotassium: 728mgFiber: 20gSugar: 1gVitamin A: 133IUVitamin C: 1mgCalcium: 94mgIron: 7mg
Course: bread, instant pot, whole wheat bread
Cuisine: American, Healthy, Vegan

This recipe was first posted in 2014 and updated in 2024. 

Leave a Reply

Your email address will not be published. Required fields are marked *

Did you make this? Rate this recipe!


84 Comments

  1. Question: I’d like to bake this so it’s hot out of the oven in the morning, but I don’t want to get up at 4 am to make and proof it. Could I make and put it in the instant pot to proof overnight and then take it out and bake it (following the pre-heated dutch oven instructions) in the morning??

    New to breadmaking AND instant pot use, but ready to jump in and see what happens 🙂

  2. 5 stars
    I made this last night (my first ever attempt at bread) and it turned out perfectly. I would love suggestions on how to adapt to make various types of bread. I might try this today with cinnamon instead of rosemary but I’m not sure if sugar will mess with the yeast.

    1. So glad it worked for you! The cinnamon won’t interact with the yeast, and most combinations will work. I’m going to try a cinnamon raisin bread like this soon- I’ll post the final results ASAP.

  3. IP newbie question: in the yogurt setting, are you in ‘sealed’ or ‘venting’ mode?

    1. Hi Carly- venting mode. I’ll update the recipe now!

  4. Nancy Breland says:

    OK, so I made this recipe exactly and proofed for the 3 1/2 hours in the Instapot – however, the dough was so runny and wet that it did not hold any shape. I had a time just getting it off of the floured surface to put it in my dutch oven to cook. Are you sure 1 1/2 c of water? I am baking this now -will let you know if it is eatable.

    1. Hm, Nancy- I’m not sure what happened. I make this recipe often and the ratio should be 3 cups flour to 1 1/2 cups water. The original no-knead bread calls for 1 5/8 cups water, but I use 1 1/2 cups and it does work. I wonder if your flour measurement was off a bit? Let me know how it turns out- it should be a shaggy dough (like the photo) but not wet.

  5. 5 stars
    I followed this recipe to a T and it is THE best bread I’ve ever made! It actually looked exactly like the pictures: same shape, same color, same texture and toppings on top. Chewy, soft, crusty, moist. I claimed there would be no leftovers for anyone else to try, but my boyfriend and I were full after two slices each, we have leftovers. They will be gone by tongiht’s dinner. Thank you so much!

  6. Beth Fuchs says:

    Any thoughts on making this in a bread machine? I love my Instant Pot, but think this would be awesome in the bread machine.

    1. Hi Beth, I don’t have a bread machine so I can’t say whether or not it will work. If you try it- let me know!

      1. Beth Fuchs says:

        5 stars
        I did finally make this in the bread machine a couple of nights ago. It was really good but I did need to add more flour. I would say I added about 1/4 cup of flour and probably could have added a bit more as the dough wasn’t quite right for the bread machine. My husband thought it was a little salty, but I think he got a bite of the crust. When the bread was baking, I spritzed the top with olive oil and sprinkled some rosemary on top as well as some fleur de sel salt. I saved a couple of slices and made some of the best croutons ever with those bread slices. Thanks for a great recipe!

        1. Thanks Beth! I know your comment will help others who want to make it in the bread machine!

  7. 5 stars
    Thanks for recipe!!
    **I proofed countertop and I do not own a Dutch oven**
    I used whole wheat flour and I realized after the fact my pressure cooker does not have a yogurt setting – so I left on my counter to proof. I live in Honolulu so I was hoping the general humidity would suffice..
    I let proof for 18 hours – the dough seemed small and a bit gooey..
    But I proceeded anyway! I took out the ceramic pot in my crockpot and cooked the bread in that in the oven.

    Overall – I ended up with a small loaf but I’m super pleased!! It’s hearty and cooked through! The fresh rosemary really was a game changer.
    Thanks!!!

    1. Awesome! Thanks for the review!

  8. 4 stars
    Made this today along with tomato soup using my IP. Good flavor – husband gives it good review!! Mine was a little dense, and the crust (top and bottom) was pretty crisp (hard to cut through). Suggestions for next time?

    1. Hi Sharon-

      So glad you liked it! Few thoughts: if it was dense, I’d recommend proofing it a little longer. Perhaps going the full 4 hours. How long did you proof it for? If you plan on making this often, you might consider using bread flour, which will produce a taller and less dense bread than all-purpose flour. When you measure flour using cups, make sure not to pack flour too dense in a measuring cup, otherwise you will end up with much more flour than you need, and, therefore, the bread will come out denser. You can either weigh the flour (I don’t do this, but my baker mom refuses to measure flour and only weighs it.) or aerate the flour before measuring it. Was the bread overcooked? My crust was crunchy as well, but in a good way. Did you use a dutch oven to cook it in? Just in case, make sure to preheat the oven with the Dutch oven inside. Once the oven is preheated, place the dough inside of the Dutch oven and covered with its lid. Preheating the Dutch oven before adding the dough replicates the extreme radiant heat used in a professional bread oven.

      1. Also- if you make the recipe again and do any of these changes, let me know so I can add the issues to the notes. I’ll also plan on redoing this recipe ASAP to see if I get any of the density/crust issues to troubleshoot on my own.

      2. Does it matter what size Dutch oven? I’m wondering if that is why the bottom of my loaf burnt.

        1. Oh no! I’m sorry your loaf burnt. Was the loaf sticky when added to the pan or did it feel like it was well floured? Did you line with parchment paper? That may help next time.

        2. Also- it shouldn’t matter which size as long as the loaf fits into the dutch oven. What size did you use?

      3. Mary Eleanor Dixon says:

        When I make “no knead” bread, the first proofing is in the oven with the oven light on. There is just enough heat to proof with great results. On top of that, I noticed the so tough crust but it was better if I bake at 430 then 450. If in doubt, lower the temp every time until you have the crust you like the most. I haven’t tried this recipe yet but I am looking forward to it.

        1. Let me know what you think!

  9. I would love to try this but my Instant Pot does not have the yogurt setting 🙁
    Any thoughts about using the warm setting on my regular crock pot?

  10. So gorgeous – especially with that soup! I was ready to believe you cooked the whole thing in the Instant Pot … on the saute setting or something. Glad traditional baking is still best for bread. 🙂 I do love my IP, though, and wonder if you’ve tried the yogurt setting for actually making yogurt? It’s one of my goals for 2018.

    1. Hi Jane- yes! Still baking it in the oven, though the yogurt setting means that this bread is proofed and ready to go in just 3-4 hours, a fraction of what it normally takes for no-knead bread. I haven’t used it yet, but plan on doing so soon. As always, I’ll make sure to share it here.

    2. I absolutely love my IP yogurt. I use 1 gallon of 2% milk and push the yogurt button where it says “BOIL” (It doesn’t actually bring it to a boil though) when it beeps, take the IP liner iout and put it in an ice bath. Stirring, bring the temp down to 100-110 degrees F. At that point add in 4 tbls of 2% Fage Greek yogurt. Stir it in well. Then put the liner back in the IP and set the yogurt button and adjust time to 8 hr. When it’s done, strain the whey out. I just a colander lined with coffee filters. Strain till your desired consistency in the fridge.

      Getting ready to try this recipe for the bread, only I’m going to try all WW flour. Wish me luck.