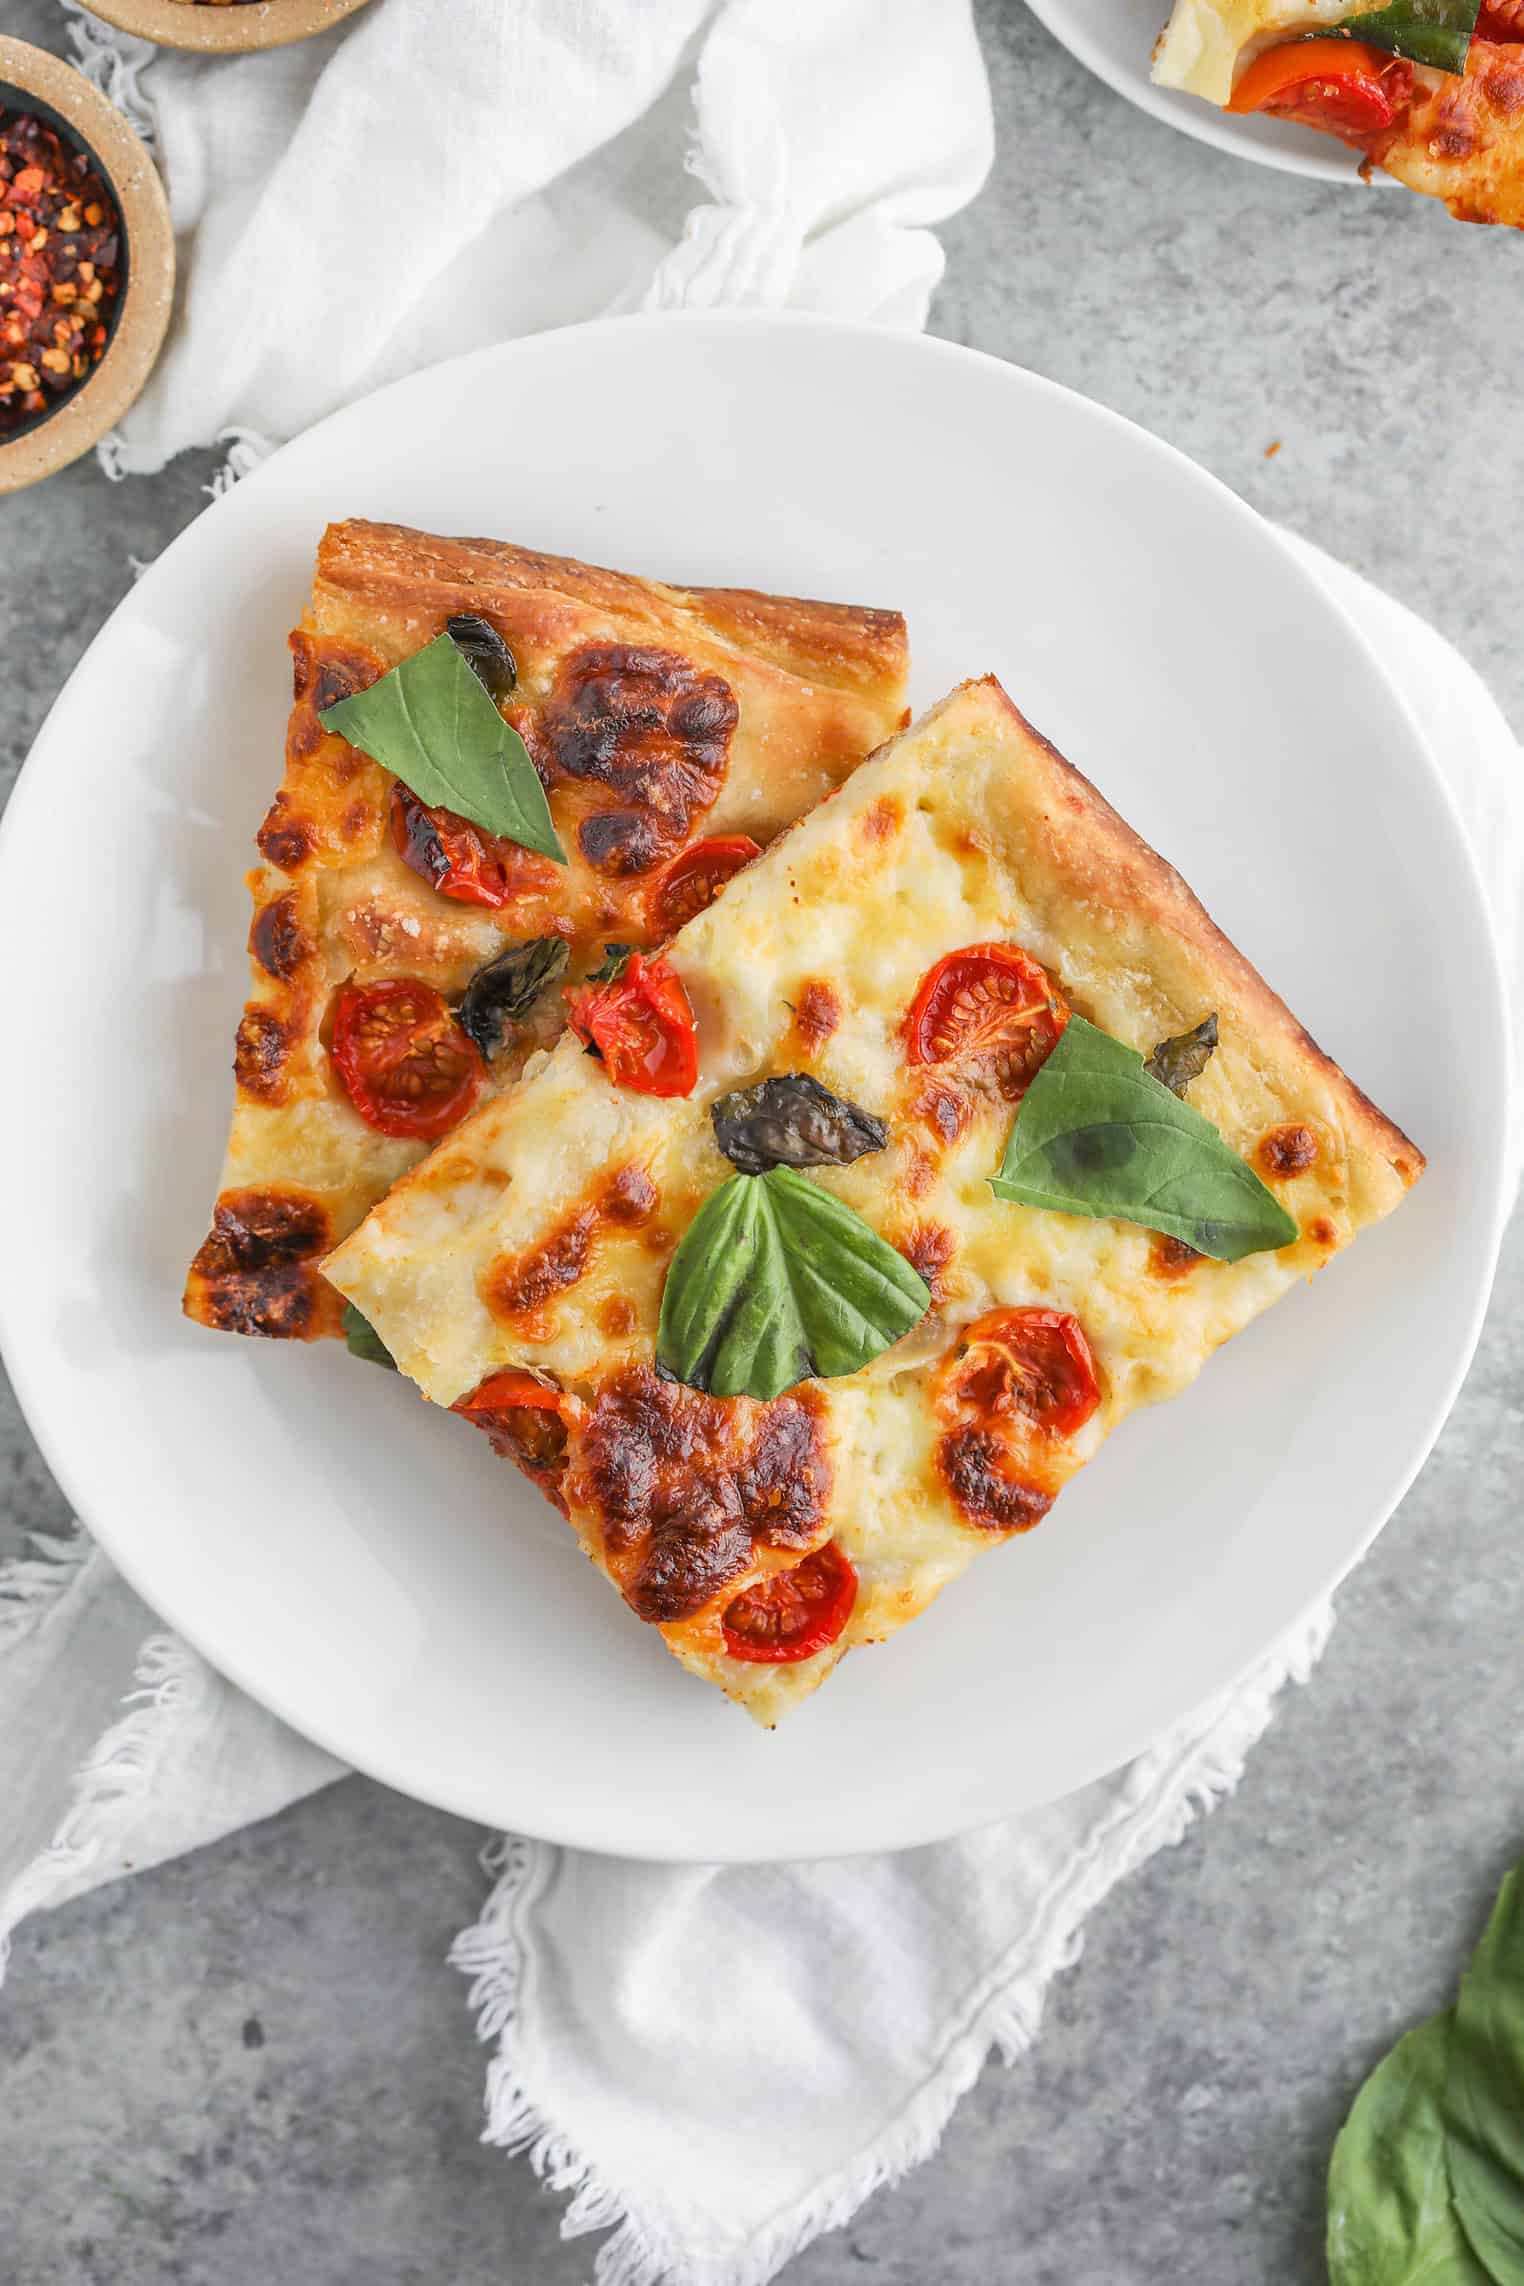
Sourdough Margarita Focaccia Pizza
One part sourdough focaccia and one part margarita pizza! The perfect hybrid of two perfect foods– I love this focaccia pizza as a pizza, as a dipping bread, or with a salad for a twist on pizza night.
Two of my favorite foods are focaccia and pizza, so it was only a matter of time before I combined them and created this happy hybrid recipe for focaccia pizza.
If you are new to making sourdough pizza, I’ve included many tips for success below, including step-by-step photos.
Why I love this recipe
Friday night is pizza night in my house. Ever since restarting my sourdough starter at the beginning of the new year (mostly for my sourdough waffles and sourdough discard crackers!), I’ve been on a big sourdough pizza kick.
For those nights, we usually favor a simple margarita pizza– a thin, sourdough crust, pizza sauce, fresh mozzarella and basil, and little else. It’s perfection and proof that once again, simplicity sometimes is best.
Then, I wanted to make a deep-dish version of our favorite pizza with the same ingredients as above, plus maybe a few more veggies for good measure. After testing and retesting a sheet-pan sourdough pizza for weeks, one night, I came up with this—a mix between sourdough focaccia and margarita pizza.
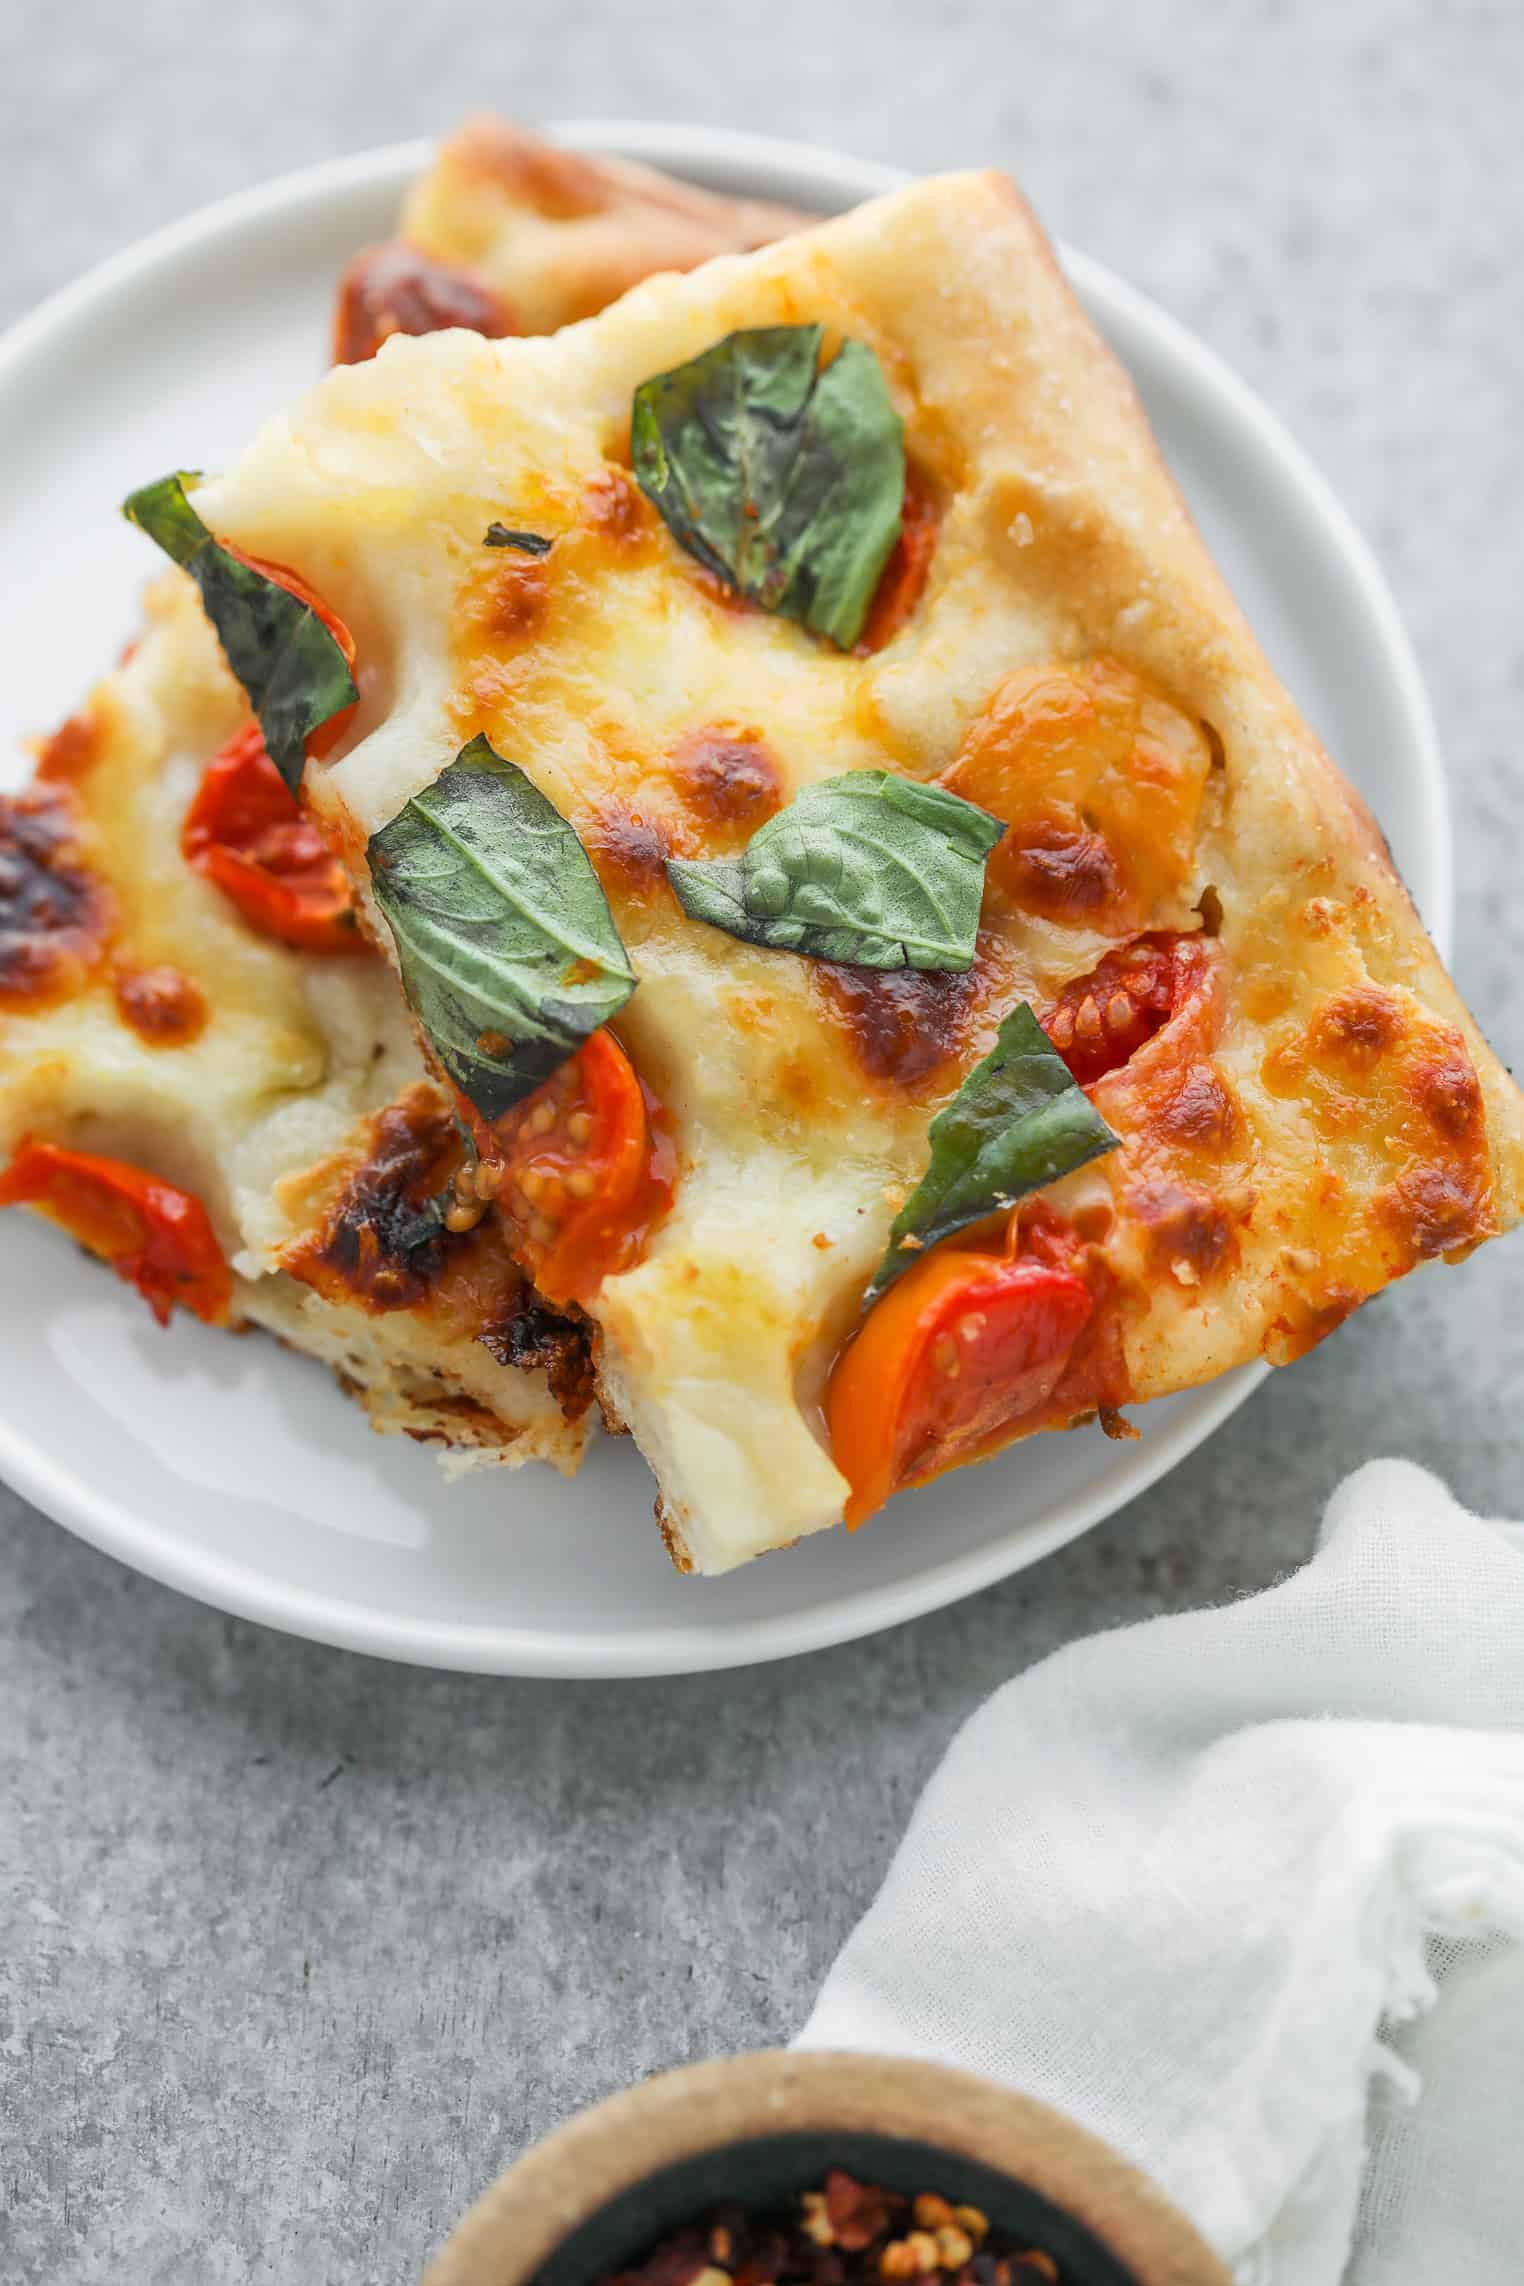
The dough is dimpled and perfectly golden brown, with bits of cheesy mozzarella and cherry tomatoes throughout. It’s finished with a drizzle of good olive oil, some flaky sea salt, basil, and, well, you don’t need anything else.

Ingredient Notes
You’ll need a fed sourdough starter for this recipe. You can create and feed this yourself, borrow a sourdough starter from a friend, or even buy a starter! My friend Amanda at Heartbeet Kitchen sells one here.
I prefer using an all-purpose bread flour for this focaccia pizza. Bread flour has a higher protein content than all-purpose flour. This higher protein content leads to greater gluten development, which is what gives bread its structure and chewiness. In focaccia pizza, this translates to a more open, airy crumb with a good chew.
This strength also helps the dough retain its shape during the long fermentation process and when it’s topped with ingredients.
Bread flour contains 12-14% gluten, whereas all-purpose contains 8-11%. All that said, you can use all-purpose if that’s all you have.
I also like using fresh balls of mozzarella for this focaccia pizza, just as I would for my homemade margarita pizzas. You can use fresh or low-moisture mozzarella. If you use mozzarella shreds instead of the fresh, then you’ll want to sprinkle the cheese all over the proofed dough, instead of dolloping the cheese.
Cherry tomatoes taste good all year long and are, therefore, my go-to pick for this recipe. Using fresh tomatoes also makes this more of a focaccia and less of a pizza compared to using pizza sauce. In the summer, slices of good tomatoes will also work.
Lastly, I add basil towards the end of cooking and also on top– I adore the crispy basil leaves on margarita pizza, but you can opt for only garnishing with fresh basil if desired. Or, you could drizzle the finished focaccia pizza with my vegan pesto!
If you like a spicier pizza, then I recommend using red pepper flakes and/or using a spicy red pepper oil, like this one from Kosterina.
How to Make this Focaccia Pizza: Step-by-Step Directions
If you are new to making sourdough pizza, I’ve included photos of each of the steps to walk you through how the dough should look at each stage.
Step 1: Mix the dough ingredients
In a large bowl, mix the sourdough starter and water together until combined. Add in the flour and salt.
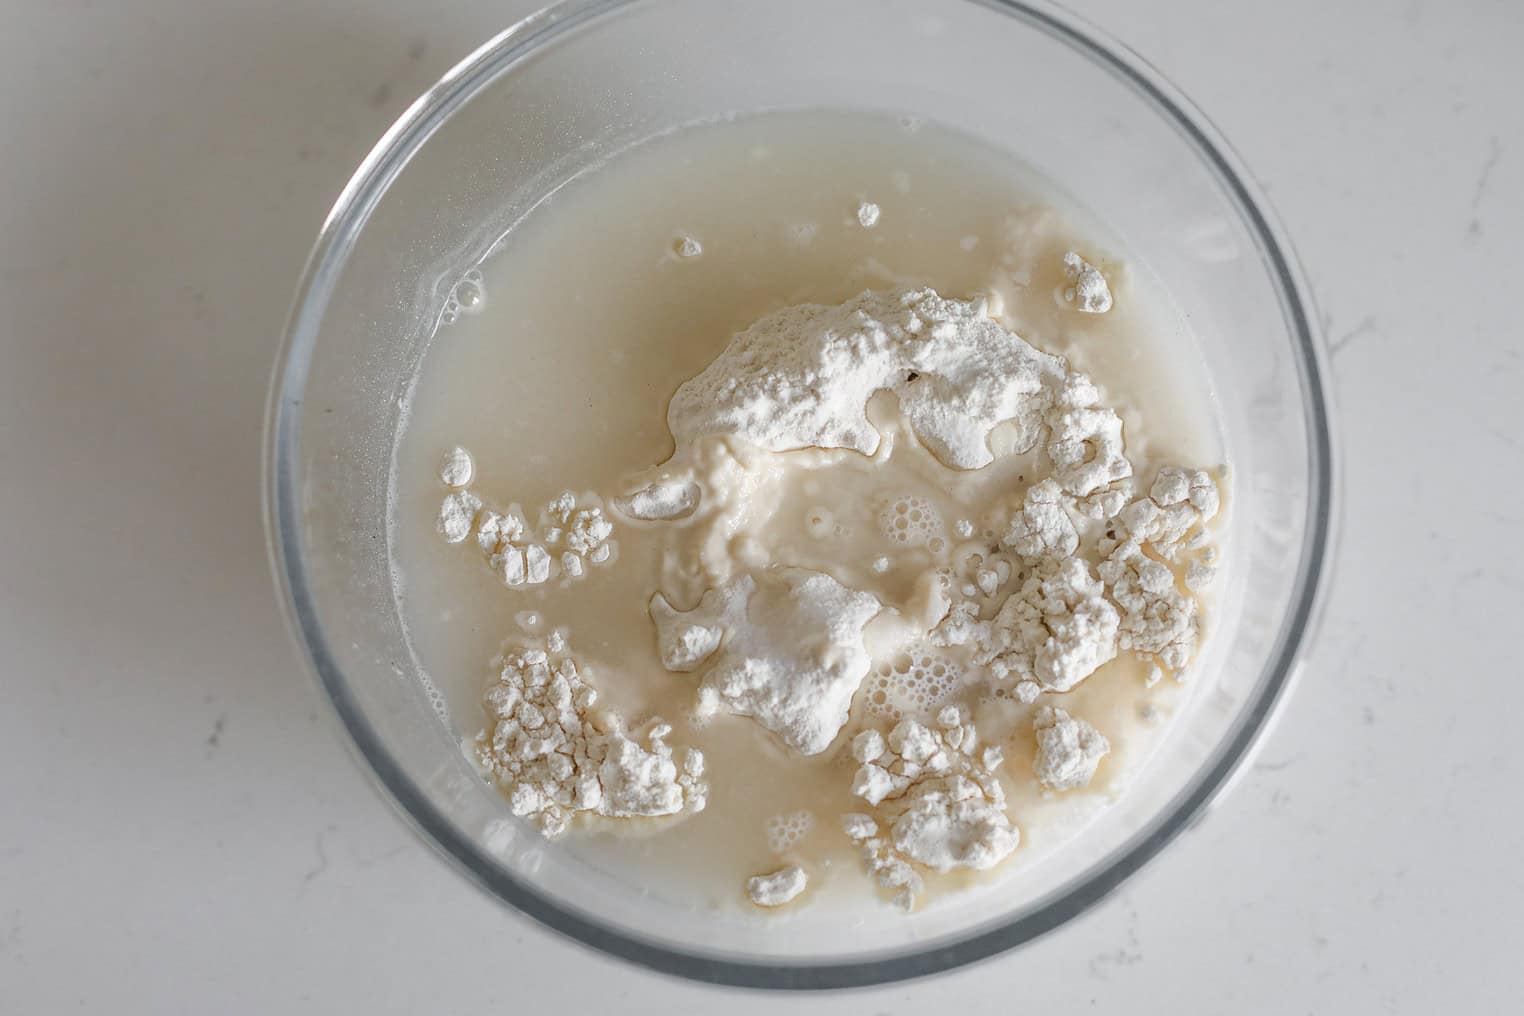
Step 2: Make a shaggy dough
Mix together the dough. It should look shaggy, with most of the flour incorporated. Cover with a damp towel for 30 minutes.
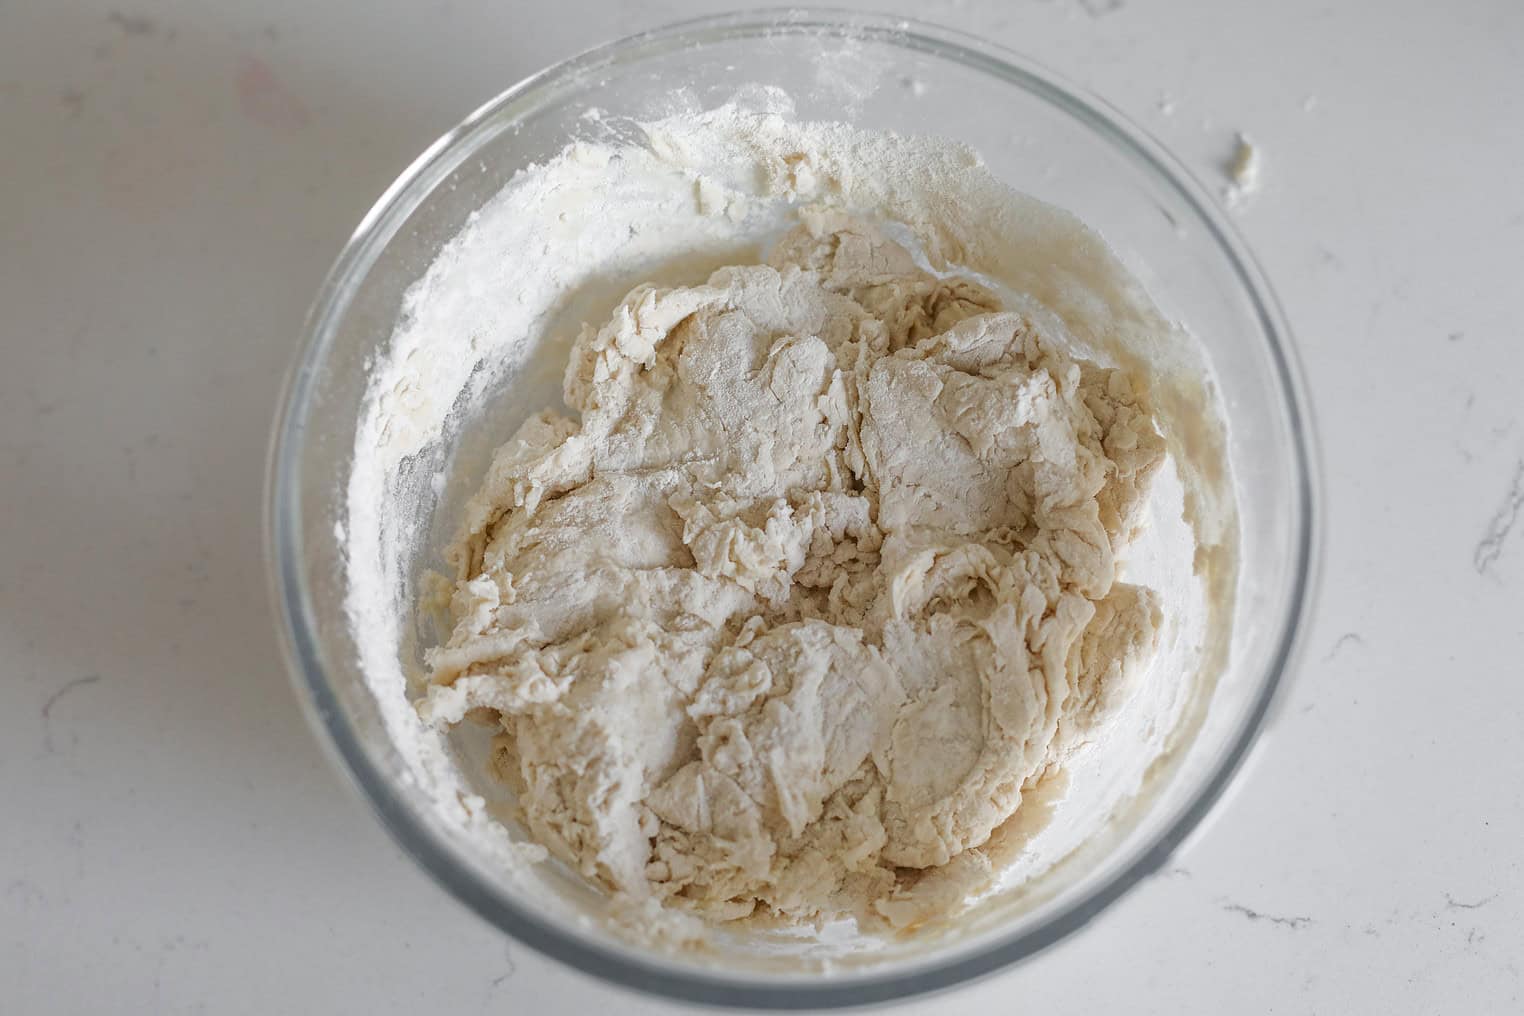
Step 3: Stretch and Fold
Perform 4-6 sets of stretch and folds, waiting ~30 minutes in between each set. Using your hands, pull a portion of the bottom part of the dough up and fold over on top, then repeat, turning the bowl so you are pulling portions all the way around the bowl. Each time you perform the stretch and folds, the dough should become more elastic and less shaggy.
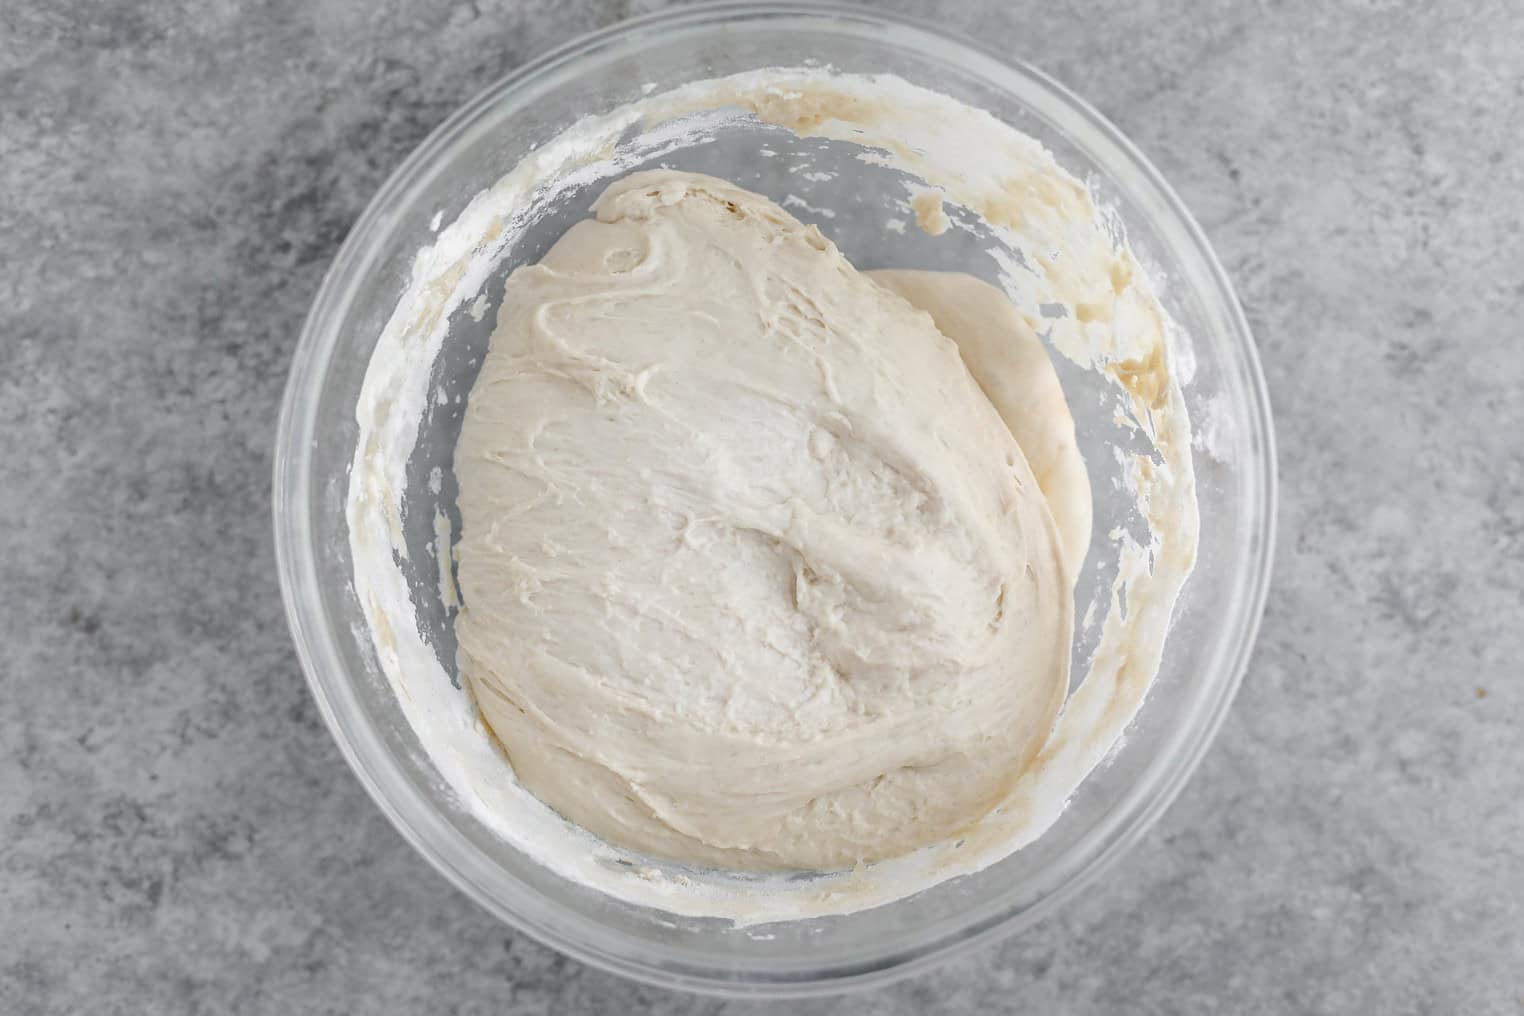
Step 4: First Proof
Cover and let rest overnight until dough has doubled in size, about 8-12 hours. Go by size and not hours as how long it takes to double in size will depend on the temperature of your kitchen.
Step 5: Oil the Dough
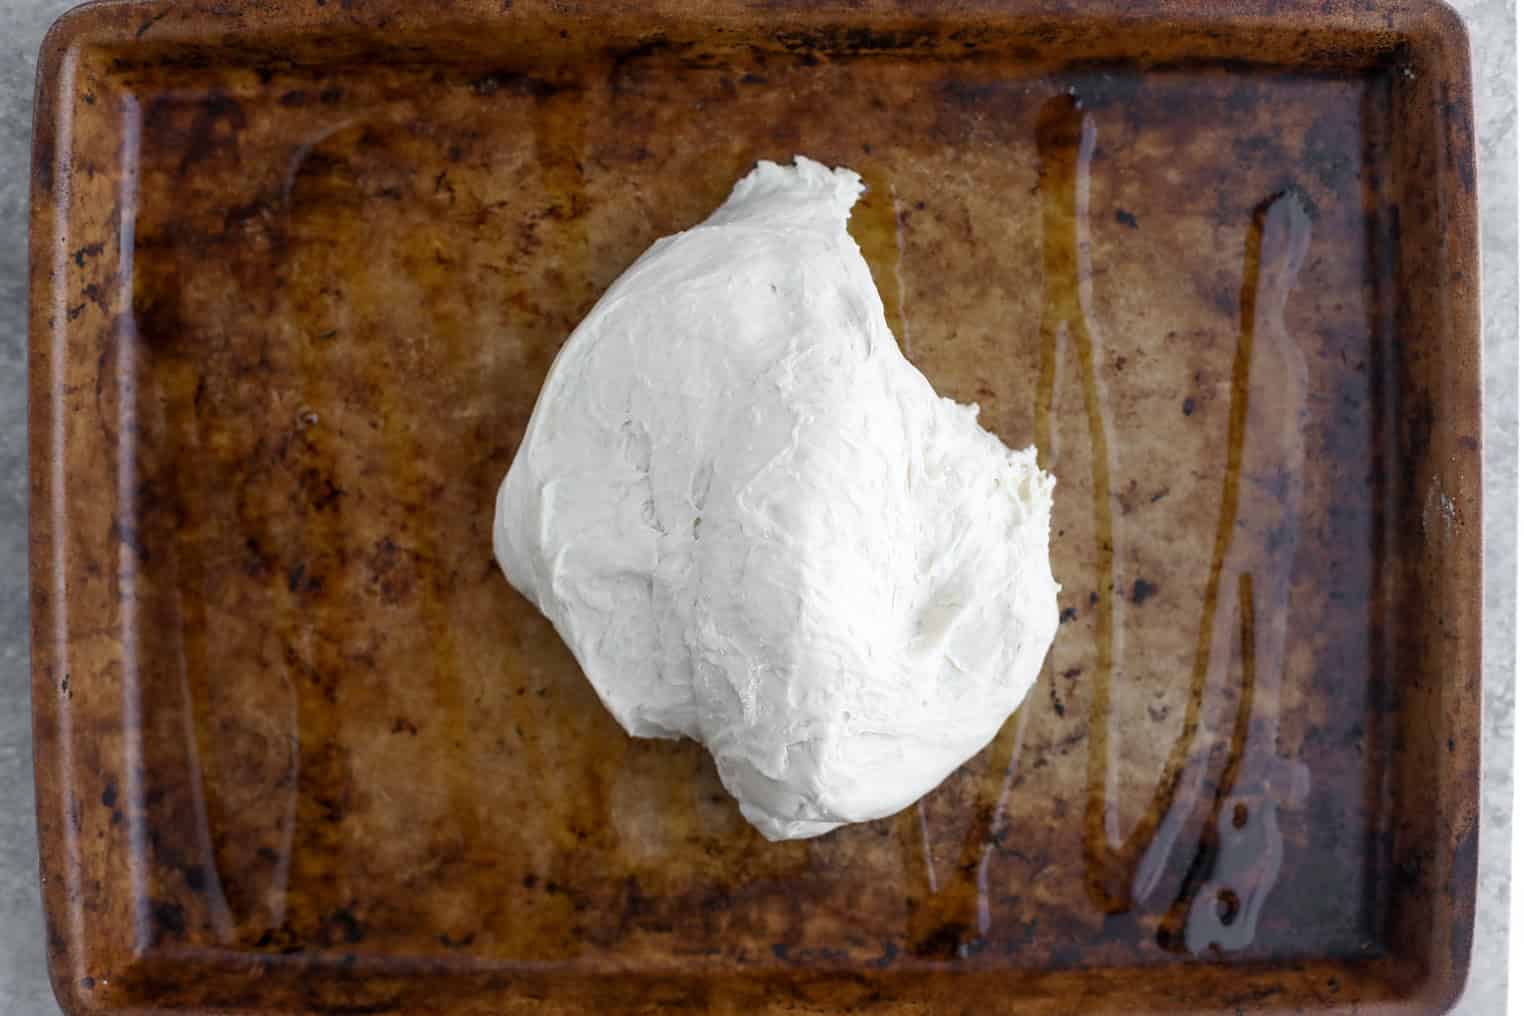
When the dough has finished its first proof, add 1/4 cup of olive oil to your pizza pan and add the dough.
Step 6: Dimple the dough
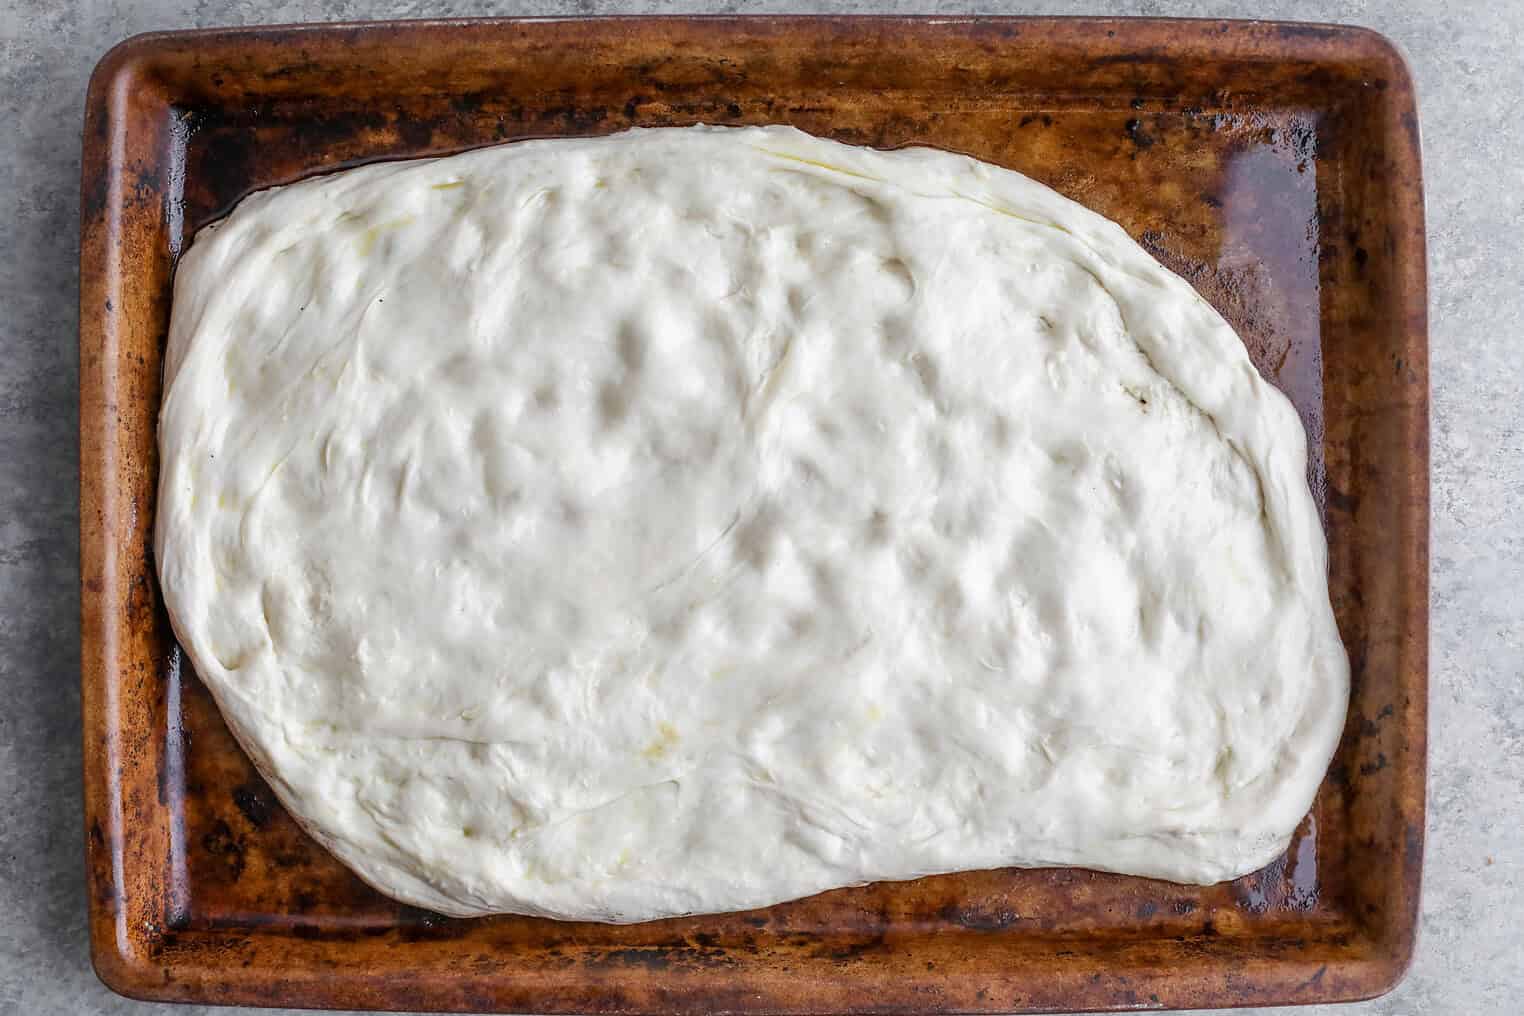
Lightly oil your fingertips, and gently dimple and stretch the dough, trying to reach the corners and sides of the pan. As the dough relaxes, it will spread out. It’s OK if the dough is tight, don’t force it. Let the dough sit, and then try again. It doesn’t need to touch the edges now, but should be close.
Step 7: Cover and Proof Again
Cover the pan with an inverted baking sheet and place in a warm spot to proof for 30 minutes.
Step 8: Dimple Again
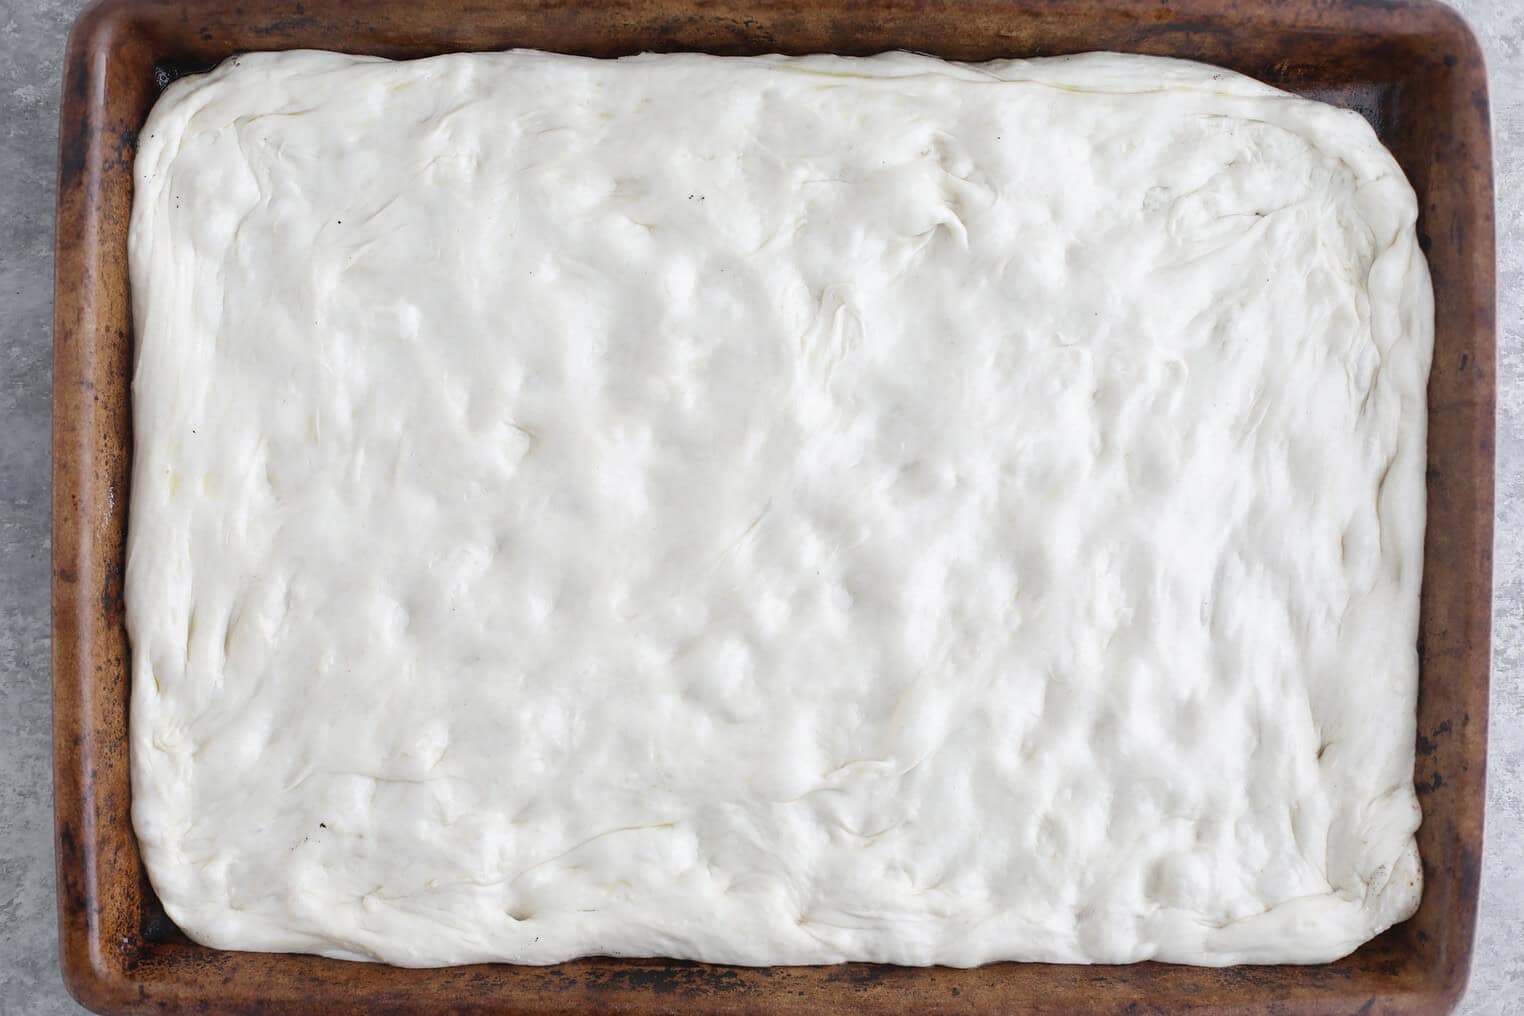
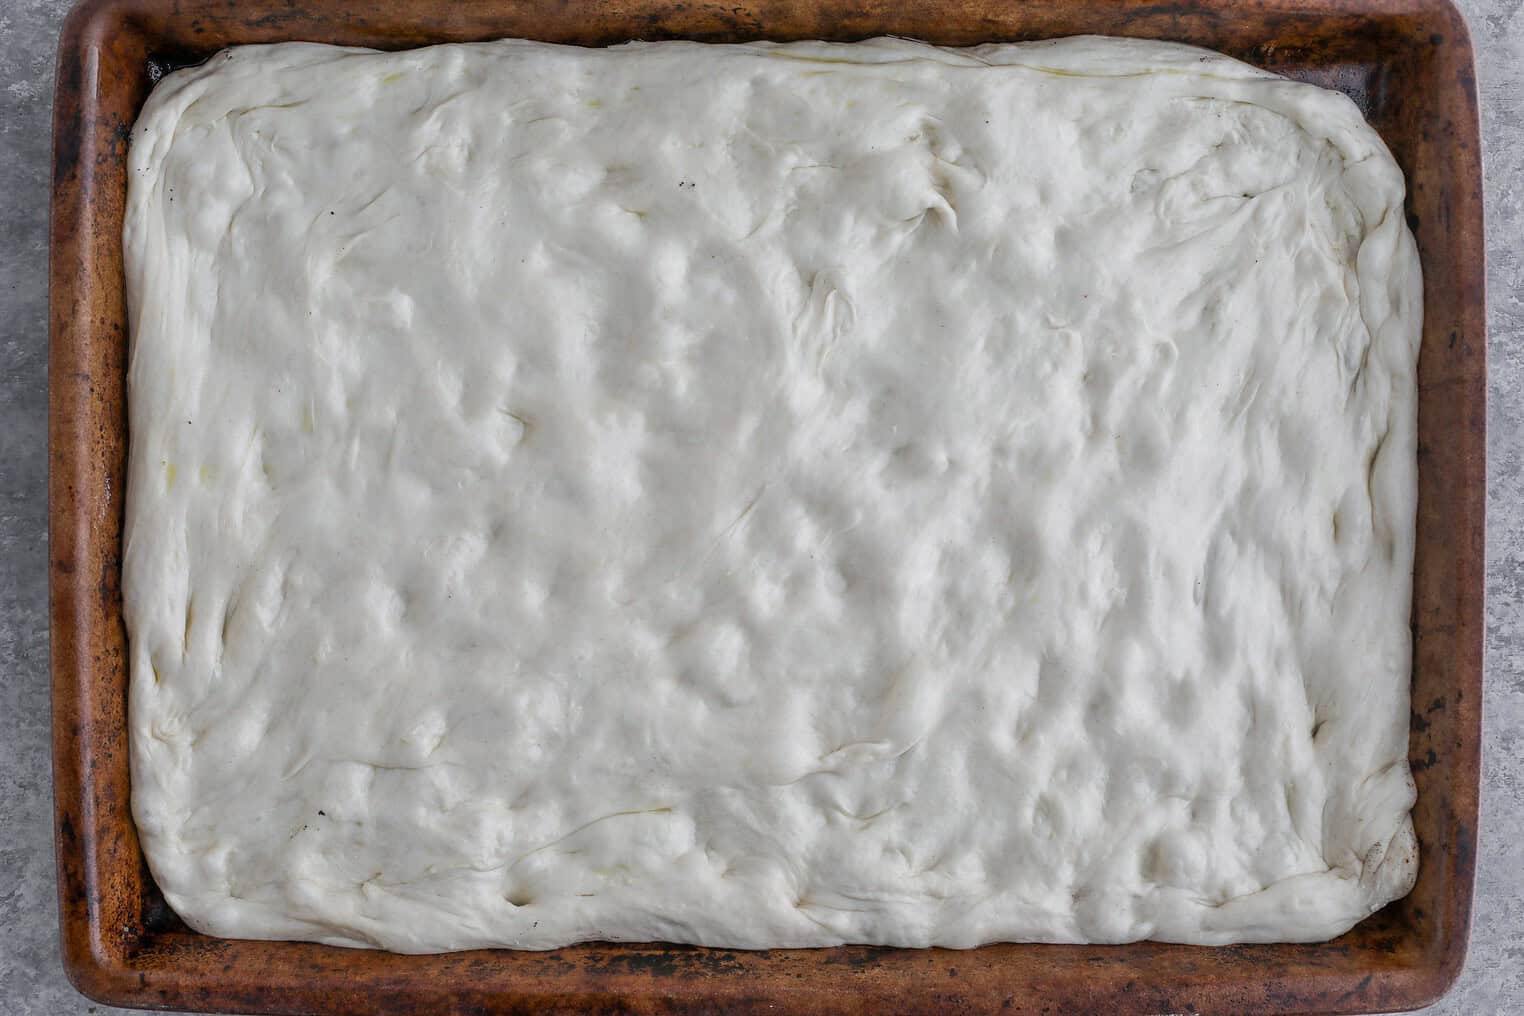
Preheat the oven to 450 degrees. Remove the cover and dimple the dough again, like you did before. It should easily stretch to the edges of the pan.
Step 9: Top and Bake
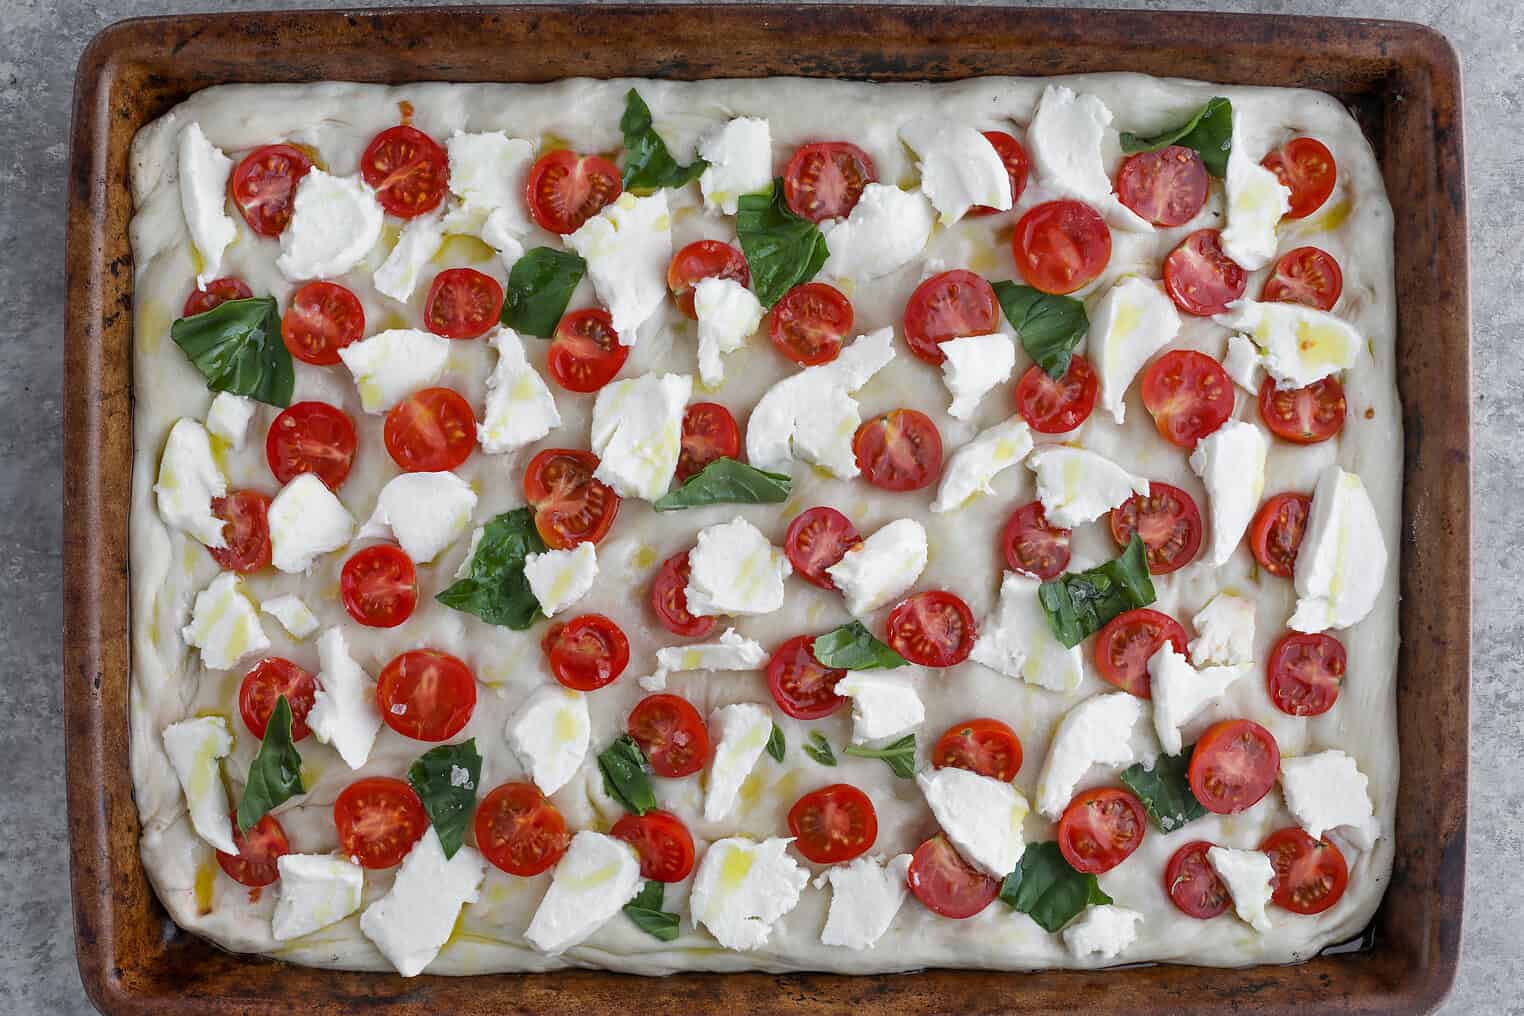
Top with the cherry tomatoes, pressing them into the dough. Dollop pieces of fresh mozzarella all over, then sprinkle with flaky sea salt.
Step 10: Bake
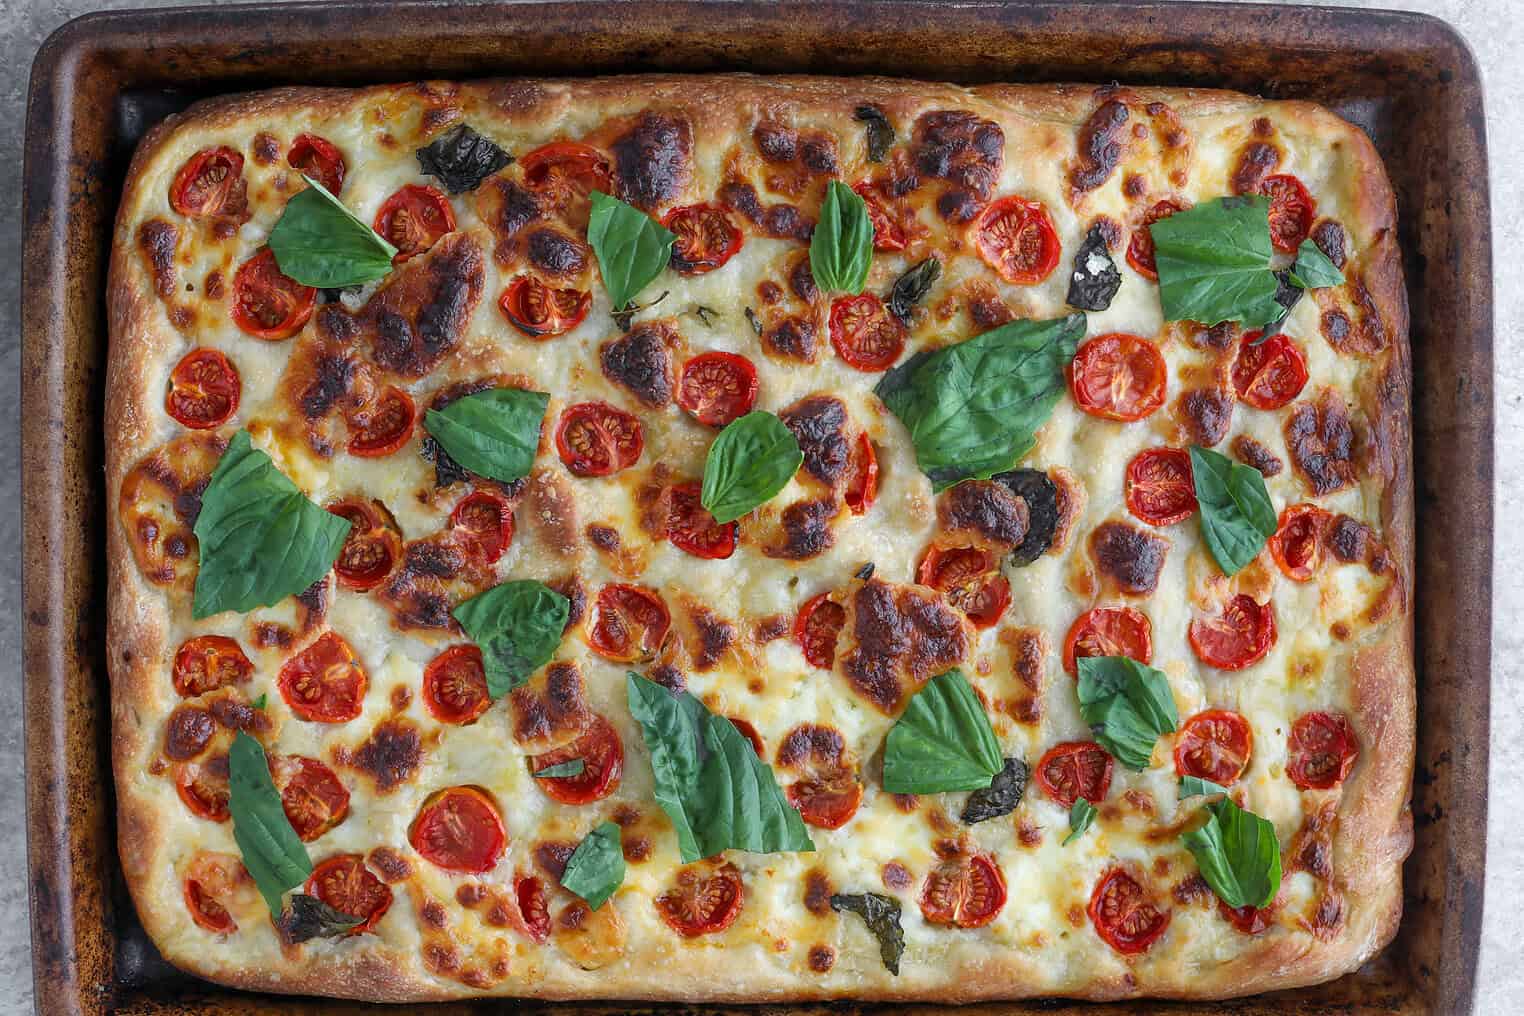
Bake for 20-25 minutes until the crust is golden brown. Remove, drizzle with good olive oil if desired, top with fresh basil and enjoy!
Timing Notes
In making sourdough, the fridge is your friend! Anytime you want to pause the fermentation, pop your dough in the fridge.
For example, if you don’t want your dough to proof too quickly overnight, and you’ve prepped it with stretch and folds at 4 PM, pop your dough in the fridge and take it out before you go to bed to proof overnight.
The same goes for overnight proofing. As I usually make this pizza for dinner, I proof the dough overnight and then put it in the fridge in the morning before I’m ready to make it later that afternoon.
This is how I usually time this recipe: Combine the dough before dinner, around 5:30 PM. Let it rest for 30 minutes, then perform four or so stretches and folds 30 minutes apart.
Before I head to bed, I cover the dough and let proof for 10-12 hours. My kitchen is fairly cold, even in the summer, so it usually takes at least 10 hours.
Then I place the dough in the fridge until I’m ready to make this, usually for dinner the next night. I’ll remove the dough from the fridge around 5, let proof for 30 minutes and bake around 5:45/6 for dinner.

Tips for Success
I highly recommend reading over the entire recipe before making, especially if you are new to sourdough. Timing is a big part of successful sourdough pizza dough and understanding the timing notes will help you determine when you want to start.
Remember that the fridge is your friend to slow the proofing down at any time. You shouldn’t feel like you are beholden to a strict sourdough schedule– you can pause and restart whenever you need using the fridge. Sourdough is forgiving, especially compared to using yeast!
Make sure your sourdough starter is fed and active. It should be bubbly. A healthy starter will be full of bubbles of all sizes, both on the surface and throughout the starter.
Your fed starter should be doubled in size. This is the most important sign. Your starter should at least double in volume within a few hours (typically 4-8) after feeding. This shows that the yeast is actively fermenting and producing gas. I typically feed in the morning so I can assemble the dough in the afternoon.
Equipment Notes
Making sourdough pizza at home is a rewarding experience, but having the right equipment can make all the difference. Here’s a rundown of essential and helpful tools:
Digital Kitchen Scale: Precision is key in sourdough baking. A digital scale ensures accurate measurements of flour, water, and starter, which is crucial for consistent results. It’s why I’ve given ingredients in grams and not in cups.
Proofing Container: A container with a lid is essential for the bulk fermentation and proofing stages. A clear container lets you see how the dough is rising. You can use a dedicated proofing box, a large plastic container, or even a clean, clear food storage container.
Dough Whisk: Makes incorporating ingredients into the dough much easier, especially during first stage. If you don’t have a dough whisk, then I recommend a wooden spoon and not a spatula.
Proofing Mat: You don’t need this! But, if your kitchen is as cold as mine is (hello, 100+ year-old home) then it’s nice to have, especially in the winter months.
Baking Pan: When I make homemade margarita pizza, I use my baking steel which ensures a good, crispy crust every time. When making focaccia pizza, you’ll also want to make sure that you have a good bar pan for the crispy crust. My stone bar pan is one of my favorite items in the kitchen– it’s incredible for roasting vegetables, making crispy tofu, and, of course, making homemade Scilian-style pizza like this one!
More Cheesy Italian Recipes
- Eggplant Lasagna
- Baked Vegetarian Ziti
- Cheesy Polenta Bowls with Meatballs
- Charred Broccoli and Mozzerella Sandwiches
- Vegetarian Spaghetti Squash Lasagna
If you try this focaccia pizza recipe, make sure to come back to leave a comment and a rating. Seeing you make my recipes makes my day and your feedback helps other readers.

Sourdough Margarita Focaccia

Equipment
Ingredients
- 55 grams sourdough starter, fed, active starter
- 250 grams water
- 360 grams bread flour
- 6 grams salt
- 1/4 cup olive oil, plus more for drizzling
- 8 ounces fresh mozzarella cheese ball
- 2 pints cherry tomatoes, halved
- Flaky sea salt, like Maldon
- 1/3 cup fresh torn basil leaves
Instructions
- Combine the sourdough starter and water in a large mixing bowl. Add in the flour and salt, then mix together until the flour is fully incorporated.
- Cover with a damp kitchen towel and let rest for 30 minutes at room temperature.
- After resting, stretch and fold. Lightly wet your hands, then grab a portion of the dough from one side, gently stretch it upwards, and then fold it over the rest of the dough. Repeat this motion, working your way around the dough, stretching and folding in sections. Do this for about 4-6 stretches and folds total, resting about 30 minutes in between. The dough will start to feel smoother and more elastic with each stretch and fold.
- Cover and let rise overnight at room temperature, about 10-12 hours, until the dough has almost doubled in size. The temperature of your kitchen will vary how long it takes– my dough doubles in about 8 hours in the summer and 12-14 hours in the winter. Watch the dough, not the clock. You can use a marked, high-sided dough tub to easily see if your dough has risen. If you aren’t ready to make the focaccia pizza right away, then pop your doubled dough in the fridge until ready to bake.
- Add 1/4 cup olive oil to a 9×13 inch baking pan. Use your hands to rub the bottom and the sides of the pan until all covered.
- Add the dough directly into the pan, oil your fingertips and gently dimple and stretch the dough, trying to reach the corners and sides of the pan. As the dough relaxes, it will spread out. It’s OK if the dough is tight, don’t force it– let the dough sit, and then try again. It doesn’t need to touch the edges now, but should be close.
- Cover the pan with an inverted baking sheet and place in a warm spot to proof. In the summer, the top of my stove when it’s on is warm enough, or in the winter– I use a turned off oven with the light on. Allow the dough to proof for 30 minutes.
- Remove the pan from the dough and dimple the dough again, like you did before. It should now easily touch the sides of the pan. Cover and let rest another 30 minutes.
- Preheat the oven to 450 degrees.
- When ready to cook, place the cherry tomatoes all over the dough, pressing them down to stick. Dollop pieces of the mozzarella cheese all over the dough, then sprinkle with a pinch of flaky sea salt.
- Bake for 20-25, or until golden brown and crispy around the edges.
- Remove pizza from oven and garnish with the basil leaves. Drizzle with more olive oil, slice and serve!


